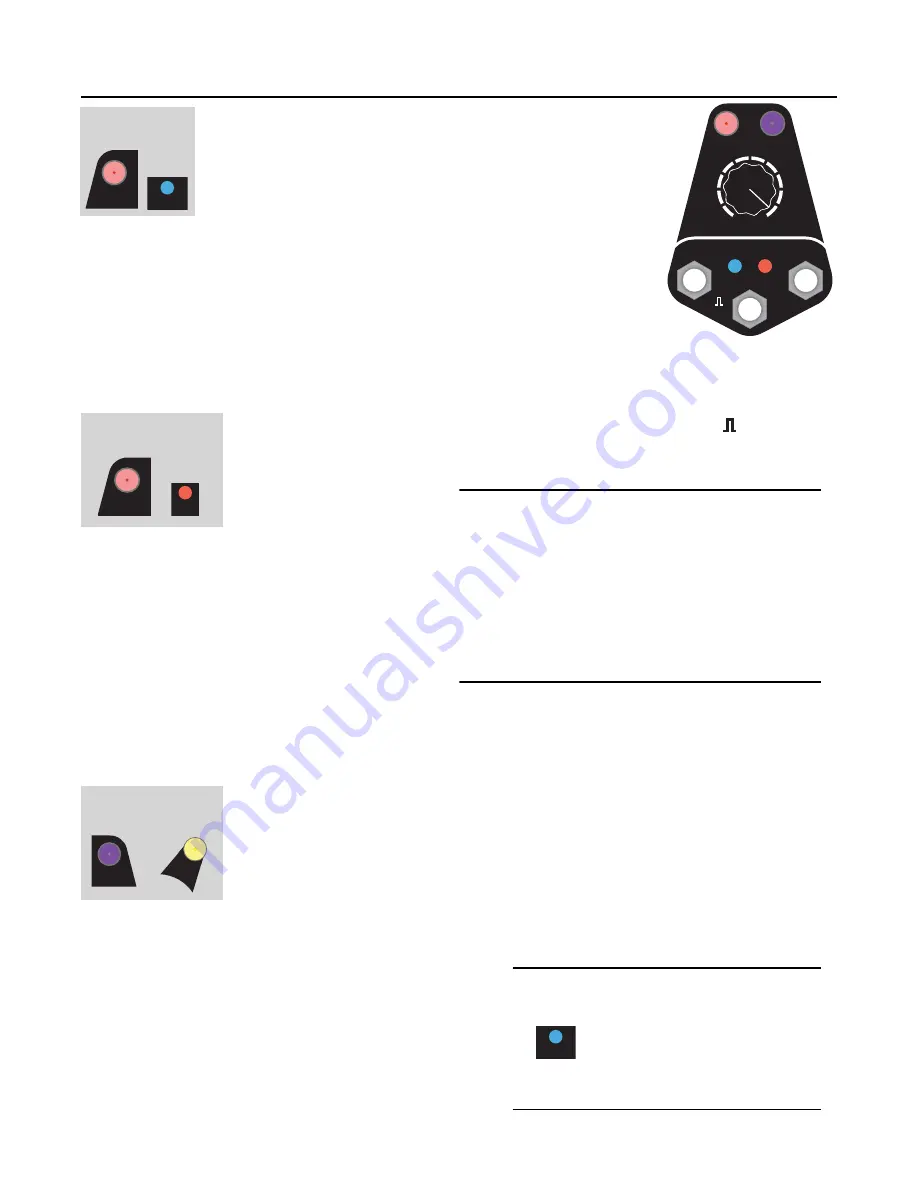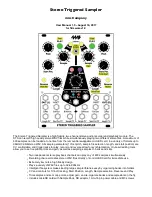
Tutorial 3: Recording Samples
Enabling Recording
To use the
RECORD
section, you first have to enable (or
“arm”) recording by holding down the
REC
button for 2
seconds. This is to prevent accidental recording. When
recording is armed, the
REC
button will flash.
Notice the blue
Monitor
light turns on. This means whatever signal is present
on the
RECORD
inputs will be routed to
OUT(L)
and
OUT(R)
.
If you have a mono signal, patch it into the
Left
RECORD
jack. If you have a
stereo signal, patch into the
Left
and
Right RECORD
jacks. The STS always
records in stereo—the Left signal will be copied to the Right if nothing is
plugged into the Right jack. You should be hearing your input sound coming
out the
OUT
jacks, but it’s not recording yet— just monitoring.
Start/Stop Recording
Tap the
REC
button to begin recording (or fire a trigger into the
Rec
jack). See
how the
Busy
light turns on and starts flashing a lot? That means it’s actively
recording your audio to the microSD card.
Tap the
REC
button again (or
fire another trigger) and wait
a moment until the
Busy
light
goes off. Congratulations! You
just made a sample! If you were to put the
microSD card into a computer now, you’d see a
new stereo WAV file with your sounds on it. But
let’s try playing it back first.
Where is my recording?
The sample you recorded is automatically loaded
into whatever bank the
REC Bank
button was set
and whatever slot the
RECORD Sample
knob was pointing to when you
started
recording. By default,
the STS boots up with the
REC Bank
set to the first empty bank— this way it won’t change your
existing banks when you start recording.
Teleport to the Rec Bank
To hear the sample you just recorded, we need to go to that bank in one of the
play channels. You already know a couple ways to browse banks (tapping
Bank
, or
holding
Bank
while the turning the
Sample
knob), but let’s learn a new trick for this:
Hold down the
REC Bank
button and a play channel’s
Bank
button for half a
second. The play channel
Bank
will teleport to the
REC Bank
. You should see the
play
Bank
button change color/blink to match
REC Bank
.
Now that you’re in the right bank, turn the play
Sample
knob to match the
RECORD Sample
knob, and
hit the
PLAY
button. You should hear your sample play
back! Notice that when you turn the Sample knob on
the play channel the play light blinks either red or white.
Red means the slot is empty, and white means the slot
has a sample.
Before you hit
REC
again, move the
RECORD Sample
knob to a new slot. Otherwise you’ll record over the slot
(the file will still be there, just not assigned to any slot).
Page of
9
24
Bank
Bank
+
Jump to Rec Bank:
Hold both 0.5 sec
REC
Arm Recording:
Hold 0.5 sec
Monitor
Sample
REC
Bank
Rec
Busy
Monitor
RECORD
1
10
2
9
3
8
4
7
5
6
Left
Right
REC
Start/Stop Recording:
Tap button
Busy
Monitoring:
When you hit a
PLAY
button,
Monitoring is disabled (the blue
Monitor light will go off, and the
REC
button will turn purple). To
turn Monitoring back on, hold
the
REC
button for half a
second.
Monitor
Levels:
The STS is made for modular-level signals,
but it does a decent job with line-level
signals. (You can boost line-level to modular
level digitally later using the
Edit
+
Gain
feature). However, for the best quality, use a
suitable line-to-modular level converter
module. Even a low-cost “input” module will
greatly increase the quality of line-level
recordings from your phone, computer,
guitar pedals, etc


