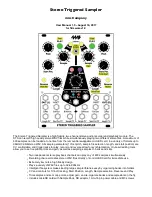
Tutorial 5: Creating Slices
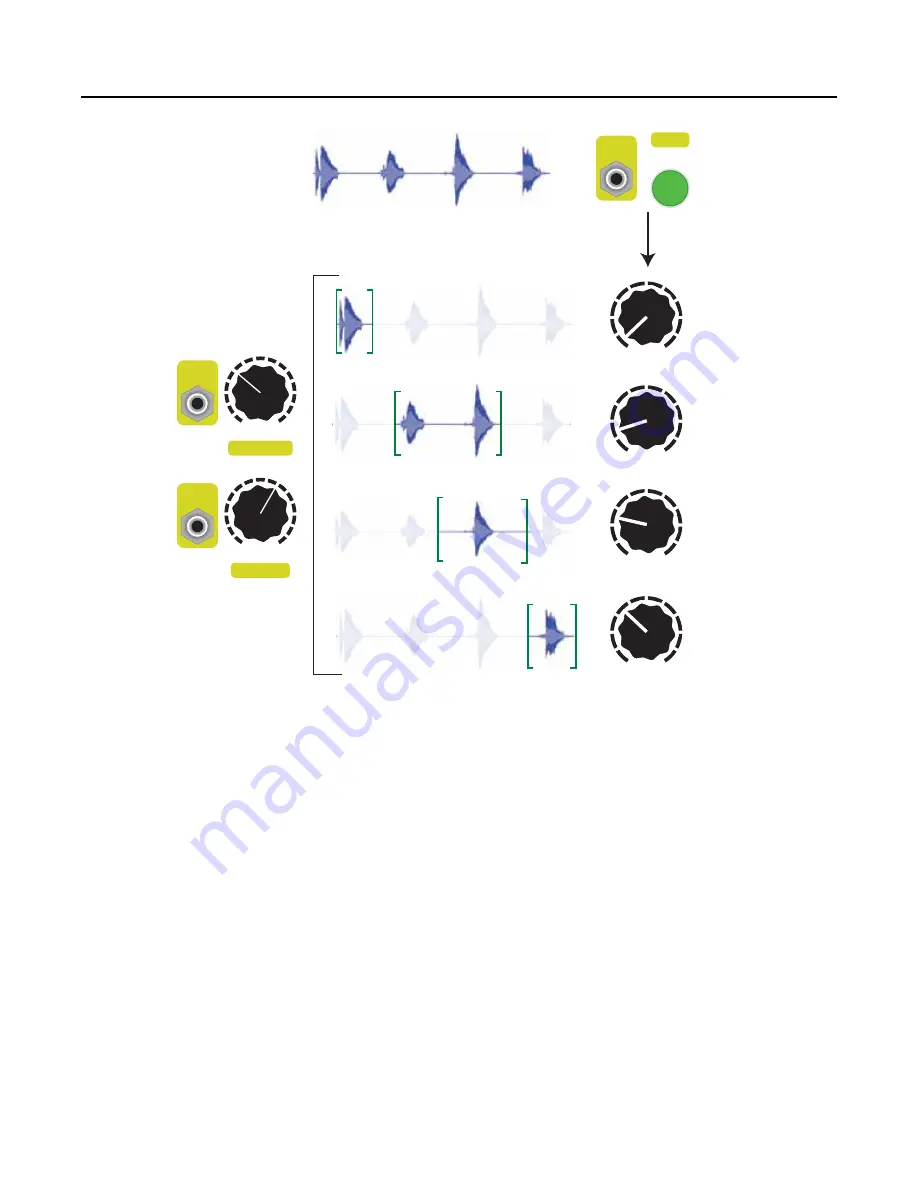
You can combine Copying and setting the Trim/Loop points to create multiple slices of a sample, and
store those slices into sample slots.
1. Go to the sample you want to slice up on the left side of the STS.
2. On the right side, go to the destination bank where you want to store the slices (see the
“Navigating Banks” section for how to go to an empty bank).
3. Turn the right
Sample
knob to the slot you want to put the first slice in.
4. Now hold
Edit
+
Copy
(right
PLAY
button) for half a second. You just copied the sample from the left
side to the right side!
5. Turn the right
Sample
knob to the next slot and hit
Edit
+
Copy
again. Repeat until you created
enough copies.
Now we’re going to set the loop/trim points on each copy:
6. On the left side, go to the same bank the right side is in.
7. Set the left
Sample
knob to the slot you want to edit.
8. Use
Edit+Scrub Start
(right
Start Pos
knob) and
Edit+Scrub End
(right
Length
knob) to scrub the
beginning and end points.
9. When you found the start/end points you like, set the left
Sample
knob to the next slot and repeat
step 8.
10. Don’t forget to do
Edit
+
Save
if you want to save your work!
Page of
15
24
Original sample:
Copy into multiple slots (using Edit+Copy)
Use Edit+Scrub Start/End to create various slices
Sample
1
10
2
9
3
8
4
7
5
6
Sample
1
10
2
9
3
8
4
7
5
6
Sample
1
10
2
9
3
8
4
7
5
6
Sample
1
10
2
9
3
8
4
7
5
6
PLAY
Copy
Copy
Edit
Sample
Edit
Sample
Edit
Sample
Length
Start Pos.
Scrub Start
Scrub End
Scrub Start
Scrub End


