


VISIX S-Series Network Camera
|
USER MANUAL v6.0
10385 Westmoor Drive, Suite 210, Westminster, CO 80021 | www.3xlogic.com | (877) 3XLOGIC
82
1.
Enter the Text Overlay settings interface:
Configuration
>
Image
>
OSD Settings
2.
Toggle the checkbox in front of the textbox to enable on-screen display.
3.
Input the characters in the textbox.
4.
Use the mouse to drag the red text frame
Text
in the live view window to adjust the text overlay position.
5.
Click
to save the settings.
CONFIGURING IMAGE PARAMETERS SWITCH
NOTE:
This function varies depending on different camera models.
Purpose:
The user can configure
Link to Preset
or
Scheduled-Switch
in this interface.
Link to Preset:
Set the time period and linked scene for the preset and toggle the corresponding checkbox
to go to the linked scene in the configured time period.
Scheduled-Switch:
Set the time period and linked scene and it will go to the linked scene in the configured
time period when you toggle the corresponding checkbox.
Steps:
1.
Enter the Image Parameters Switch interface:
Configuration > Image > Image Parameters Switch
2.
Toggle the checkbox of
Link to Preset
or
Scheduled-Switch
to enable the function. (Only one function can
be enabled at a time.)
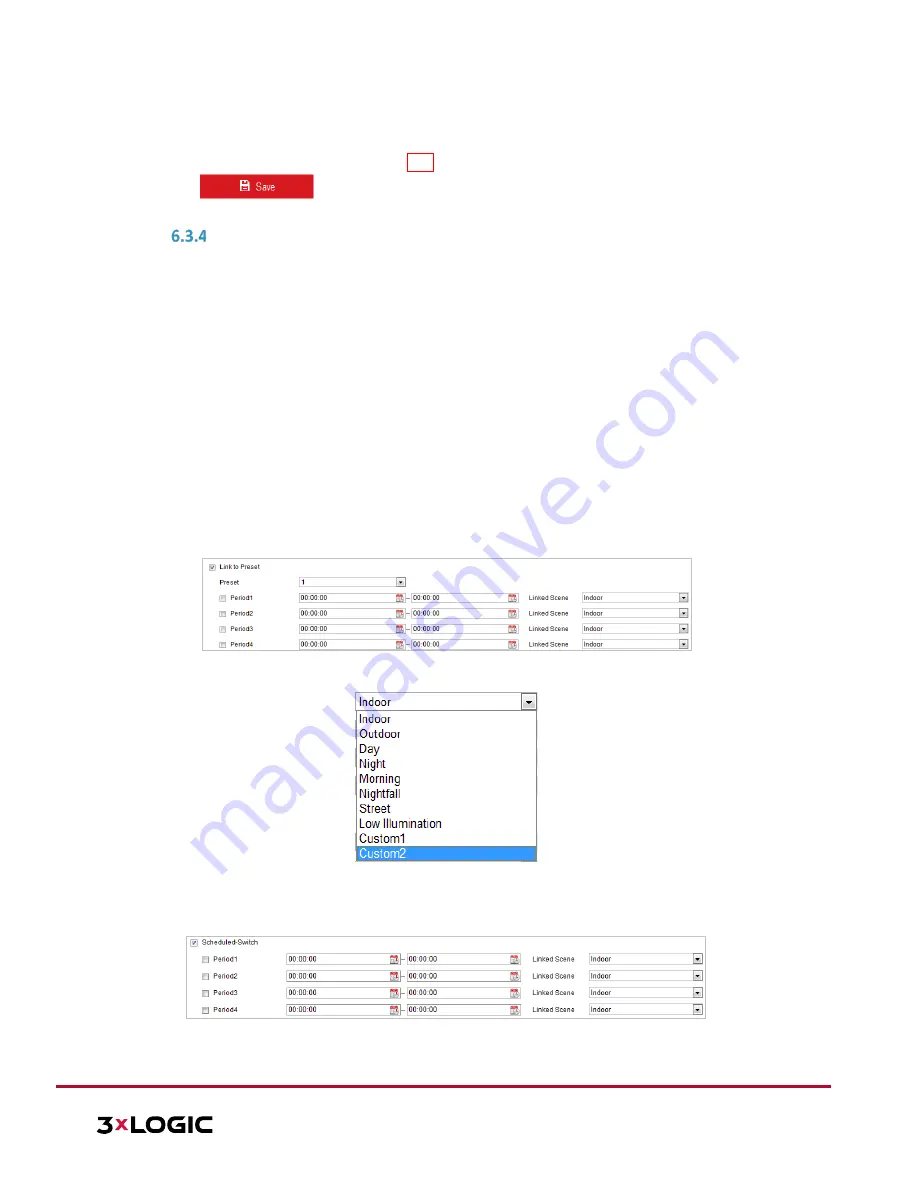
3.
When you enable
Link to Preset
, select one preset from the dropdown list, toggle the corresponding
checkbox, set the time period and the linked scene for the selected preset. (Up to 4 periods can be
configured for one preset.)
Figure 6-38
Link to Preset
Figure 6-39
Linked Scene
4.
When you enable
Scheduled-Switch
, toggle the corresponding checkbox, set the time period and the
linked scene.
Figure 6-40
Schedule-Switch