


VISIX S-Series Network Camera
|
USER MANUAL v6.0
10385 Westmoor Drive, Suite 210, Westminster, CO 80021 | www.3xlogic.com | (877) 3XLOGIC
70
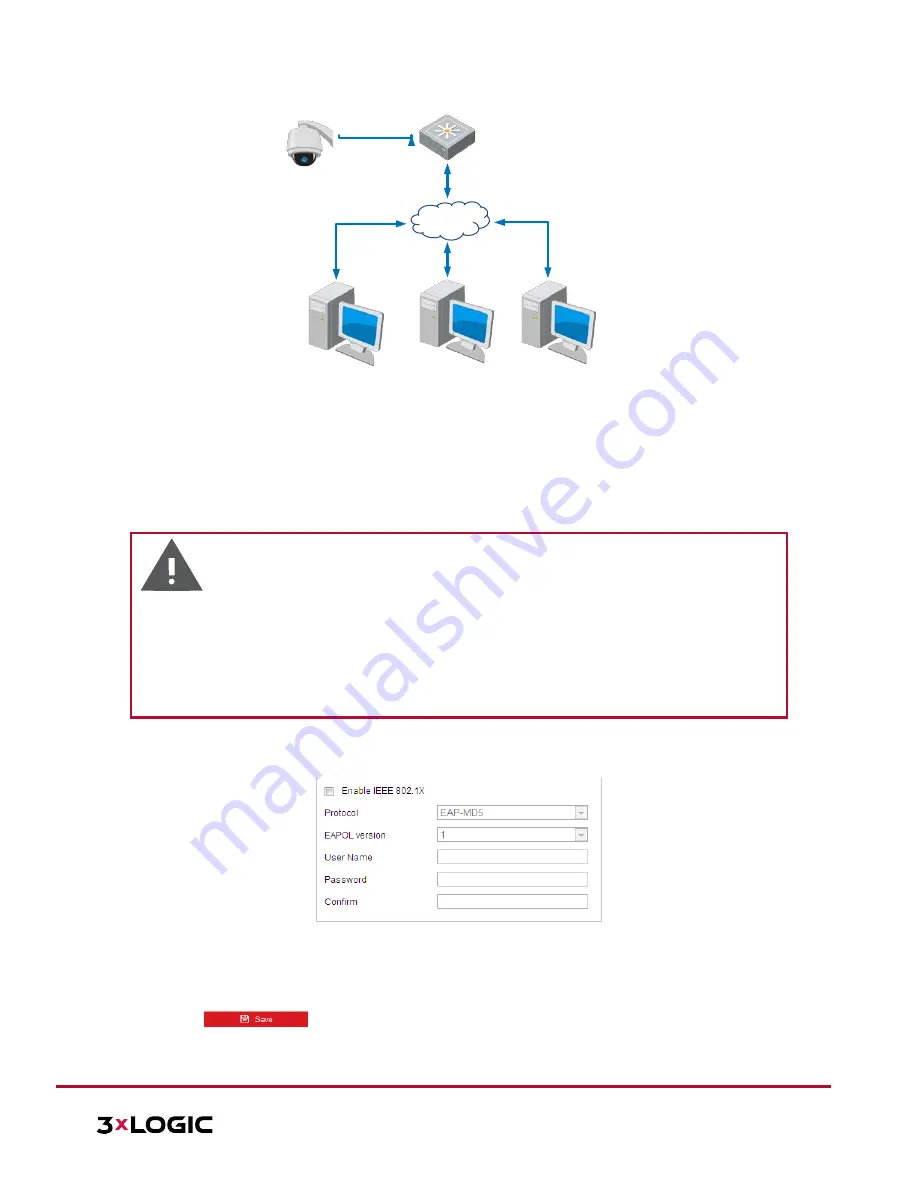
Network
Speed Dome
PC
Network Switch
Internet
PC
RADIUS Server
Authenticator
Authentication
Server
Figure 6-16
Protected LAN
Before connecting the Network Camera to the protected LAN, apply a digital certificate from a
Certificate Authority.
The network camera requests access to the protected LAN via the authenticator (a switch).
The switch forwards the identity and password to the authentication server (RADIUS server).
The switch forwards the certificate of authentication server to the network camera.
If all the information is validated, the switch allows the network access to the protected network.
Warning
:
For your privacy and to better protect your system against security risks, we strongly recommend the
use of strong passwords for all functions and network devices. The password should be something of
your own choosing (using a minimum of 8 characters, including upper case letters, lower case letters,
numbers and special characters) in order to increase the security of your product.
Proper configuration of all passwords and other security settings is the responsibility of the installer
and/or end-user.
Steps:
1.
Connect the network camera to your PC directly with a network cable.
2.
Enter the 802.1X settings interface:
Configuration >
Network >
Advanced Settings > 802.1X
Figure 6-17
802.1X Settings
3.
Toggle the
Enable IEEE 802.1X
checkbox to enable it.
4.
Configure the 802.1X settings, including user name and password.
NOTE:
The EAP-MD5 version must be identical with that of the router or the switch.
5.
Click
to finish the settings.