43
CG000542 | Rev A
User Guide | CytAssist Instrument | Maintenance
System
Maintenance
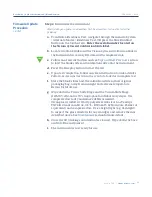
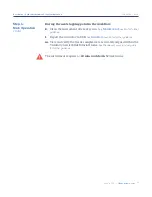
Clean Up After a Run
a. After a Readiness Test or Training Run:
Open lid and store the
blank slides and the calibration slide away from sunlight and extreme
temperature, in the original packaging bag. Retain for future use.
Proceed to step c.
After a Run: IMMEDIATELY
open lid after a successfully completed
run, remove Visium CytAssist Spatial Slide from the instrument, and
proceed with the protocol workflow. During the next stopping point
in the workflow, proceed to step b.
b.
Dispose of tissue slides appropriately.
c.
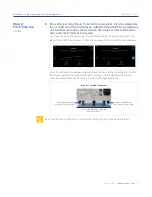
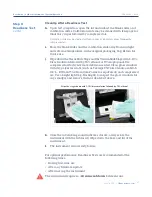
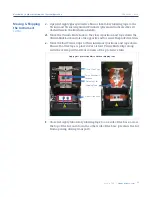
Wipe down the Tissue Slide Stage and the Visium Slide Stage with 5-10
% bleach solution followed by 70% ethanol or 70% isopropanol. Use
compressed air to dry and remove debris as needed. Clean glass
windows with dry polyester swabs (such as Texwipe TX714A
Cleanroom Swab, 0.5”L - EW-33677-62 from Cole-Parmer or equivalent)
and compressed air. Use a bright light (e.g. flashlight) to inspect the
glass windows for any smudges and remove them as described above.
d.
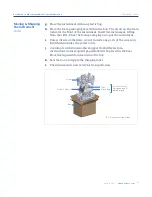
Close the lid (clicking sound indicates closure). Wipe down the base
and lid of the instrument.
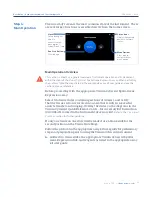
See
section for interior and exterior images
Interior
The Visium Slide Stage of the Visium CytAssist has been designed to
catch and contain drips and a small volume of liquid spills. Occasionally,
use a soft lab towel to clean these areas with a mixture of mild detergent
and distilled water. For deeper, more thorough cleaning, it is acceptable
to use a 5-10% Bleach solution followed by a 70% ethanol or 70%
isopropanol wash. Dry using compressed air.
Do not use acetone or other harsh solvents
. Apply all standard safety
practices when using cleaners, and dispose of any generated waste in a
responsible manner.
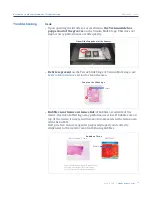
Wipe the stages down with 5-10% bleach solution followed by 70% ethanol
Wipe the stages down with 5-10 % bleach followed by 70% ethanol
Summary of Contents for Visium CytAssist
Page 5: ...Introduction 6 Introduction 7 Product Identification 7 Product Specifications...
Page 8: ...Safety Compliance Information 9 Safety 10 Regulatory...
Page 11: ...System Components 12 System Components 13 Accessory Kits...
Page 24: ...Menu Options 23 Menu Options 26 Firmware Update Procedure...
Page 42: ...Maintenance 41 System Maintenance 43 Moving Shipping the Instrument...
Page 48: ...Troubleshooting 47 Troubleshooting 49 Error Screens...

