Chapter 5 Web Configurator
GS1900 Series User’s Guide
47
5.3 Na vig a ting the We b C o nfig ura to r
The following summarizes how to navigate the Web Configurator from the
G e tting Sta rt
screen. This
guide uses the GS1900-24HP screens as an example. The screens may vary slightly for different models.
Fig ure 52
The Web Configurator’s Main Screen
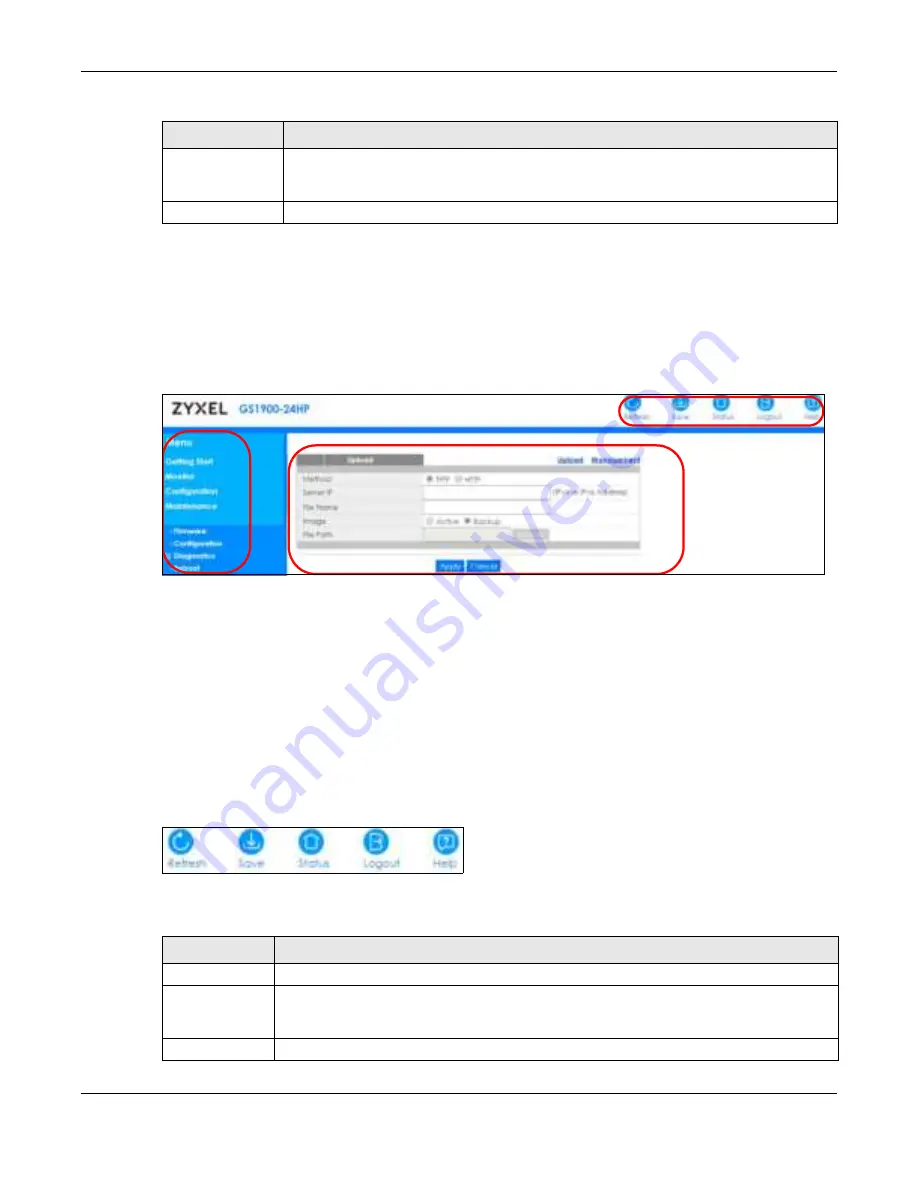
The Web Configurator’s main screen is divided into these parts:
•
A
– Title Bar
•
B
– Navigation Panel
•
C
– Main Window
5.3.1 Title Ba r
The title bar provides some useful links that always appear over the screens below, regardless of how
deep into the Web Configurator you navigate.
Fig ure 53
Title Bar
The icons provide the following functions.
Apply
Click
Apply
to save your changes to the Switch’s run-time memory. The Switch loses these
changes if it is turned off or loses power, so use the
Sa ve
link on the top navigation panel to
save your changes to the non-volatile memory when you are done configuring.
Cancel
Click
C a nc e l
to begin configuring this screen afresh.
Table 7 Web Configurator: Password > Users/SNMP (continued)
LABEL
DESC RIPTIO N
A
B
C
Table 8 Title Bar: Web Configurator Icons
LABEL
DESC RIPTIO N
Refresh
Click
Re fre sh
to reload the page.
Save
Click this to apply your changes to the Switch’s run-time memory. The Switch loses these
changes if it is turned off or loses power, so use the
Sa ve
link on the top navigation panel to
save your changes to the non-volatile memory when you are done configuring.
Status
Click this to display basic information about the Switch.
Содержание GS1900 Series
Страница 16: ...16 PART I Use r s Guide ...
Страница 63: ...63 PART II T e c hnic al Re fe re nc e ...


