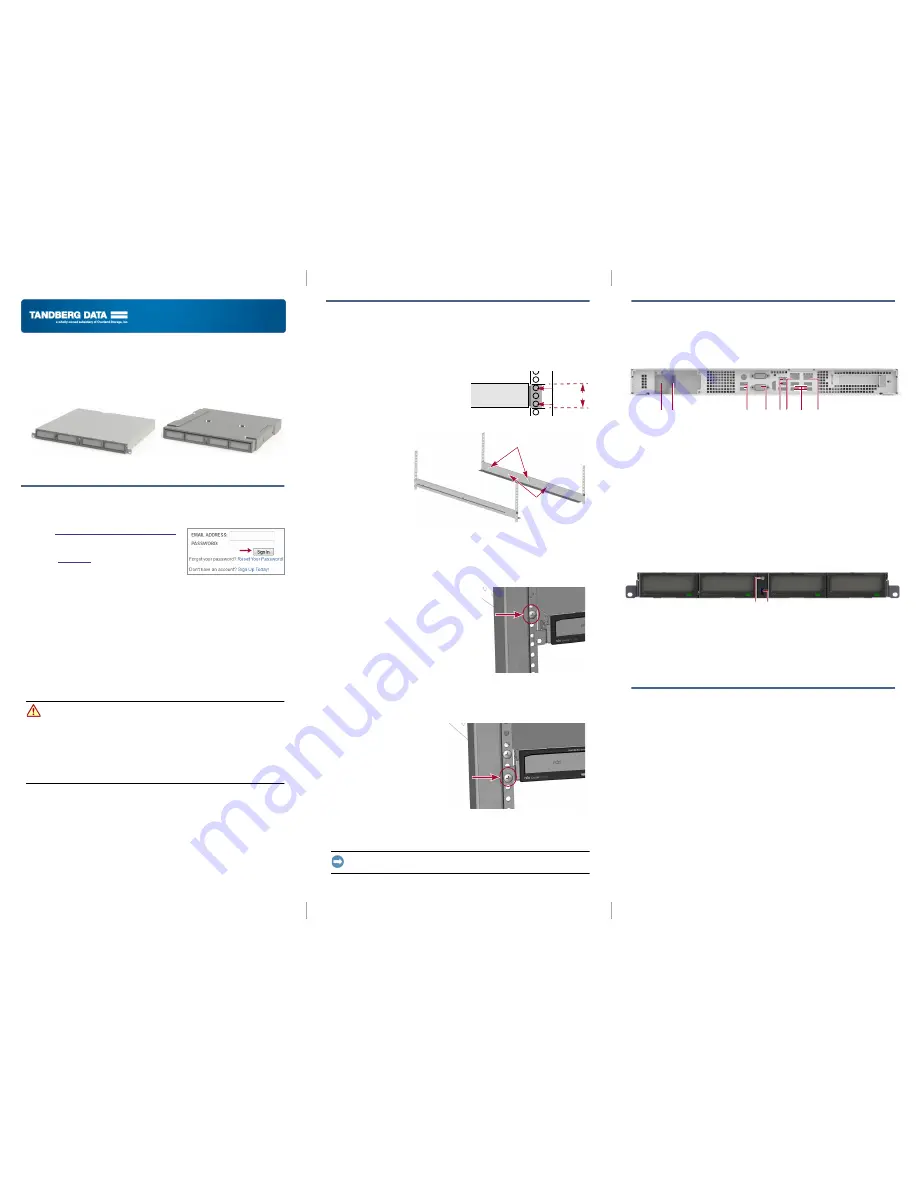
Quick Start Guide
– 1 –
– 2 –
– 3 –
RDX
®
QuikStation
™
4
1U Storage Appliance
Step 1
It is
essential
to activate your warranty. Technical and warranty support are
not
available
until the warranty is active:
1.
Go to
http://Registration.tandbergdata.com/
and select
Service & Support > My
Products
.
2.
At the
Site Login
, enter your
email address
and
password
, and click
GO
.
3.
Click
Register New Product
.
4.
Fill in the information (including serial number)
and click
Submit
.
Your warranty certificate will be emailed to you. Follow the instructions included
in the email to complete the registration process.
Unpack the Unit
Place the unit and any supplied RDX cartridges on a secure surface. Ensure that
the airflow around the front and back of the unit is not obstructed, there is
minimal dust, and there is a minimum of 12 cm free space in front of the unit to
allow the operators to safely remove the RDX cartridges.
If using a desktop unit, proceed to
Step 3
.
WARNING:
To reduce the risk of electric shock or damage to equipment, always
remove any power cords while working with the unit.
WARNUNG:
Um das Risiko eines elektrischen Schlags oder Schäden am Gerät
zu vermeiden, ziehen Sie stets den Netzstecker, bevor Sie an der Einheit
arbeiten.
AVERTISSEMENT:
Pour réduire le risque de choc électrique ou
endommagement de l'équipement, retirez toujours les cordons électriques en
travaillant avec l'appareil.
Rack-mount
Desktop
Enter
Enter
Step 2
Install Rails in Rack
The rack-mounted RDX QuikStation is designed for use in a a 19-inch rack using
1U of rack space. The length of the power cord and the Ethernet cables may
restrict placement.
1.
Determine the 1U area where the
QuikStation is to be mounted, and
mark
(4.45 cm/1.75 in) of space on
the front rack.
2.
At the rear, mark the
first
and
third holes
.
3.
Measure
the
length between the
front and rear rack
mount rails.
•
If the
measurement is
shorter
than
the length of the
QuikStation,
secure the
first
and
third
rail
holes with
M4x12 screws, washers, and nuts.
•
If the measurement is
longer
than the length of the QuikStation, secure
the
second
and
fourth
rail holes with M4x12 screws, washers, and nuts.
4.
Adjust the left rail to the length determined in
Step 3
using a 7 mm open-end
wrench and screwdriver.
5.
Align the
left-front flange
with the two
marked holes on the
front
rack rail
and
loosely attach the rail with
one screw
in
the top hole.
6.
Align left-front flange with the two
marked holes on the
rear
rack rail and
loosely attach
two screws
in the marked
holes.
7.
Verify the
rail
is level and securely
tighten all screws.
8.
Repeat
Steps 1–7
for the
right
rail
assembly.
Install the Unit in the Rack
1.
Lift and position the unit
with the
bracket holes
aligned
with the appropriate
rack holes.
2.
Using the two provided
screws, attach the
QuikStation 4 brackets
to
the rack and tighten them
just enough to support the
appliance.
As needed, use any
appropriate hardware that
may be required for your type of rack.
3.
Verify that the appliance is level, and
tighten the
screws
.
IMPORTANT: Do not place anything on top of the rack-mounted unit when it is
extended from the rack.
QuikStation 4
1U
Mark
Mark
(Front)
Use these holes
if the rack length < unit
Use these holes
if the rack length
≥
unit length
Step 3
Connect Network and Power Cords
All cabling, power connections, and cooling vents are located on the QuikStation
rear panel.
1.
Connect one or two RDX QuikStation Ethernet network ports to
network
ports on a switch, hub, or router on the same LAN as the host system used to
manage the QuikStation.
NOTE: Two network ports are recommended for failover protection and maximum
performance.
2.
Connect the appropriate power cord to the QuikStation,
and
plug
the power
cord
into a
UPS appliance
or a
properly grounded AC power source
.
3.
Turn the power on by pressing the
power button
on the front of the unit.
NOTE: If the unit does not power up, check that the power switch on the rear of the
unit is set to on.
Install Cartridges
1.
Insert an
RDX cartridge
into the QuikStation 4 RDX dock.
2.
Slide the
cartridge
in until it locks in place.
3.
Repeat
Steps 1–2
for
each
remaining cartridge.
Step 4
Obtain the IP Address
The default network configuration is set for dynamic IP addresses (DHCP), but
static IP addresses are also supported. To determine an IP address:
1.
Attach a
monitor
to the VGA/display port.
2.
Power on
the unit by pressing the power button
After the unit initializes, the IP addresses display on the screen.
The IP address may also be obtained using a USB stick with a single MBR
partition formatted with either FAT32 or NTFS.
1.
Create an empty
network.info
file on a USB stick.
2.
Insert the stick
in the USB port on the front of the unit and wait at least
30 seconds for the network configuration to download to the
network.info
file.
3.
Move the USB stick to a
host computer
and scan the updated
network.info
file to determine the available IP addresses.
1 - AC Power Plug
2 - Power Switch
3 - USB 3.0 Ports
4 - VGA/Display Port
5 - USB 2.0 Ports
6 - Ethernet Port 1
7 - Ethernet Port 2
1
5
4
6
7
2
3
5
Power Button USB 3.0 Port
*1021807*
1021807


