QUICK START AND COMMISSIONING
GEN II-R
QUICK START AND COMMISSIONING
The
GEN II-R
is equipped with a
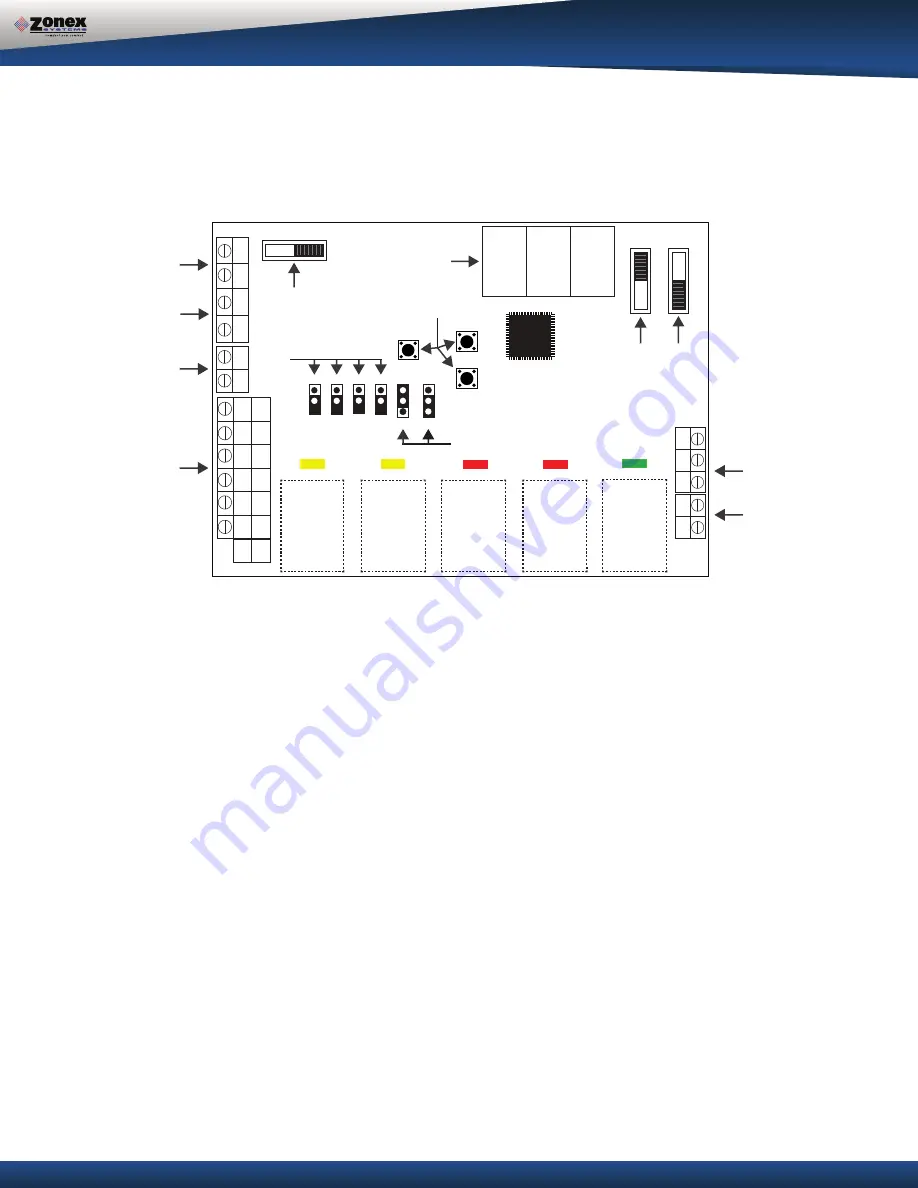
Digital Display (G) that constantly displays Leaving Air Tem-
perature from the unit.
At startup, this display also reports the number of thermostats communicat-
ing with the
GEN II-R
controller. The display and 3 buttons (
H
) beneath the display provide the insta-
lling contractor the ability to tailor the system to your specific application.
The
GEN II-R
controller is shipped from the factory configured for basic Gas/Electric operation.
However, the following should be checked as part of the initial installation setup procedures:
1.
EH
jumper
(F)
is installed by the factory on one pin for normal gas heat operation where the fan
is controlled by the HVAC system fan control. When a fan output is required from the GEN II-R
controller on a call for heat, place the
EH
jumper over both pins for several seconds and then
remove. Place the jumper tab on one pin.
2.
O/B
and
HP
jumpers
(F)
should both be on one pin or removed for GE operation.
3. Set the Power Switch
(E)
to
ON
.
4. Set the fan jumper
(I)
to
AUTO
for intermittent operation or
ON
for constant ON operation in the
Occupied mode.
5. Place the
TIME/TEMP
jumper
(I)
on the middle and upper pins to control Y2 and W2 staging on
run time and supply air temperature.
GEN II-R-Zoning
7 2
SET
DN
UP
S
S
GND
B
ON
AUTO
TIME/TMP
TIME
EH
O/B
HP
PRI
NIGHT
DA
Y
UNLOCK LOCK
OFF ON
G
W2
W1
Y2
Y1
TC
TC
TR1
TR2
TR1
TR2
Y1
Y2
W1
W2
G
R
HP
GE
O/B
R
Y1
Y2
G
W2
A
A
B
C
D
E
F
G
H
I
J
K
L
M
OUT
IN


