


Page 9
2.10.1 Remote Closure 4 Application -
Booster Pump Support
The behavior of remote closure 4 may be
used to allow an external timeclock fitted with a
20-minute electrical isolation switch (e.g., Intermatic
P/N 156T4042A) to properly control the ePump™ in
conjunction with a booster pump.
Connection for Booster Pump Support:
1.
Turn off all switches and the main breaker that
supplies power to the ePump™.
WARNING
ELECTRICAL SHOCK HAZARD
Turn off all switches and the main breaker in the ePump™
electrical circuit before starting the procedure. Failure to
comply may cause a shock hazard resulting in severe
personal injury or death.
2.
Install the normally-closed electrical isolation
switch to the timeclock assembly. (See
timeclock manufacturer’s instructions for
details.)
3.
Connect the main timeclock contacts to the
booster pump power input per the booster pump
installation manual.
4.
Connect one side of the fireman’s switch
to the ePump™ Controller at J3 REMOTE
CONTROL, COMMON.
5.
Connect the other side of the fireman’s switch
to the ePump™ controller at J3 REMOTE
CONTROL, INPUT 4.
6.
Set the timeclock to the desired on/off times.
7.
Turn on all switches and the main breaker
feeding power to the ePump™.
8
If the installation is working properly, the
fireman’s switch will open 20 minutes before
the booster pump shuts down, the ePump™
will continue to run for 30 minutes, and the
ePump™ Controller will display
PUMP WILL
REMAIN ON FOR xx:xx
, where
xx:xx
is the
time remaining until ePump™ shutdown.
Section 3. Overview of the Controller
3.1
The ePump™ Controller
The ePump™ controller contains an advanced
microcontroller that provides a simple yet sophisticated
interface to operate your ePump™ for maximum
efficiency and enjoyment of your pool.
The controller allows operation of the ePump™
in three ways: Manually, from built-in timers, and
remotely via contact closures.
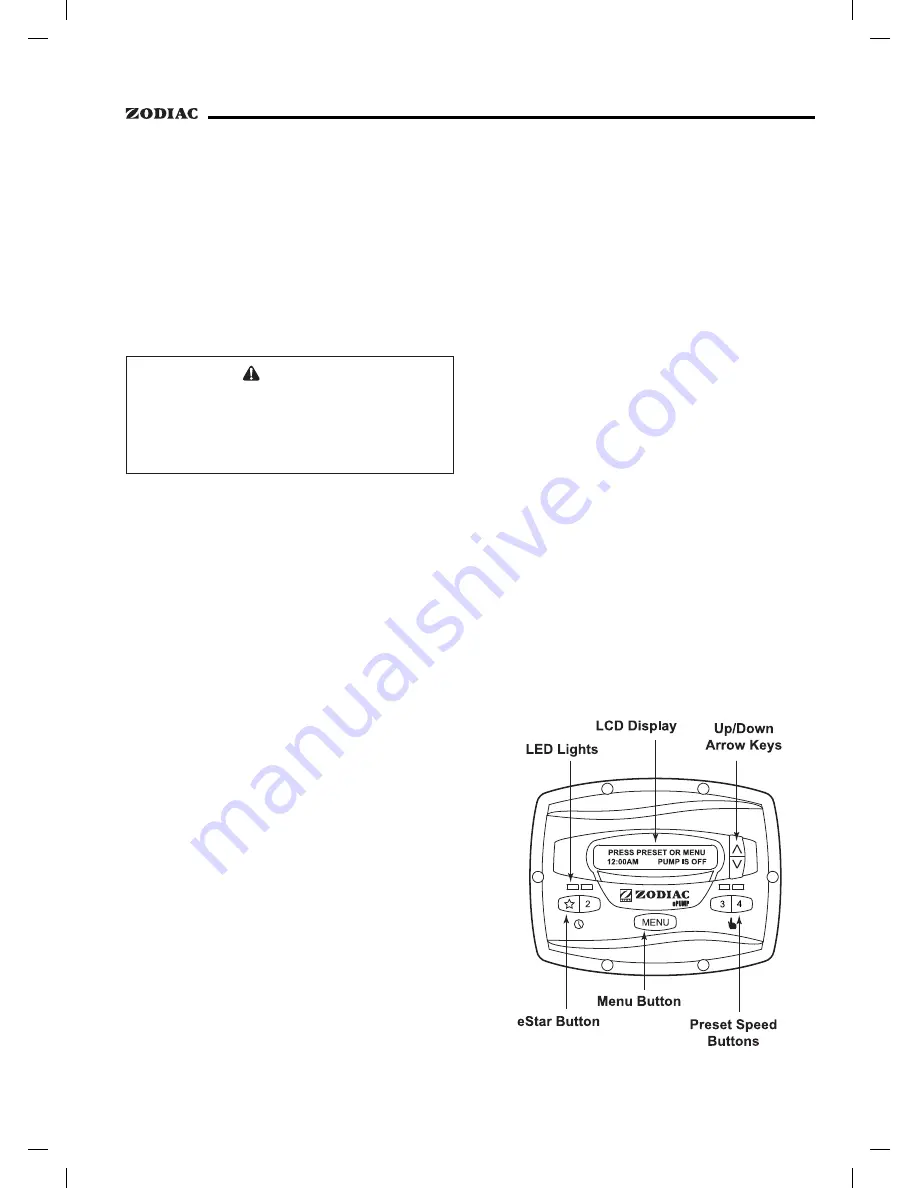
3.2
The ePump™ Controller Interface
The ePump™ controller interface panel
provides both timed and manual speed controls for the
ePump™.
Four (4) speed presets are directly available on
the panel, while four additional presets may be accessed
via the
MENU
key.
The up and down arrow keys are used to adjust
the pump speed. Speed is saved as it is adjusted. No
further action is required to save the new speed setting
after adjustment. The selected speed can be saved and
assigned to one of the speed buttons.
As shown below, preset speed "
" is assigned
to the eStar feature. Hence, it is intended to be assigned
an energy-efficient filtration speed, as determined by the
installer.


