22
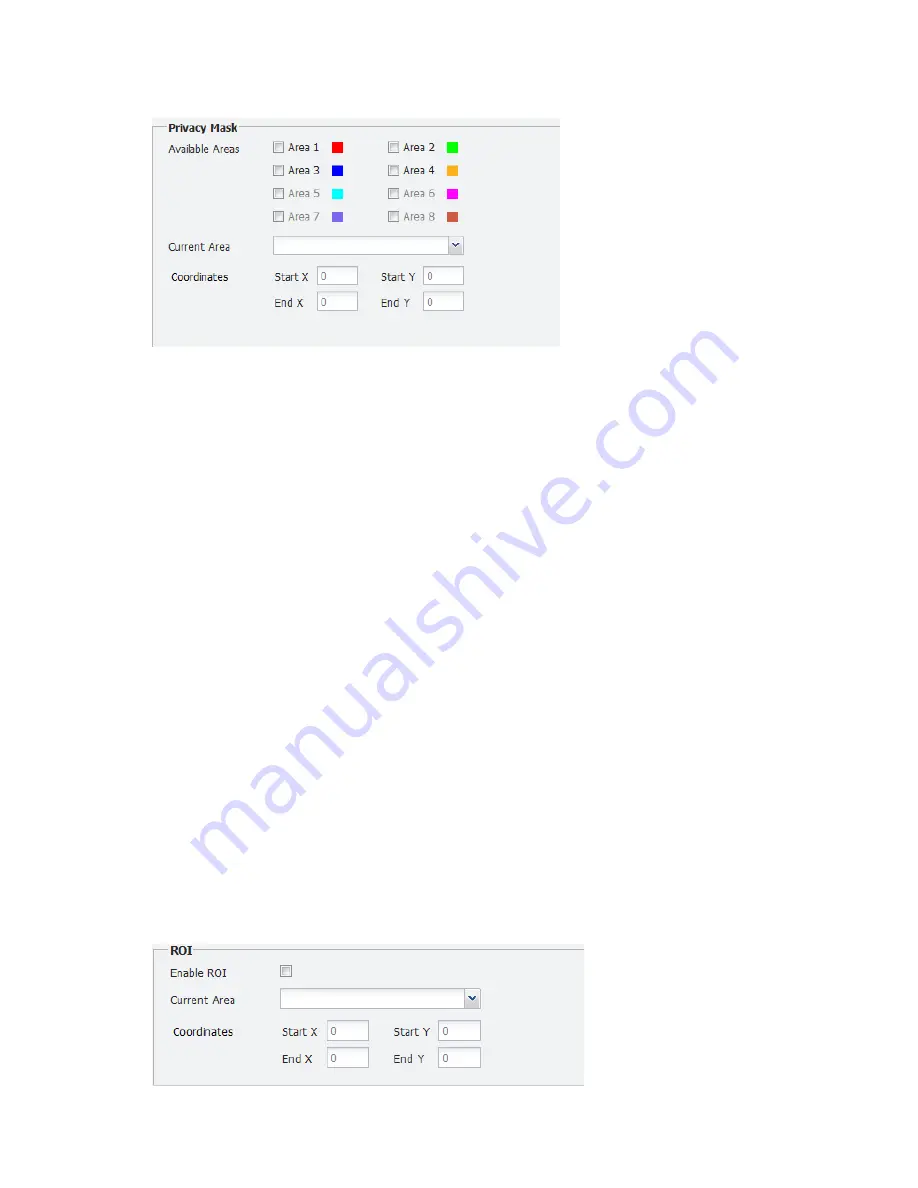
Figure 4-8
Setting Privacy Mask
3.
For the
Available Areas
parameter, select the areas you want to configure. For example, Area
1, Area 2, and Area 3. The selected area numbers are listed in the
Current Area
drop-down
list.
4.
From the
Current Area
drop-down list, select an area number.
5.
Set the coordinates for the currently selected area.
6.
Repeat steps 4 and 5 till you have set coordinates for all the selected areas. You may also
select an area from the
Current Area
drop-down list, use your mouse to select the mask area
in the
Live Preview
area on the left and then drag the mask area to the right position.
7.
After you have completed the settings, click
OK
.
Configuring ROI
Purpose
Use this function to set a region of interest (ROI) and ensure high image quality for this region on
the screen. Based on the ROI function, the camera can decrease image quality for non-ROI areas to
save bandwidth and storage while providing greater details and better image quality under the
same bit rate streaming conditions. This function is supported by cameras connected with Uniview
protocol.
Steps
1.
Click
Configuration
>
Resource Configuration
>
IPC
.
2.
Double-click the name of the camera you want to configure and then click the
ROI
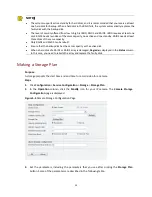
tab. The
following shows the ROI area.
Figure 4-9
Setting the ROI


