Page 19
5.3.1
Mounting the device
Only install the measuring head if it is in the measuring position. Otherwise
you will risk a crash when the measuring head moves out to the measuring
position.
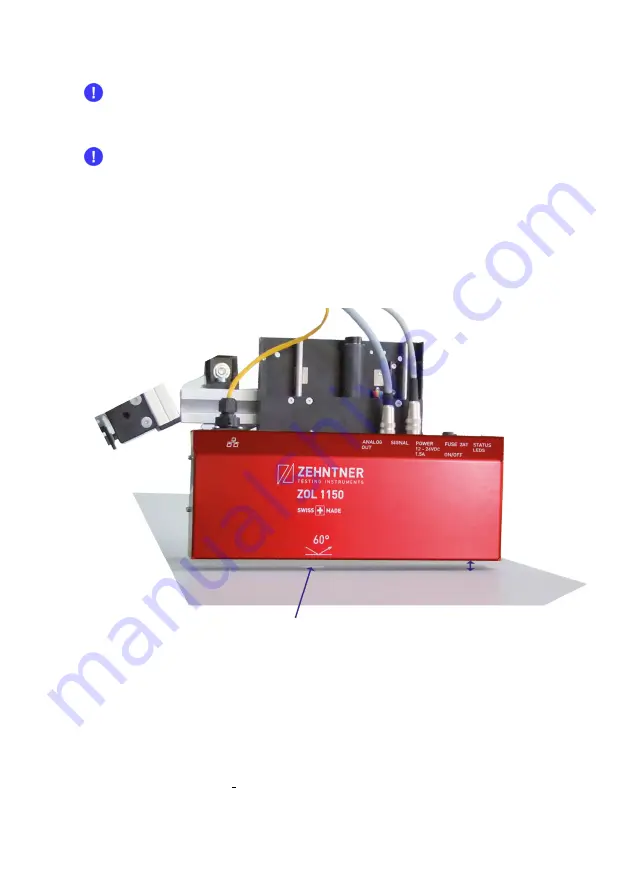
The distance between the material and the measuring head housing should be
adjusted to 10 mm. You will need to make sure that the measuring head is
precisely parallel to the material.
5.3.2
Measuring area
The indication arrow printed on the device indicates the center of the measuring
range and the measuring direction.
5.4
Starting up
The device is switched on by the main switch S1. After switching on, the power LED
(10) will light up and the device will take up to 80 seconds until it has completely
booted up. Towards the end of this procedure, the orange status LED (8) starts to
blink once per second and then extinguishes. Finally the green status LED (9) lights
up and the device is ready by turning automatically into the measuring mode. It is
now providing measured data on the Ethernet port and on the analog output.
Measuring area
10 mm
Содержание ZOL 1150
Страница 2: ......


