8
3.4
Putting on and removing the seat covers
When you order your YippieYo from us, then it generally comes assembled
and ready for use, i.e. the seat covers are already on. If you want to re-
move the seat covers for purposes of cleaning or in order to put on a new
set of seat covers, then please note the following information:
1. To remove the seat cushion open
the two Velcro® fasteners on
the underside of the buggy with
which the seat cushion is atta-
ched to the seat shell.
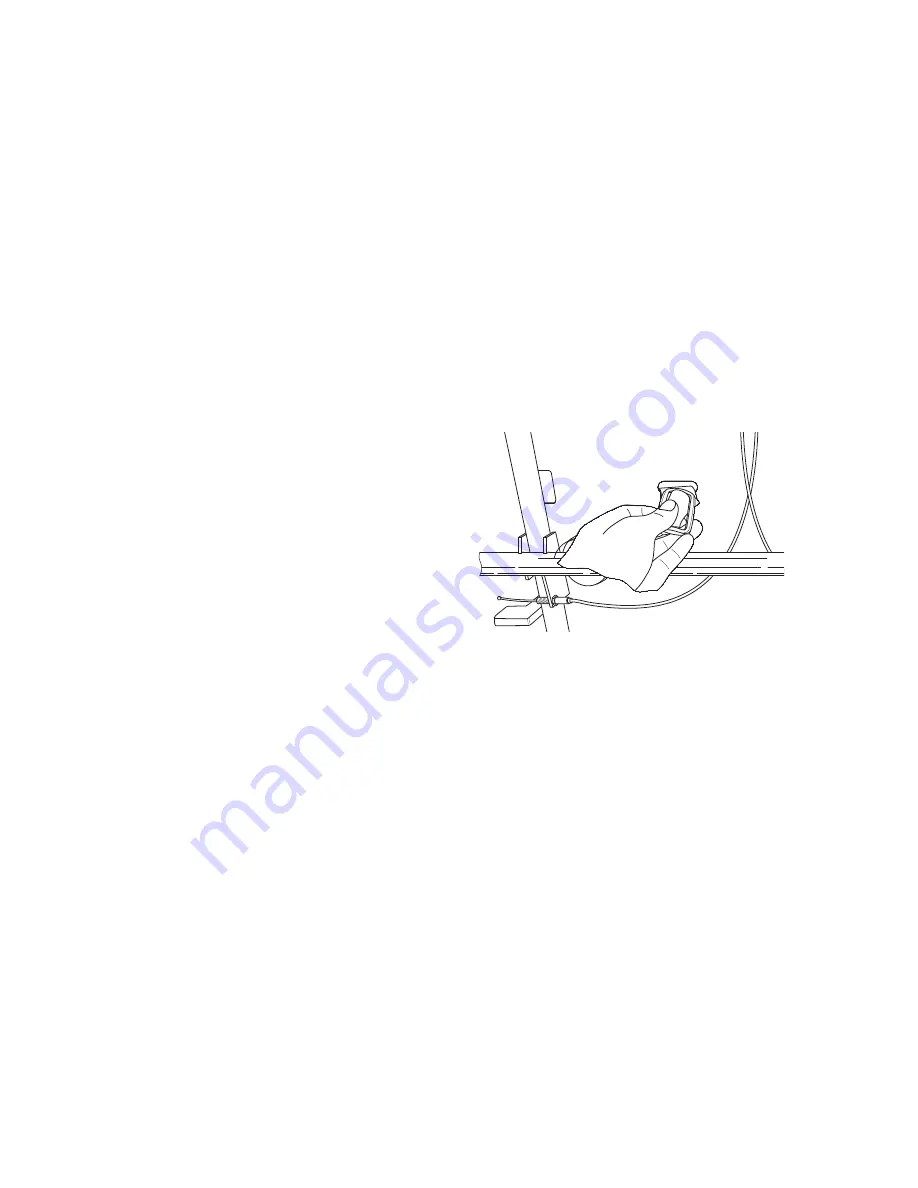
2. Next, pull the two crotch belts
through the slits in the seat shell
and seat cushion by turning the
black end pieces of the belt in
such a way that the short sides
can be fed through the slits.
(Fig. 10)
To put on the seat cushion follow the above instructions in the reverse
order.
Removing and putting on the back cushion
1. To remove the back cushion pull it upwards over the backrest and pull
the back of the cushion (with the mesh) forward over the backrest.
2. Next, feed the black end pieces of the safety harnesses with the short
side through the slits in the backrest and the back cushion. The cush-
ion can then be removed entirely from the buggy.
To return the back cushion to the backrest follow the above instructions
in the reverse order, i.e. feed the belt end pieces through the slits in the
cushion and backrest first, then pull the cushion over the backrest.
Fig. 10
Содержание CROSSBUGGY
Страница 1: ...INSTRUCTIONS FOR USE FOR YOUR CROSSBUGGY...
Страница 17: ...13 Edition February 2016...
Страница 18: ...14...
Страница 19: ...15 Edition February 2016...
Страница 20: ...YippieYo AG Kobiboden 63 CH 8840 Einsiedeln Switzerland...


