


Use of jumper switches
Some devices have internal switches, or
‘jumpers’, which control working modes, or offer
additional programming. The jumpers are either
‘on’ or ‘off’. ‘On’ is when the jumper connects
two pins, ‘off’ when it is removed. It can be
‘parked’ on one pin as shown.
Add the door/window contact
1
Press
c
(program key), enter your PIN code and
press OK.
2
Select ‘D/-‘ by scrolling down the
program menu and press OK.
3
Select ‘Add Devices’ and press OK.
• Display will show ‘Push Button On Device to
Add’.
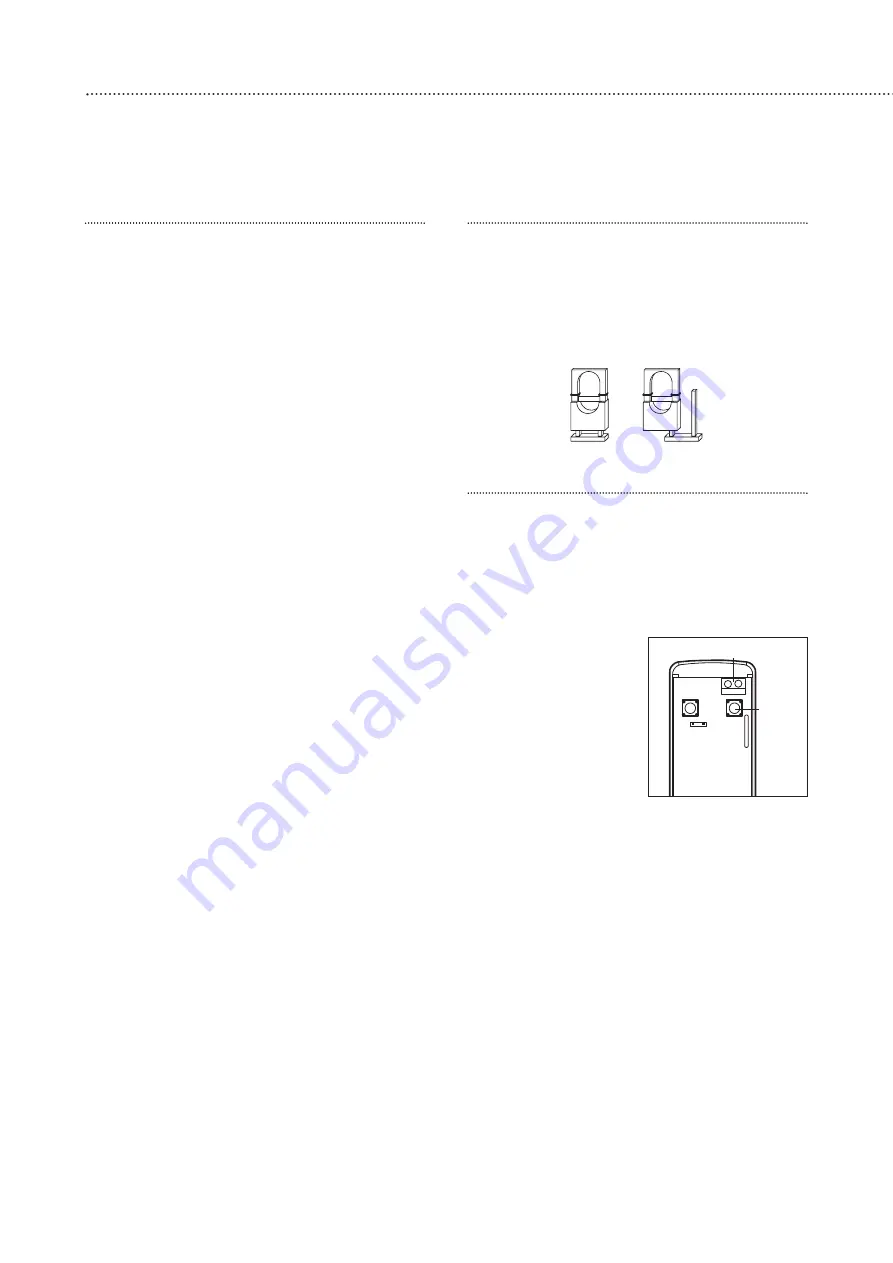
4
Press the learn/test
button in the rear of
the door/window
contact.
• The control unit will
show it has detected
the device by
displaying ‘Detected:
(Ok?) Door Contact’.
5
Press OK.
6
You are prompted to select a zone. The control
unit displays all the zones available (zones
where no device has been added), with the
cursor flashing at the first free zone (in this
instance zone 1), press OK.
• Each device is given a zone number so that the
control unit can indicate the source of an alarm.
• Door/window contacts can be used in various
applications to suit your needs, eg home omit
(see ‘Further door/window contact
programming’ page 16). As most systems
require a detector on the point of entry, for this
example the door/window contact is
programmed as an entry detector. When used
as an entry detector, with the system armed
the door/window contact will start an entry
countdown upon activation, giving you time to
disarm the system.
7
Select ‘Entry’ from the list displayed and press
OK.
8
The display now shows the selected settings:
DC Zone01 E – door/window contact
3
8
Easy install programming
First, create your own PIN code and teach the control unit to recognise (learn) all the
devices and get the basic system up and running
.
Do not mount at this stage.
Control unit
When power is connected, a long beep will
sound. ‘Alarm On’ will be displayed. This indicates
that the system is armed.
Before you can deactivate the alarm, or enter
any information into the system, you must enter a
PIN code. This is factory set to 0000.
Disarm
1
Key 0, Enter Code is displayed.
2
Key in 000 to complete the factory set code.
3
Press OK. You will hear 2 short beeps and the
display will show ‘Alarm Off’, and the default
time and date.
The system is now disarmed.
• If no code has been entered for a while, the
display will revert back to the original screen.
Introduction to programming
Entering a new PIN code will introduce you to
the ease of programming the system.
Set your PIN code
1
Press
c
(program key).
2
Enter 0000.
3
Press OK.
‘Program menu/Make a Selection’ appears
briefly, which is then replaced by a list which can
be scrolled up and down using the arrow keys.
The action to be selected has a pulsing symbol
alongside.
4
Use the down arrow key to select ‘General
Settings’.
5
Press OK to select this sub-menu.
The first item in this list is ‘Pin Code’ which we
require.
6
Press OK.
7
The system asks you for a new PIN code. Think
of one all the family can remember and key it
in. Don’t forget it, write it in ‘System records’
page 14.
8
Press OK.
9
Confirm by keying in your PIN code again.
10
Press OK. If the incorrect code is entered, a
message prompts the previous step.
Most programming functions work in this way,
by entering your code, selecting from menus and
sub-menus and responding to the prompts.
• During entering the PIN code press the
a
button to clear the screen and enter new
information.
• Press
a
to return to a previous menu.
• To return to ‘Alarm off’ in normal mode, keep
pressing
a
repeatedly.
Jumper in
‘off’ ‘parked’
position
Jumper in
‘on’
position
Learn/
Test
button
Extension terminals
Downloaded from www.ukpanels.com