background image

XOS  

|

  801377-02  

|

  Rev D  

|

  English


Page 

8

 of 

22 

First Time Turning Analyzer On


The very first time the Petra is turned on, you will need to 

create an administrator user 

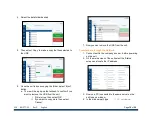
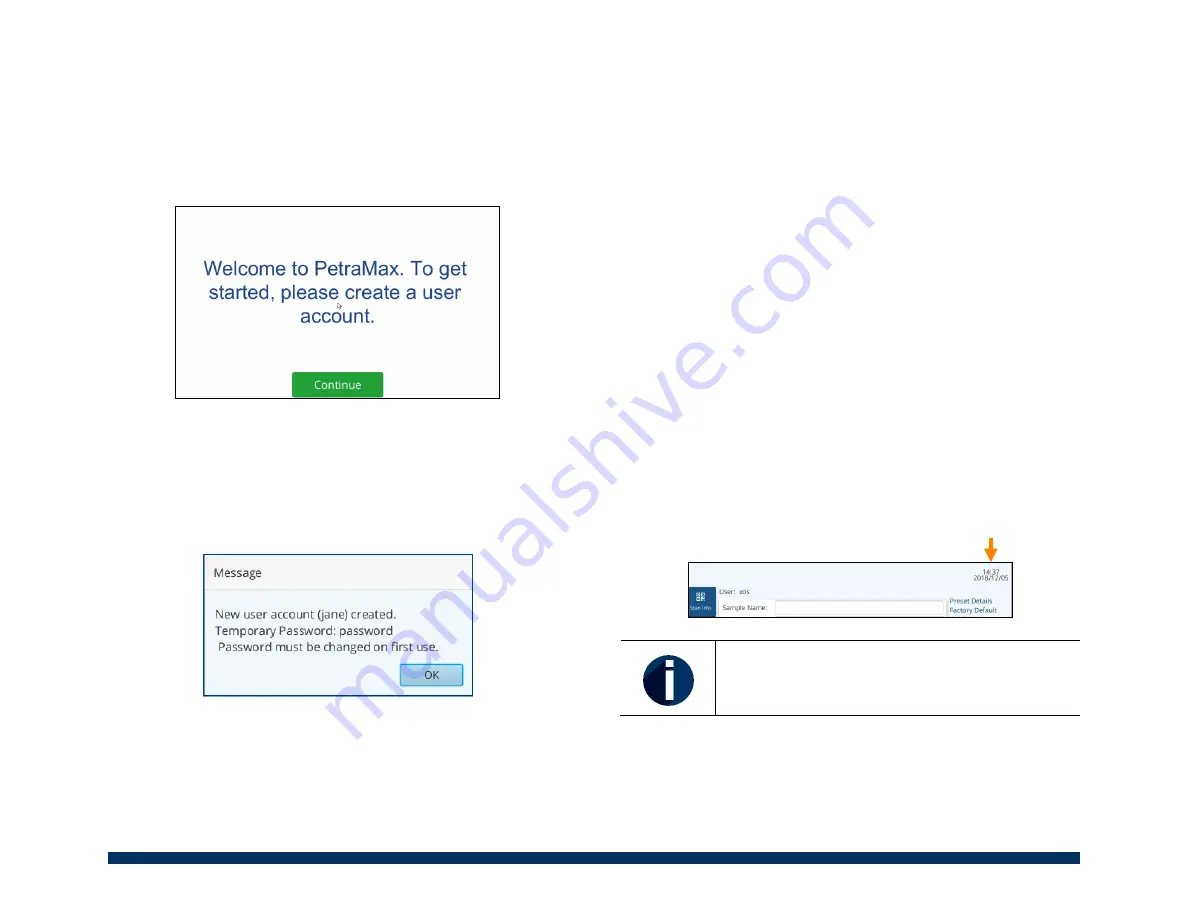
1. Select ‘Continue’ on the Welcome screen.

2. Using the virtual keyboard type in an administrator user

name, twice.

3. Select ‘Save’.

4. There will be a pop-up that states that the account was

created.  The temporary password will be password.

Select ‘OK’ to continue.

5. On the login screen, input newly created administrator

user name and password.

6. Now change the password.  Type in the temporary

password (password) and input a new password, twice.

The password is not recoverable by XOS.

7. Select ‘Save’ when done.

8. Now you are login and can start using the analyzer

Setting the Date & Time 

Data files created during measurements are coded with the 

date and time the measurement was initiated. It is critical that 

the date and time of the unit are correct because the unit time 

stamps all measurements, and for auditing purposing, this 

needs to be correct. 

There are two ways to set the date and time on the analyzer: 

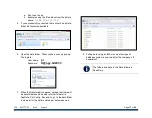
1. Automatic time and date update:

a. Before powering up the unit, connect the unit to

the company’s internet – connected network.

The unit will automatically attempt to

synchronize with time servers on the internet.

b. Now power up unit.

c. When the unit fully starts up, on the Main

screen notice that the time and date should be

set properly.

When using the automatic time and date 

function, it will use the UTC (Universal Time 

Coordinated). 

2. Manually set time and date: (if not plugging unit into

network)

Содержание Petra 4294

Страница 1: ...801377 02 REV D better analysis counts Basic User Manual...

Страница 2: ...uide Used in any manner not specified by XOS Operated in an unsuitable environment Modified repaired or serviced by anyone other than XOS authorized personnel Subject to an accident mishap disaster or...

Страница 3: ...BY QUALIFIED PERSONNEL Operating it as described in this guide and the full User Manual ensures that radiation safeguards work properly to limit radiation exposure keeping it well below the levels th...

Страница 4: ...ww p65warnings ca gov Radiation Safety Statement This Product conforms to all applicable Standards under U S 21 C F R Chapter I Subchapter J and IEC EN 61010 1 Each product is delivered with a radiati...

Страница 5: ...nge Sulfur 2 6 ppm 10 wt Limit of Detection Sulfur 2 6 ppm at 600s Applications Sulfur in hydrocarbons like crude oil diesel gasoline jet fuel and lubricants Product Specifications Method Compliance A...

Страница 6: ...XOS 801377 02 Rev D English Page 5 of 22 Line Drawing Front View Power Button Screen Drip Tray Radiation Warning Light Sample Lid USB Port...

Страница 7: ...XOS 801377 02 Rev D English Page 6 of 22 Line Drawing Back View Ethernet Port Power Cable Connector USB Port Serial Number Label Sample Lid...

Страница 8: ...f 4 x 10mL 1 Power Supply 160W 100 240V AC input 24V DC output Quantity Description 1 XOS USB containing Petra documentation 8 Petra documentation 1 Radiation Safety Test Report 2 Petra Printer Docume...

Страница 9: ...n and can start using the analyzer Setting the Date Time Data files created during measurements are coded with the date and time the measurement was initiated It is critical that the date and time of...

Страница 10: ...g this action and informing the user that the unit will restart itself f After the unit reboots itself notice the change in the date and time Optional Device Setup To optimize usage you can connect th...

Страница 11: ...urement Shutting Down the Instrument To shut down unit 1 Press the power button for 3 seconds or until the screen turns black 2 After about 30 seconds the power button should no longer illuminate mean...

Страница 12: ...he Petra MAX XOS recommends the use of Etnom sample film This film can be reordered through XOS P N 200335 02 Mylar For the best results with the Petra 4294 XOS recommends the use of Mylar sample film...

Страница 13: ...slide with the sample information 7 When the first measurement has successfully completed the unit will report the results a If the unit is still measuring the results will be reported in the History...

Страница 14: ...a Preset 1 From the Scan Info screen select the button in the Preset section or follow the steps below 2 Find and select Settings located on the left side of screen 3 Locate and open Preset Manager 4...

Страница 15: ...o make this Preset the default the preset selected when the analyzer initially starts up if desired g When done select Save Opening Results 1 From the home screen select the History button 2 If it is...

Страница 16: ...scan file s HDX format is proprietary to Petra and is not compatible with any other software program Transfer to USB 1 Navigate to the Settings screen 2 Select the Transfer Data button 3 Insert an US...

Страница 17: ...you want to remove the USB from the unit i If this is true then select OK ii If you want to copy more files select Cancel 7 Now you can remove the USB from the unit Transfer Data through the Network 1...

Страница 18: ...ll be a security pop up The login is User name pi Password H ppy Gr0C33 7 When the Data folder is opened noticed that there will be date folders and a handful of other folders i e AppData Cal Config D...

Страница 19: ...remove it from the sample interface and use cotton swabs with IPA If the basket is damaged replace it with a new basket Do not touch the sample window as this can affect your measurement results Prop...

Страница 20: ...finement Calibration Set PetraMAX only 204715 01 USB powered hub For a more exhaustive list reference the Full User Manual xos com or call XOS Service Replacement Parts Before starting any maintenance...

Страница 21: ...month If there is a spill or contaminants on the film it should be replaced immediately Replacing the Inlet Fan Filter 1 Gently pry the fan filter cover off the fan guard 2 Remove the filter 3 Lay the...

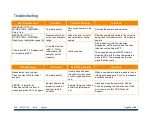
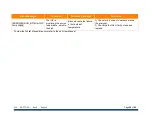
Страница 22: ...til the message disappears which occurs when the x ray tube has cooled below 60 C The message pop up will NOT clear by pressing OK while the tube temperature is close to 65 C The message auto clear wh...

Страница 23: ...rror IOP temp High The IOP is monitoring the source temperature which is too high Blocked vents fan failure or hot ambient temperature 1 Check for 6 inches of clearance around the analyzer 2 Check the...

Страница 24: ...Contact the XOS Service Team Service 1 518 880 1525 service xos com xos com 15 Tech Valley Drive East Greenbush NY 12061...

Страница 25: ......

Отзывы: