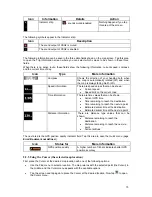


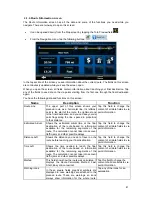
: sort the list by the distance from your current position in a straight line
(available when you search around a single location)
: sort the list by the distance to drive on route from your current position
(available when you search along the active route)
: sort the list by the size of the needed detour (available when you search
along the active route)
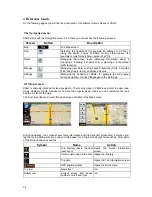
5. Tap the desired POI in the list.
6. The map appears with the selected point in the middle. Tap
from the Cursor menu.
The route is then automatically calculated, and you can start navigating.
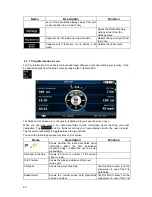
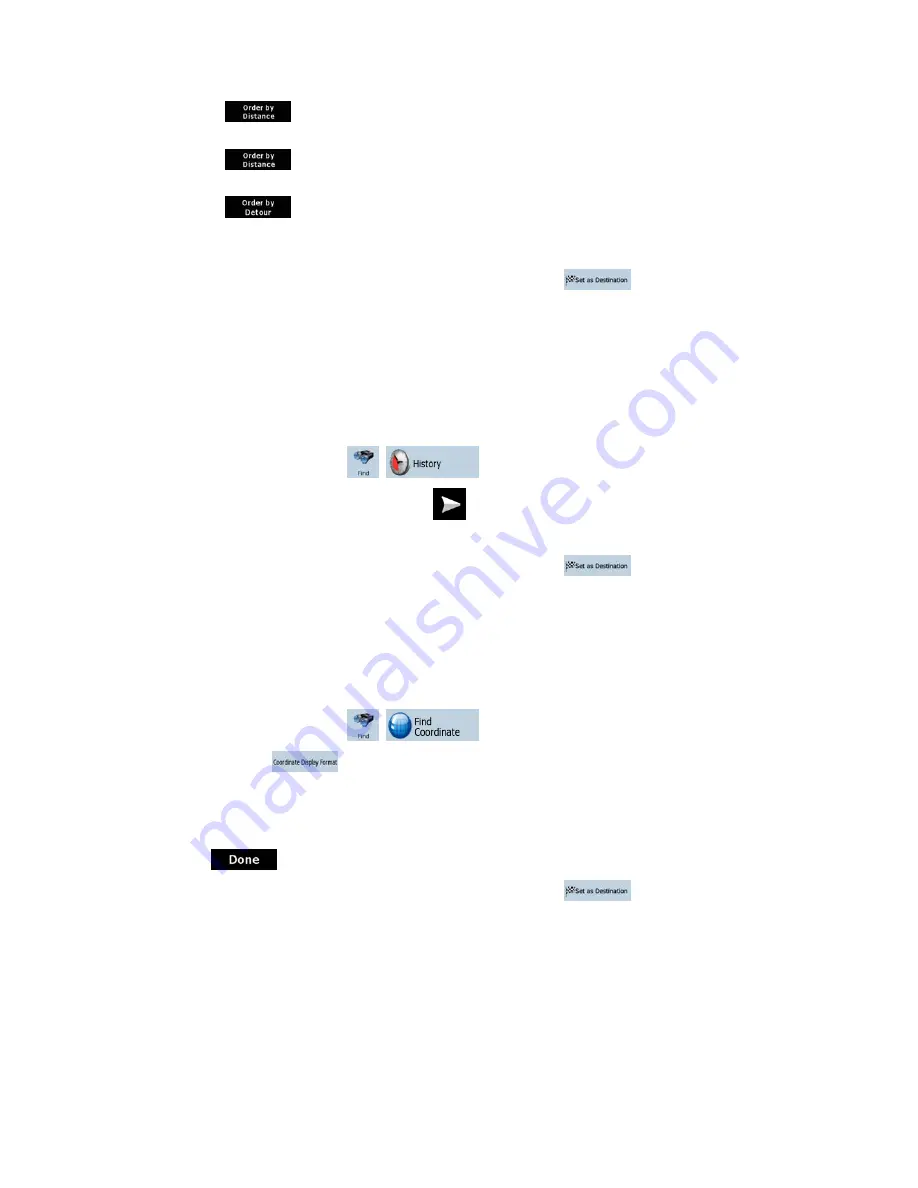
3.1.5 Selecting the destination from the History
The destinations that you have set earlier appear in the History.
The procedure is explained starting from the Navigation menu.
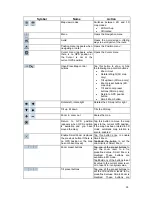
1. Tap the following buttons:
,
.
2. If necessary, move between pages with
to see earlier destinations.
3. Tap the desired item.
4. The map appears with the selected point in the middle. Tap
from the Cursor menu.
The route is then automatically calculated, and you can start navigating.
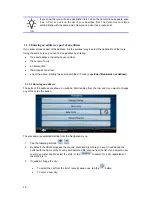
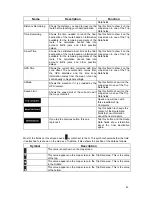
3.1.6 Selecting the destination by entering its coordinates
The procedure is explained starting from the Navigation menu.
1. Tap the following buttons:
,
.
2. [optional]
Tap
to change the format of the displayed coordinates.
3. Tap
the
latitude or longitude value to change the coordinates.
4. Enter
the
coordinate values in WGS84 format on the keyboard: the latitude (N or S) and the
longitude (E or W).
5. Tap
.
6. The map appears with the selected point in the middle. Tap
from the Cursor menu.
The route is then automatically calculated, and you can start navigating.
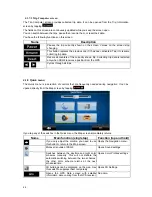
3.2 Creating a multi-point route (inserting a via point)
Multi-point routes are created from simple routes, so a route must be active first. One of the ways of
expanding the route is to keep the destination, and to add via points (intermediate destinations).
29


