Xerox WorkCentre 5016/5020 User Guide
34
3 Installing Drivers
This chapter describes how to install the print and scan drivers, and scanner application
on a computer. If an USB cable has already been connected to the machine and the
computer, and if a wizard dialog box is displayed on the computer screen, close the
wizard dialog box, disconnect the USB cable, and proceed to the procedure below.
Installing the Print Driver and the Scan Driver (TWAIN driver)
The following procedure describes how to install the print and scan drivers on a
computer.
Important
•
You must log in to a computer using a user account with administrative privileges.
1.
Disconnect the USB cable from the machine or from the computer.
Important •
If the USB cable has already been connected to the machine and the computer, and if
a wizard dialog box has appeared on the screen, close the wizard dialog box by
canceling, disconnect the USB cable, and proceed to the next step this procedure.
2.
Insert the WorkCentre 5016/5020 driver CD-ROM into the CD-ROM drive of a
computer.
Note
•
When using Windows Vista, depending on the security settings, another dialog box
may appear after Step 2, confirming whether or not you want to run [WorkCentre 5016/
5020 CD-ROM AutoRun]. Select an option to allow the program to run, in order to
display the [WorkCentre 5016/5020 CD-ROM AutoRun] dialog box and to proceed to
Step 3.
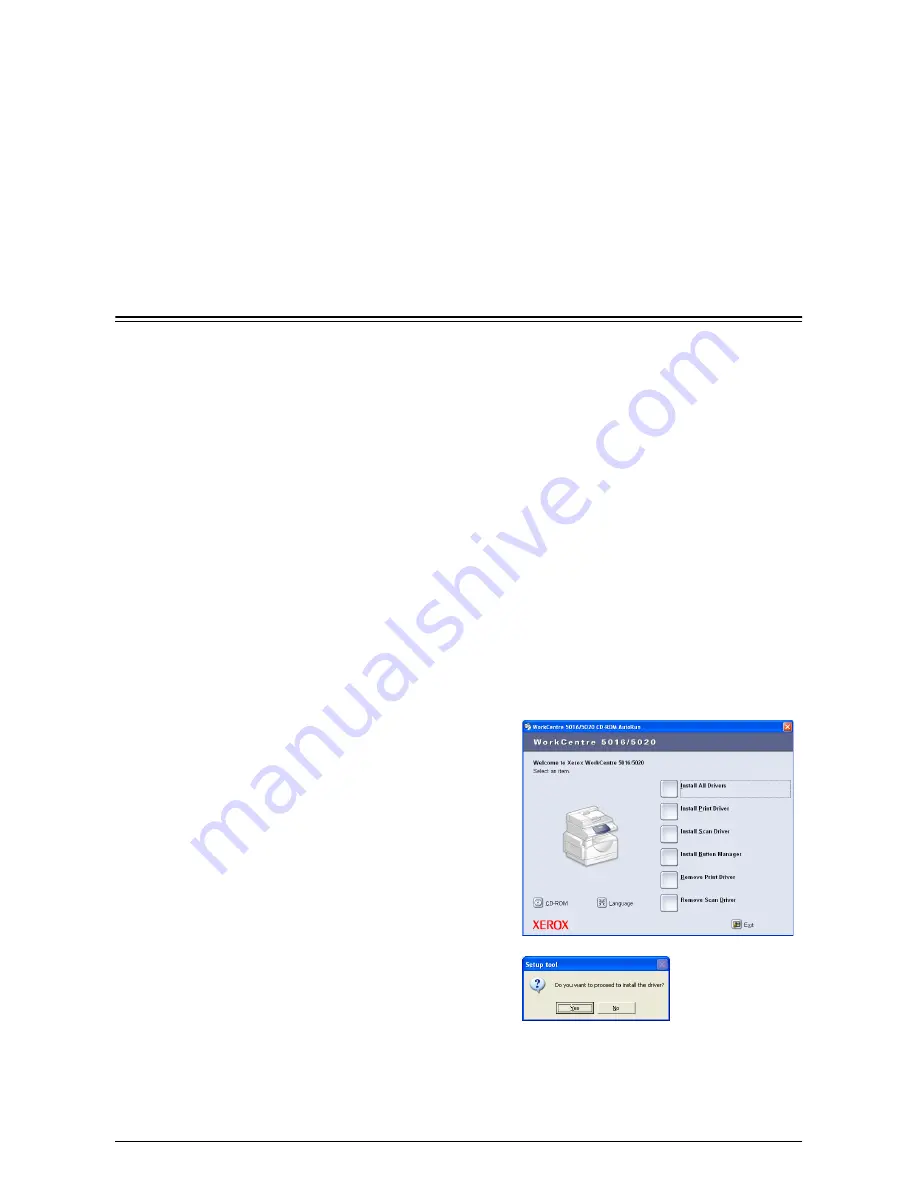
3.
Click [Language] to select an appropriate language if necessary.
The language switches to the selected language.
Note
•
You can select a language depending on the machine model in use, or the region of
use.
4.
Click [Install All Drivers].
Note
•
Selecting [Install All Drivers] allows
you to install the print and scan
drivers together. If you wish to
install either one, select [Install
Print Driver] or [Install Scan Driver]
instead.
A message dialog box appears.
5.
Click [Yes] to proceed with the
installation of the print and scan drivers.
Note
•
If you select [No], this dialog box
closes.
The [License Agreement] dialog box appears.


