Troubleshooting
5.
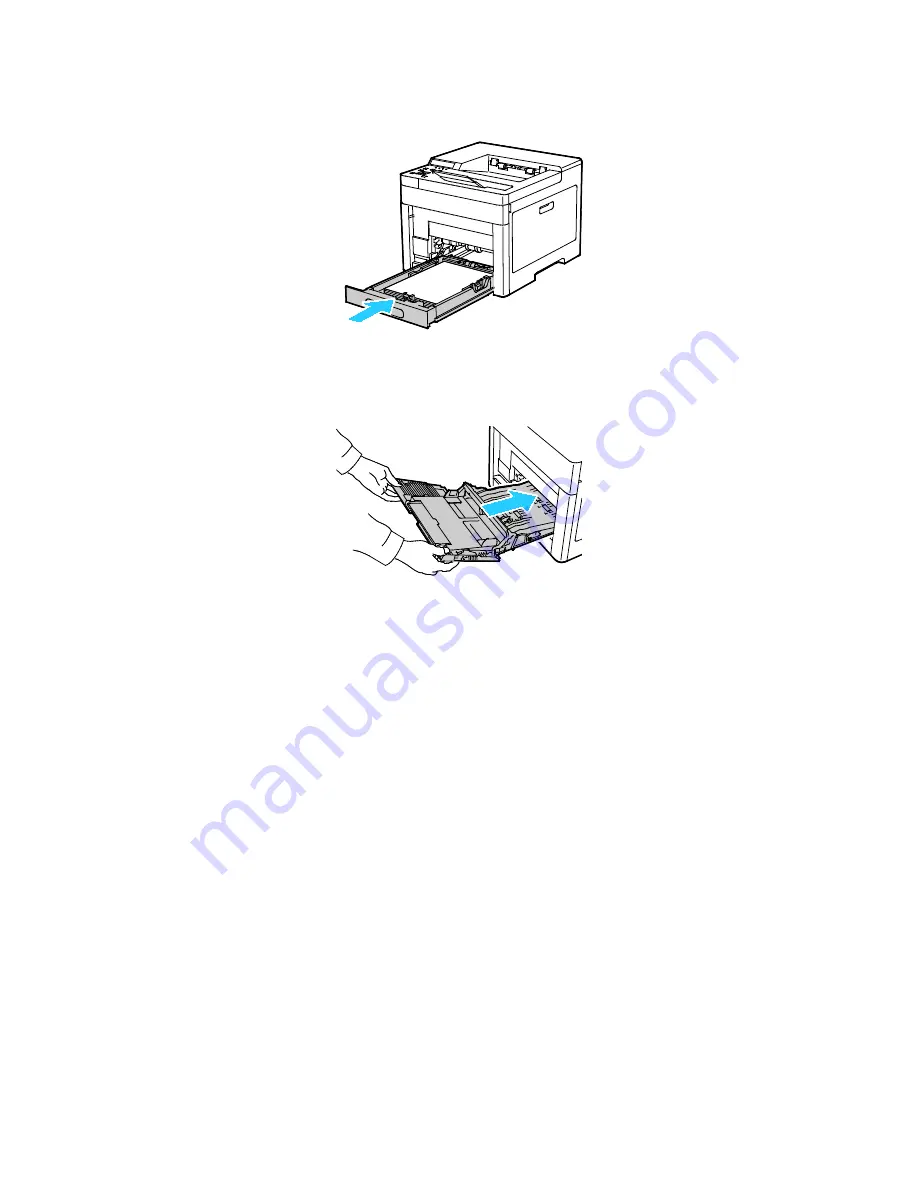
Insert Tray 1 into the printer, then push it all the way in.
Note:
If the tray is extended for legal-size paper, the tray protrudes when it is inserted into the
printer.
6.
Insert the Bypass Tray completely into the printer.
7.
If the control panel prompts you, verify the paper size and type on the screen. If not, change the
paper settings.
a.
At the printer control panel, press
Menu
.
Note:
To navigate through the menu, use the arrow buttons.
b.
Navigate to
Admin Menu
, then press
OK
.
c.
Navigate to
Printer Settings
, then press
OK
.
d.
To select the paper type, navigate to
Paper Type
, then press
OK
.
e.
Navigate to the desired tray, then press
OK
.
f.
To select the desired paper setting, press the arrow buttons, then press
OK
.
g.
To return to the Printer Settings menu, press the
Left
arrow button twice.
h.
To select paper size, navigate to
Paper Size Settings
, then press
OK
.
i.
Navigate to the desired tray, then press
OK
.
j.
To select a paper-size setting, press the arrow buttons, select the setting, then press
OK
.
8.
To return to the Home menu, press the
Home
button.
134
Xerox
®
Phaser
®
6510 Color Printer
User Guide
Содержание Phaser 6510
Страница 1: ...Xerox Phaser 6510 Color Printer User Guide ...
Страница 10: ......
Страница 22: ......
Страница 102: ......
Страница 150: ......
Страница 220: ...Specifications Clearance Requirements with Optional 550 Sheet Feeder 220 Xerox Phaser 6510 Color Printer User Guide ...


