M A - 5 Q C S P E C T R O P H O T O M E T E R
10
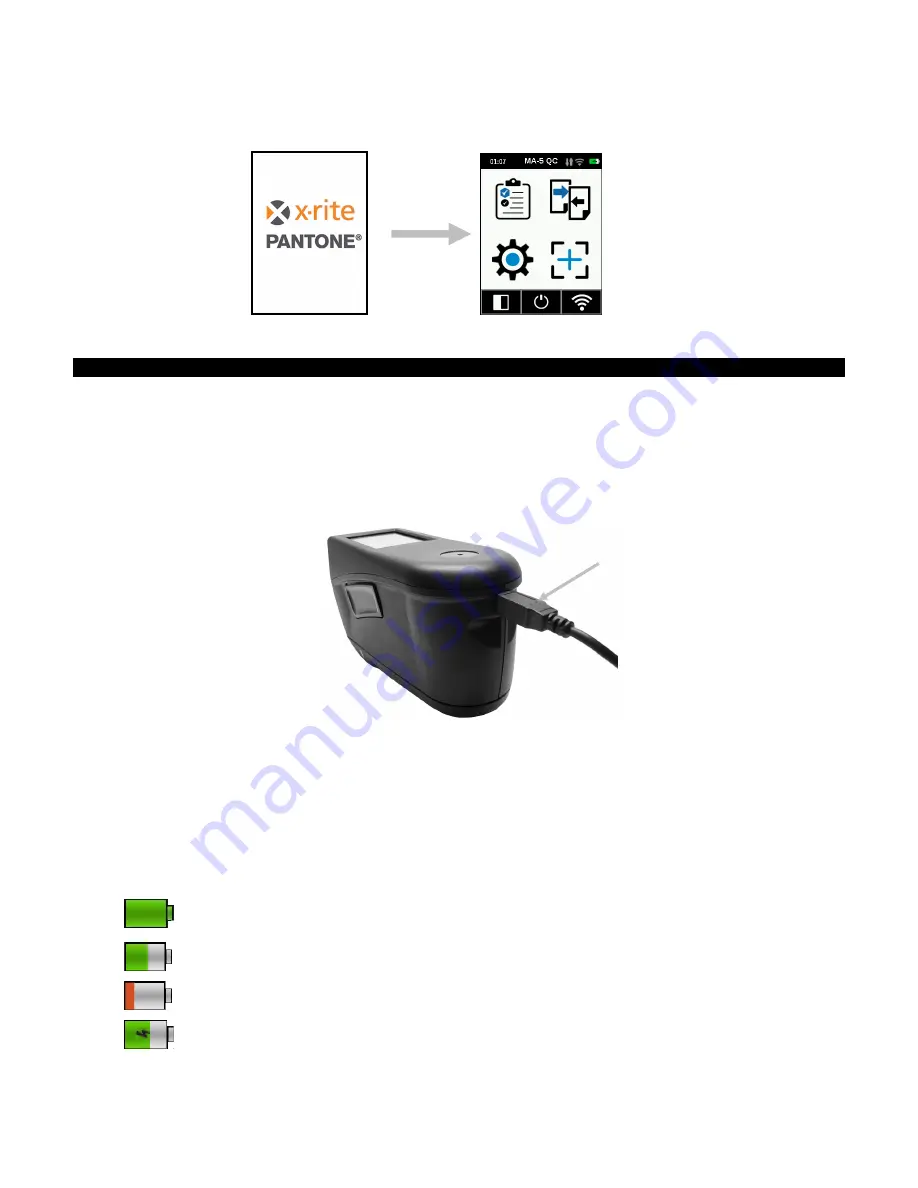
When first powered up, the instrument goes through a startup procedure and
displays a splash screen before the Home screen appears.
Splash Screen
Home Screen
Charging the Battery
General
The battery for your new instrument comes in a low to medium charge state and should be charged before use.
Connect the USB cable to the instrument and your computer’s USB port.
Make sure that the USB cable is connected directly to the computer. A connection to a USB port of a keyboard
or PC monitor or a bus-powered USB hub is not recommended. PC monitor or keyboard USB ports are low
power USB ports.
NOTE:
If a powered USB hub is used, make sure the power supply is rated for no more than 5V.
During charging, the instrument switches on and indicates charging with a “lightning bolt” in the battery icon. The
instrument will not power off while plugged into the computer USB port, however, it will go into standby mode.
This is indicated by a blue pulsing LED.
A full charge from empty will take 6 hours connected to a computer USB port. Alternatively a standard USB
charger can be used.
The charging time will not be reduced with a standard USB charger.
A USB charger with at least 500 mA is required. A standard charger with 1 A will not charge any faster.
Battery Icon Information
This icon at the top of the screen would indicate the battery is fully charged.
This icon at the top of the screen would indicate the battery has a sufficient charge for a
substantial number of measurements.
This icon at the top of the screen would indicate the battery pack is low, but measurements
are still possible. Battery should be charged soon.
The “lightning bolt” in the center of the icon at the top of the screen indicates the battery is
charging.
Battery status is also reported in the Device Information menu item of the Settings window.
USB cable


