Sawmill Alignment
Complete Alignment Procedure
5
5-37
HDSdoc021716
Sawmill Alignment
Blade Guide Flange Spacing
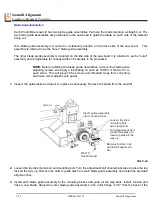
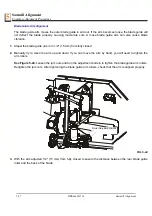
Each blade guide must be adjusted so the roller flange is the correct distance from the back edge of the
blade. If the flange is too close to or too far from the blade, the sawmill will not cut accurately.
HINT:
When adjusting blade guide spacing, loosen the top set screw and one
side set screw only. This will ensure horizontal and vertical tilt adjustments are
maintained when the adjustment screws are retightened.
1.
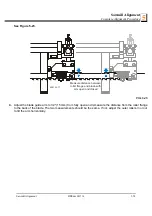
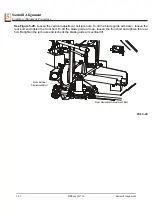
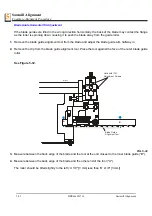
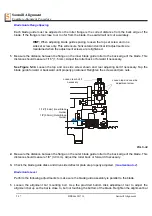
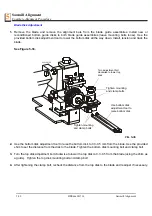
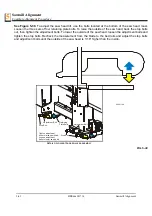
Measure the distance between the flange on the inner blade guide roller to the back edge of the blade. This
distance should measure 1/16" (1.5 mm). Adjust the roller back or forward if necessary.
See Figure 5-34.
Loosen the top and one side screw shown and rear adjusting bolt if necessary. Tap the
blade guide forward or backward until properly positioned. Retighten the screws and jam nuts.
2.
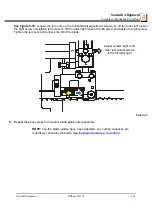
Measure the distance between the flange on the outer blade guide roller to the back edge of the blade. This
distance should measure 1/8" (3.0 mm). Adjust the roller back or forward if necessary.
3.
Check the blade guide disks and drive side deflector plate are properly adjusted. (
).
Blade Guide Level
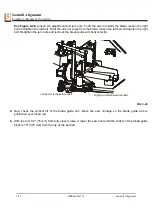
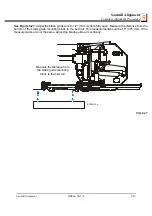
Perform the following adjustments to make sure the blade guide assembly is parallel to the blade.
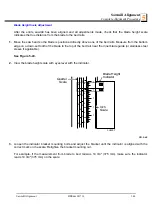
1.
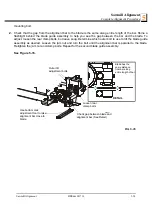
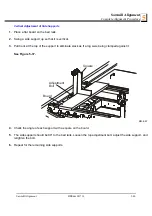
Loosen the alignment bar mounting bolt. Use the provided bottom disk adjustment tool to adjust the
alignment bar up so the bar is close to, but not touching the bottom of the blade. Retighten the alignment bar
FIG. 5-34
1/16”[1.5mm] (Inner Blade
Guide)
1/8”[3.0mm] (Outer Blade
Guide)
Loosen top and one side
adjustment screw
Loosen rear bolt if
necessary
Содержание LT70M AH Super
Страница 1: ...Table of Contents Section Page Table of Contents SW 07doc0217161...
Страница 2: ......

