English
_45
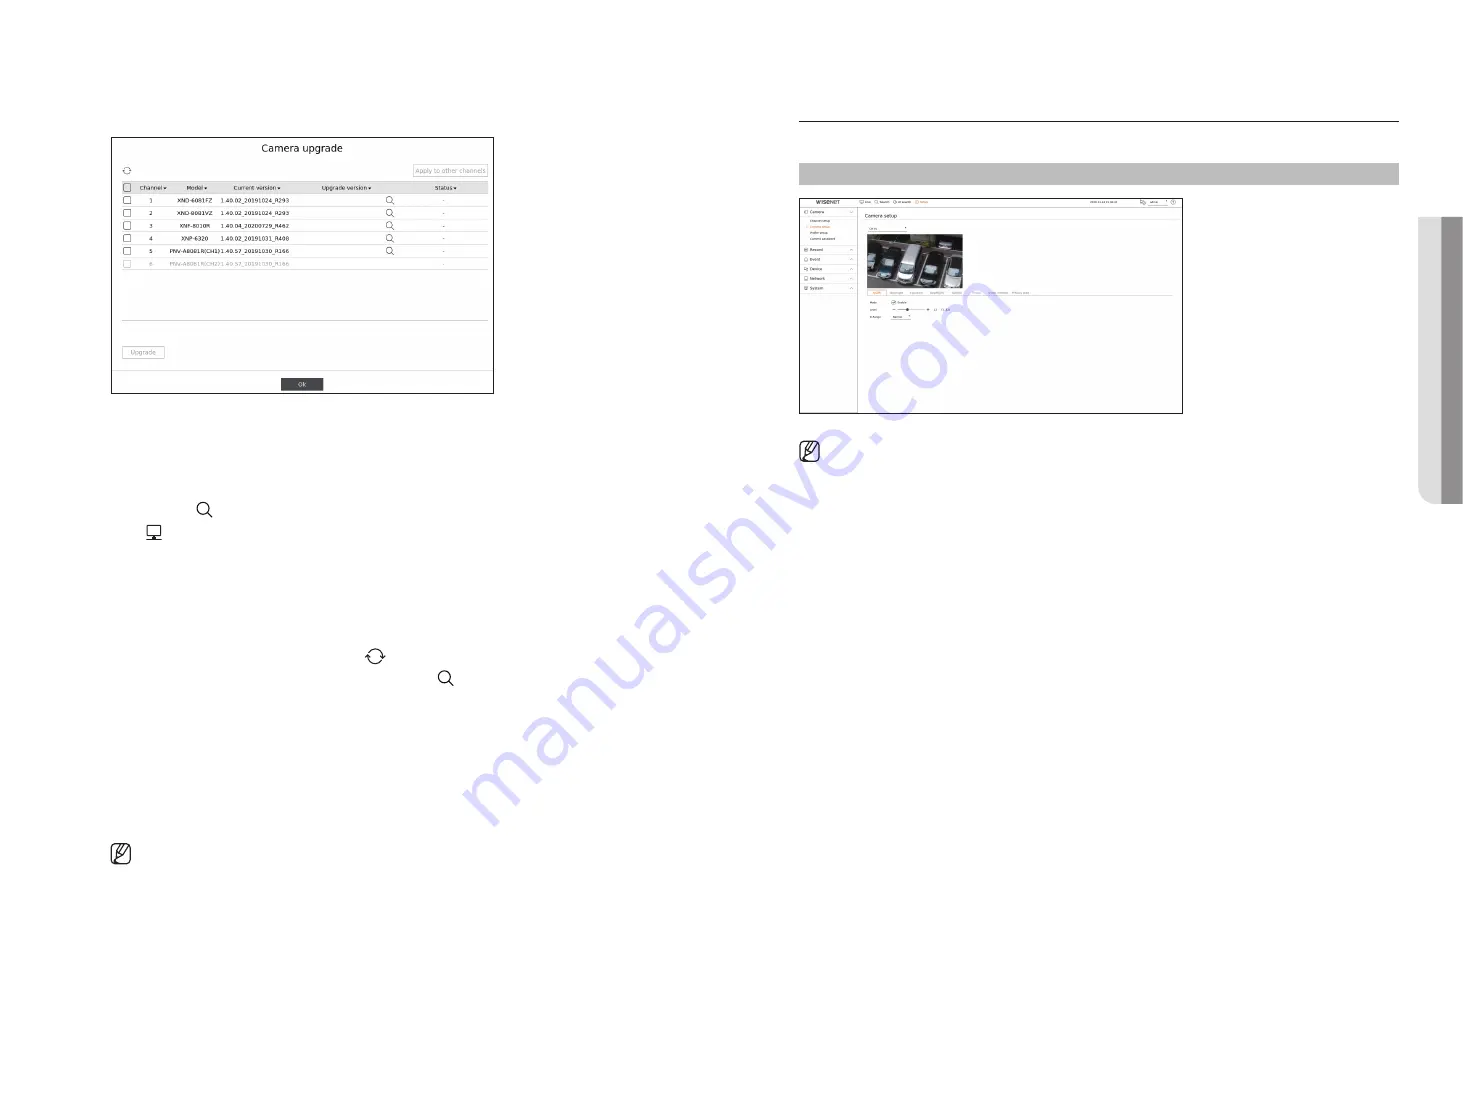
Network Camera firmware upgrade
●
Channel : Displays channel information.
●
Model : Displays the camera model information.
●
Current version : Displays the current camera firmware version.
●
Upgrade version : Displays the firmware version to upgrade.
– Press the < > button to select the firmware manually within the USB.
– < > indicates an upgrade via a remote server.
●
Status : Displays the status of the ongoing upgrade (upgrading, successful, failed).
1.
Press the <
upgrade
> button in the <
Channel setup
> field.
2.
Displays the upgradeable channel list among the connected cameras.
■
If newer firmware exists on the remote server, the upgrade version is displayed, and the check box is automatically selected.
■
If you do not see the upgrade version, you can press the <
> button to get the upgrade version information from the server.
■
Connect a USB camera with camera firmware to the recorder and press the <
> button to check and select the firmware file in the USB.
■
Select a channel and press the <
Apply to other channels
> button to apply the firmware to other channels connected to the same model at once.
3.
Check the box of the channel you want to upgrade.
4.
Click the <
upgrade
> button. The camera firmware upgrade starts.
■
You can move to another menu while upgrading.
■
You can stop the upgrade by clicking the <
Stop
> button during the upgrade.
■
When the upgrade is completed, you can see the result in the popup window.
■
Firmware upgrade is available only for channels connected with the Wisenet protocol and the camera’s administrator account.
■
If the upgrade version is not displayed even though the camera’s firmware is out of date, check the network settings.
■
If there are more than 50 firmware files in the top USB folder, the file may not be scanned.
■
The system may reboot if USB is disconnected from the recorder during an upgrade via USB.
■
Video data of the channel connected to the camera to upgrade may not be recorded.
■
Do not format the HDD until the upgrade is complete. The upgrade may fail.
Setting the Camera functions
You can set the camera while viewing the live video of the selected camera.
Setup > Camera > Camera setup
■
You can use this feature in the following cases :
1. A camera connected to Wisenet protocols.
2. A camera connected with admin privileges.
■
For more details on camera settings, refer to the camera user manual.
Settings and operational spec vary depending on each camera.
■
This function is not supported in some models.
SSDR
If there is a significant difference between the dark and the bright areas, increase the brightness of the dark areas
to maintain the level of brightness of the entire area.
You can set Mode, Level, and D-Range.
backlight
You can view both bright and dark areas.
You can set Mode, WDR level, WDR black level, and WDR white level.
Exposure
You can adjust the exposure of your camera.
You can set brightness, shutter, SSNR, Sens-up, iris/lens, and AGC.
●
Brightness : Adjusts the brightness by setting the exposure value.
●
Shutter : Adjusts the brightness by controlling the camera shutter speed. If you select shutter, you can set
among the items below.
– Auto : Adjusts the brightness automatically, controlling the shutter speed of the camera.
– ESC (Electronic Shutter Control) : Adjusts the brightness automatically, controlling the shutter speed
according to the surrounding brightness.
– Manual : Adjust the brightness by manually selecting the maximum/minimum shutter speed of the camera.
– Anti-flicker : Reduces flickering in video when screen blur occurs due to different lighting and frequency of
attention. The shutter speed cannot be set when the anti-flicker frequency is selected.
•
SE
Tu
P
Содержание LRN-810S
Страница 1: ...NETWORKVIDEO RECORDER User Manual Wisenet NVR ...
Страница 123: ......


