33
Pro Series
Furnace Operations Manual
SPECIAL FUNCTIONS
CALIBRATE OvEN
Figure 48
PASSWORD
– 0
Figure 49
LOAD SOFTWARE
NO
Figure 50
NARROW PRINTING?
YES
Figure 51
5. The display should read PASSWORD – 0. Turn the
Select Knob
to the right until the 0 has changed
to 350. Press the
Next
button.
Follow these instructions to upgrade the
furnace:
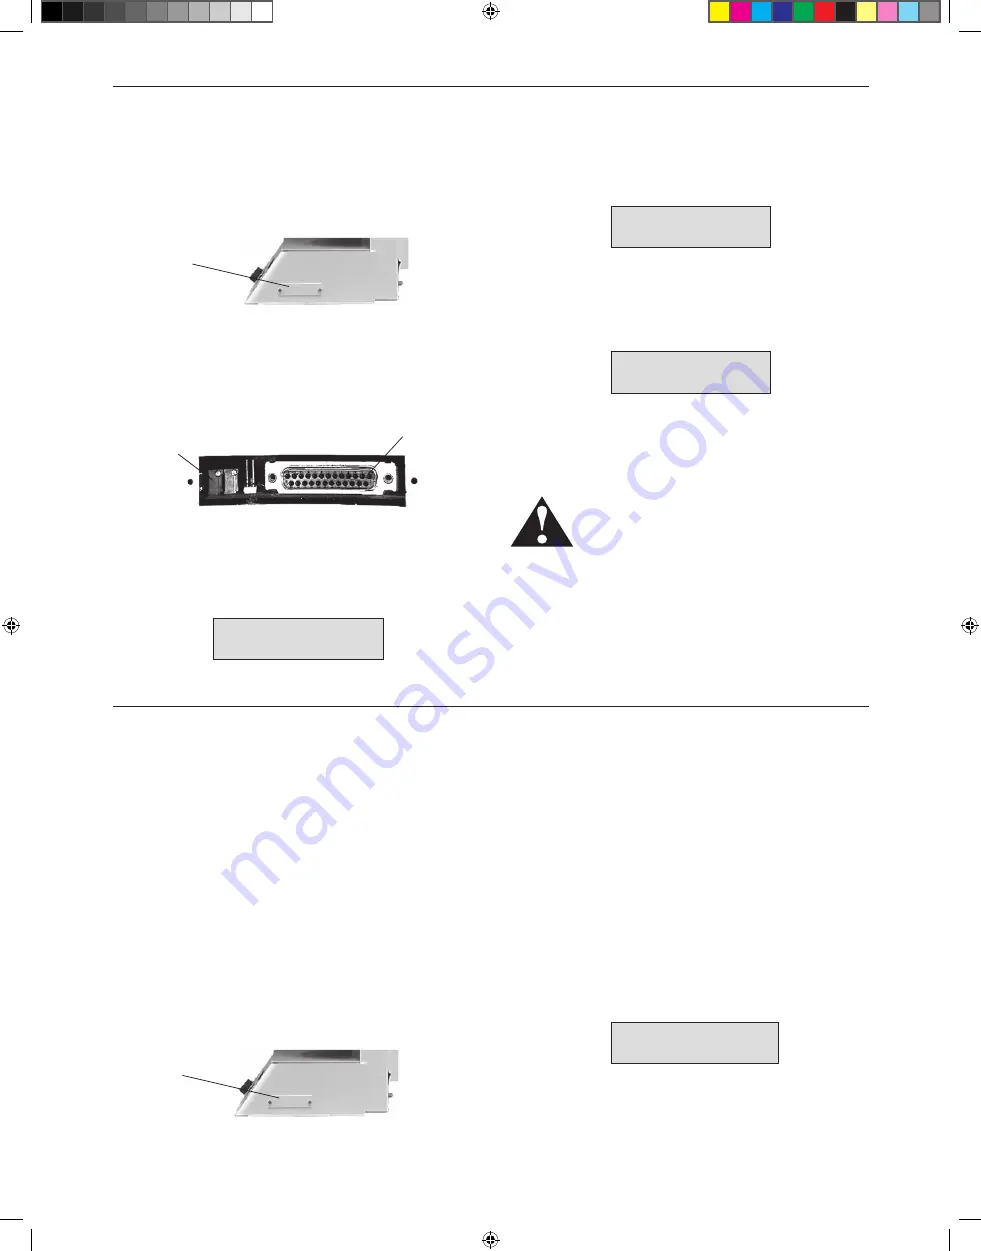
1. Locate the door on the right side of the furnace.
Remove the two thumbscrews securing the door
in place, and remove the door.
6. The display will read LOAD SOFTWARE? NO. Turn the
Select Knob
in either direction to change the NO to
YES. Press the
Next
button.
7. The furnace will load and verify the new software,
then reset. Remove the “Blue Smart Box.” Replace
the door with the thumbscrews.
CAUTION: USE ONLY A “BLUE SMART BOX” FOR
SOFTWARE UPGRADES, AND THEN ONLY IF THE
“BLUE SMART BOX” HAS THE CORRECT SOFTWARE
vERSION NUMBER ON THE LABEL. USE OF
ANYTHING OTHER THAN THE CORRECT “BLUE
SMART BOX” COULD DAMAGE YOUR FURNACE.
Printer Requirements and Installation
The printer attachment on the furnace is designed to work
as a parallel port for a Whip Mix Thermal Printer. Some
Epson
®
dot matrix and Hewlett Packard
®
printers do work,
but are not guaranteed to work.
To install the printer:
• Attach a printer cable to the printer cable port
on the printer.
• Remove the cover over printer/program port
on the furnace.
• Attach the printer cable to the printer/programs port
on the furnace, located as shown in the photo below.
• Plug the printer power cord into an outlet and
turn the printer on.
Note:
If you have a Whip Mix Thermal Printer the furnace
will be pre-set to print a narrow width, however, if your printer
is not a Whip Mix Thermal Printer and uses 8
1
/
2
x 11" paper,
and you would like to change the width of the print, use the
following instructions:
• Press the
Special Functions
button.
• Turn the
Select Knob
to CALIBRATE OVEN.
• Press the
Next
button.
• Turn the
Select Knob
clockwise to select password
number 320.
• Press the
Next
button.
• The display will read as is shown in Figure 51 below.
• Turn the
Select Knob
to select NO.
• Press the
Next
button.
Run a test print to make sure your printer is printing correctly.
Volume
Control
Connector
Program
Printer
Port Door
Program
Printer
Port Door
2. With the door removed, a connector can be seen in
the opening. Look at the “Blue Smart Box” to make sure
that it has the correct version number for your furnace
on the label. Do not use a “Blue Smart Box” that has
the wrong number on the label. Plug the “Blue Smart
Box” into the connector.
3. Press the
Special Functions
button.
4. Turn the
Select Knob
counter-clockwise until the
display reads CALIBRATE OVEN. Press the
Next
button to continue.
15946 Pro Series English.indd 33
5/9/08 2:51:13 PM


