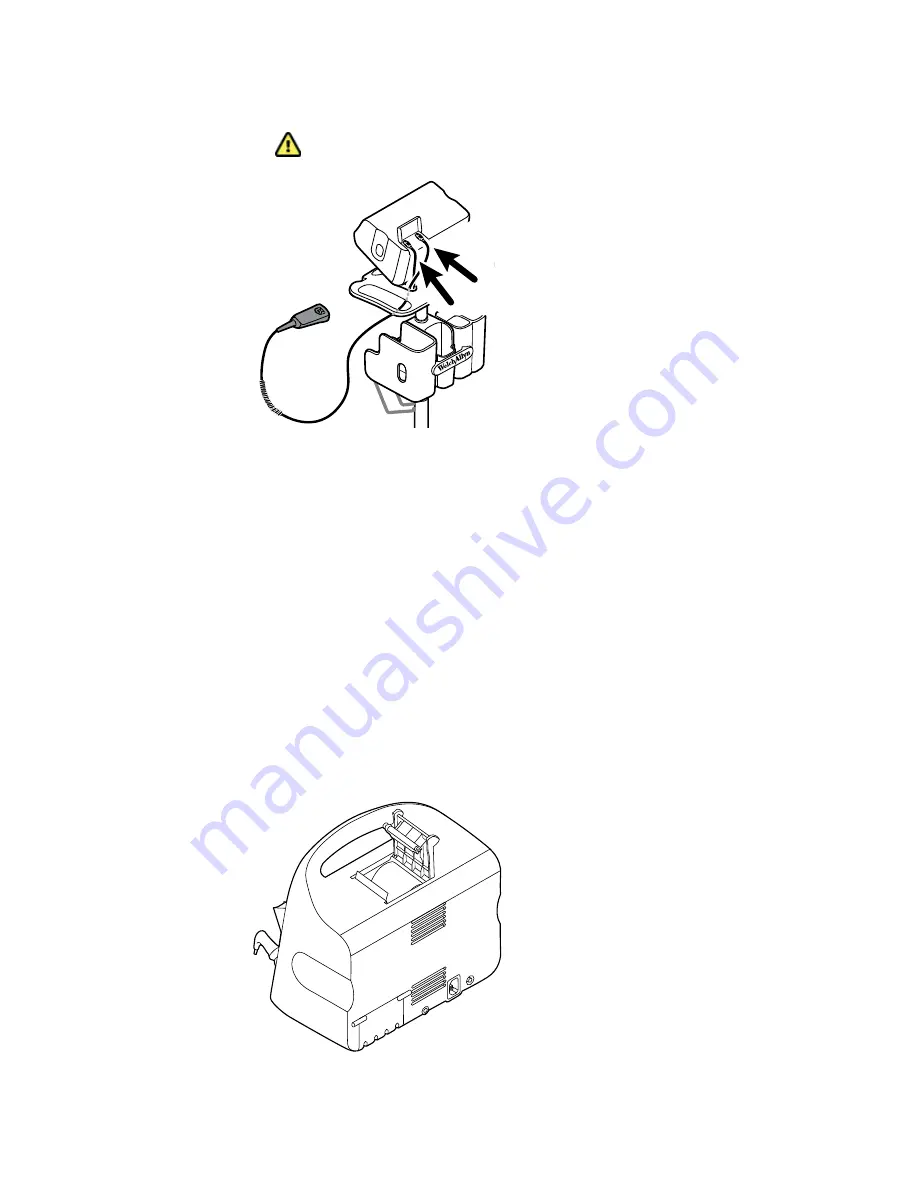
Caution
Connect cables in a manner that minimizes entangling.
3. Close the door and tighten the screw.
Detach an accessory
1. On the rear of the monitor, loosen the screw on the USB door and open it.
2. Detach the accessory's USB cable from USB port on the monitor.
3. Close the door and tighten the screw.
Insert a new roll of paper
The printer is located on the top of the monitor. Follow these steps to insert the roll of printer paper:
1. Grasp the two tabs and pull up to open the printer door.
2. Insert a new roll of paper.
Note
The paper roll must be installed as illustrated. If the paper roll is not
installed correctly, the printer will not print properly.
3. Advance the end of the roll past the roller so that it extends past the printer door, as shown.
22
Setup
Welch Allyn Vital Signs Monitor 6000 Series™
Содержание Connex Vital Signs Monitor 6000 Series
Страница 1: ...Welch Allyn Vital Signs Monitor 6000 Series Directions for use ...
Страница 6: ...vi Contents Welch Allyn Vital Signs Monitor 6000 Series ...
Страница 8: ...2 Introduction Welch Allyn Vital Signs Monitor 6000 Series ...
Страница 14: ...8 Screen elements Welch Allyn Vital Signs Monitor 6000 Series ...
Страница 22: ...16 Controls indicators and connectors Welch Allyn Vital Signs Monitor 6000 Series ...
Страница 30: ...24 Setup Welch Allyn Vital Signs Monitor 6000 Series ...
Страница 40: ...34 Navigation Welch Allyn Vital Signs Monitor 6000 Series ...
Страница 44: ...38 Profiles Welch Allyn Vital Signs Monitor 6000 Series ...
Страница 64: ...58 Alarms Welch Allyn Vital Signs Monitor 6000 Series ...
Страница 92: ...86 Patient monitoring Welch Allyn Vital Signs Monitor 6000 Series ...
Страница 98: ...92 Maintenance and service Welch Allyn Vital Signs Monitor 6000 Series ...
Страница 106: ...100 Specifications Welch Allyn Vital Signs Monitor 6000 Series ...
Страница 134: ...128 Troubleshooting Welch Allyn Vital Signs Monitor 6000 Series ...
Страница 143: ......


