First steps
page 18 of 30
First steps
The principle of WaveU
With the software editor for WaveU you can compose a virtual card, a so-
called image, on your computer. This image can contain up to 128 tones
and 2 voices per tone. The image can then be transferred from the editor
to your WaveU and used by the U.
Connecting
Turn on your computer and wait until it has booted up.
Take your WaveU out of the box. The side with the label is the top side.
The bottom side has the warning labels.
Do not put your WaveU in the U for now. First place it on a smooth, dry
surface, e.g., a table.
Now take the micro-USB cable and connect it to your WaveU. The other
side of the cable can then be plugged into a free USB port on your com-
puter, it doesn't matter if you use a USB2 or USB3 port. WaveU will be
powered when the green LED is lit.
Your WaveU will start in bootloader mode for five seconds. You can see
this by the double blinking of the blue LED. After that, your WaveU will au-
tomatically start in operating mode.
Starting with Windows 8, Windows should now install the drivers on its
own. Check in the device manager if your device appears as
WaveReX
bootloader
, then you have done everything right.
Installing the USB driver
If you are using Windows 7 or an older version, you have to install the driv-
ers manually.
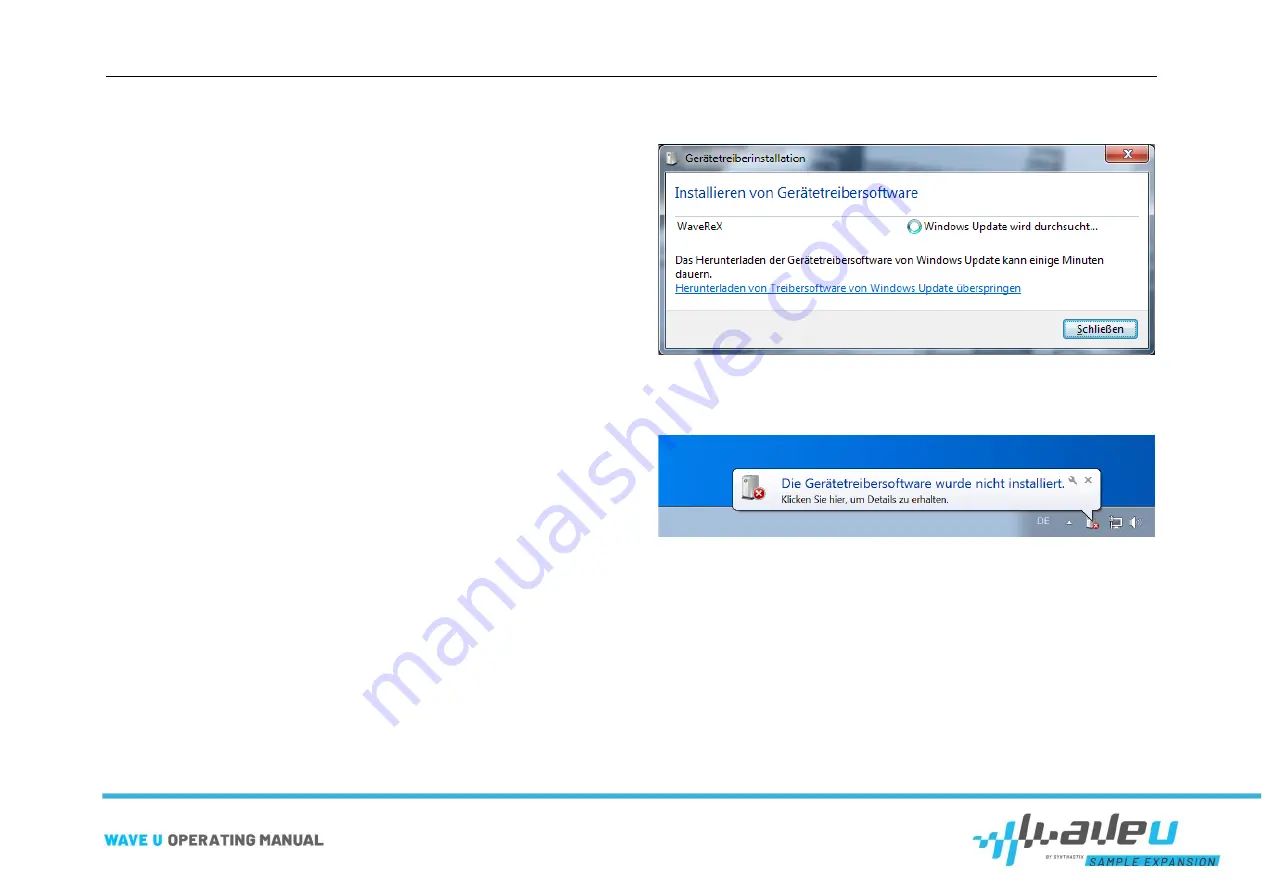
Plug your WaveU into the computer. If Windows 7 starts installing the de-
vice drivers immediately, you can simply close or ignore the window.
However, at least the following message should appear in the taskbar:
"The device driver software has not been installed" (Sorry, the pictures are
only available in German)
Go to the Device Manager. WaveReX should appear under
Other De-
vices
. Right-click on WaveReX and select
Update Driver Software...
.
Содержание WaveU
Страница 1: ......


