29
Important:
When using Flash, stand between 8 to 10 feet away from the scene you would like to
capture. The MACRO mode must be turned off when you want to use the Flash.
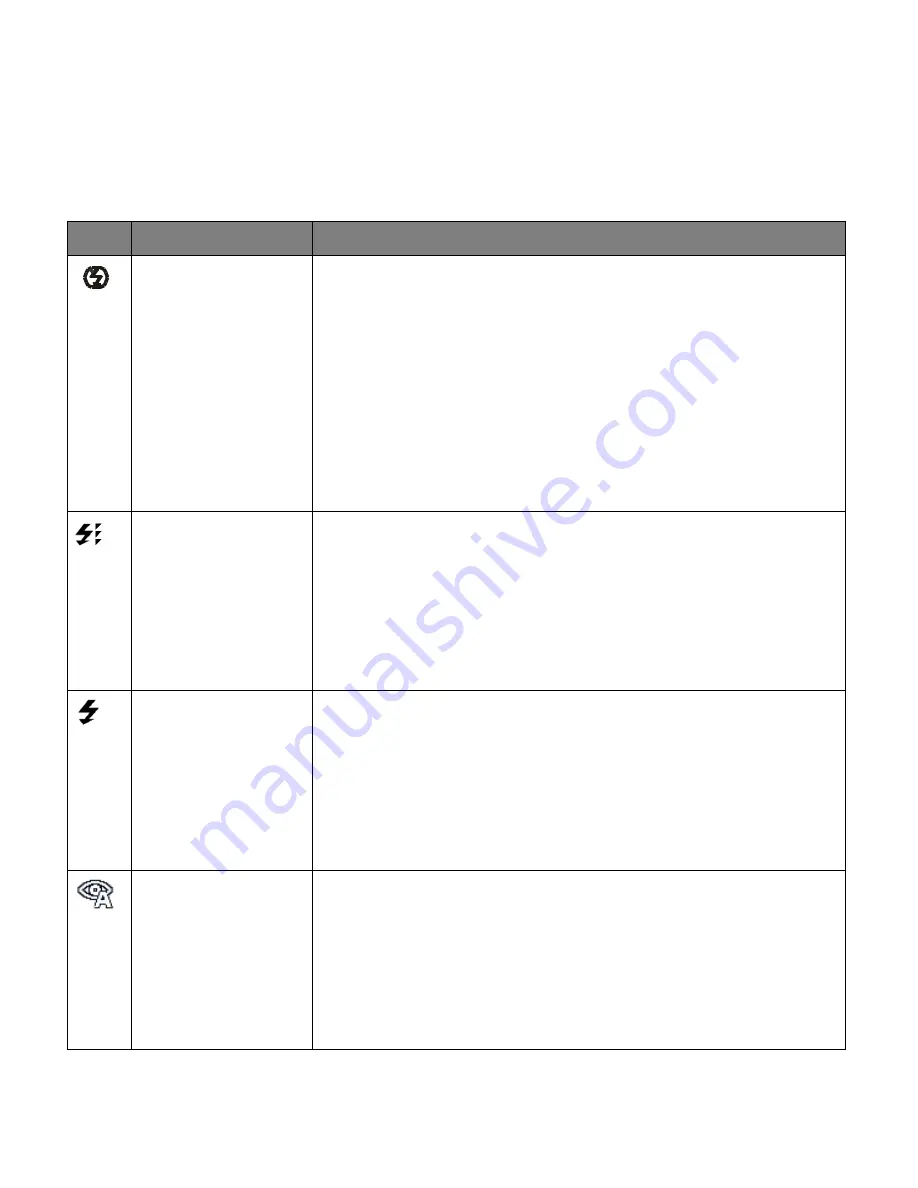
Flash Mode Options
Icon
Mode
Description
Forced Off
(Default)
The Flash does not fire.
Select this mode when flash photography is prohibited, or
when the distance to the subject is beyond the effective range
of the flash.
Note
: When the camera detects the need for Flash, a message
briefly
appears on the LCD screen: ‘Raise the Flash’. This
indicates that the lighting conditions are not sufficient and the
photo may appear too dark. You may want to consider opening
the Flash (which activates Auto Flash) before capturing your
photo.
Forced On
The flash is enabled for each photo.
The flash always fires regardless of the surrounding lighting
conditions.
Select this mode when capturing images with high contrast
(backlighting) and deep shadows.
Note
: If you use this option in a well lit environment, your photo
may be appear too bright/light (overexposed).
A
Auto Flash
When you want the camera to determine if Flash is needed,
select Auto Flash. The flash fires automatically based on the
photographic conditions.
When the LED light stops blinking, the Flash is ready for use.
Note
: In some cameras, an initial flash appears to test your
lighting conditions. If flash is needed, a second flash will appear
upon taking the photo.
Red Eye Reduction
Reduces the red-eye phenomenon when capturing
natural-looking images of people and animals in low-light
conditions.
Be sure to the subject is looking at the camera lens or get as
close to the camera as possible.
The flash fires automatically based on the photographic
conditions.
Note
: If the flash is not working, check to see if the battery power is low. If so, try replacing the
batteries with new ones since the flash requires a good amount of battery power.


