™
Page 56 of 65
8 Transferring Data from the Locator
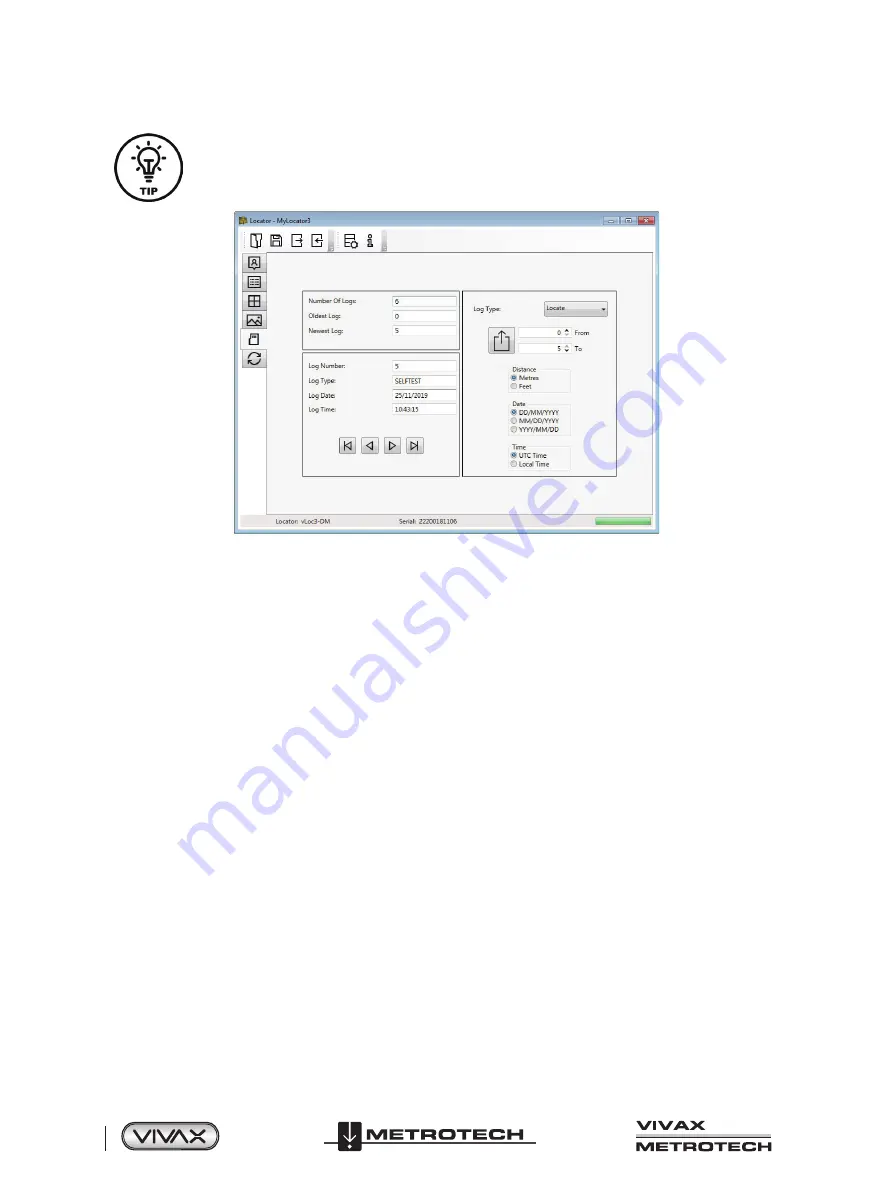
If it is only required to export a portion of the log, for instance, a survey on a particular day, use the
data log scroll facility at the bottom left of the display to scroll through to the start date/time. Note the
log number and then scroll to the end date/time and note this log number. Use these numbers to enter
the “From” “To” numbers in the display's top right when exporting. Doing so will help to keep the
exported data to a manageable size.
8.2.6
Splash Screen
In this section, an image can be loaded as a splash screen when the locator is turned on. The locator has an LCD screen with
a resolution of 480 by 272 pixels. The image loaded into MyLocator3 will be scaled to fit the width of the screen. If the scaled
image height is less than the LCD height then the image is centered vertically and white bars are used as padding. If the scaled
image height is greater than the LCD height the image can be re-positioned vertically by clicking and dragging the left mouse
button anywhere on the image.
To insert your startup screen first click on the “Open” button. Then browse your files to select the picture required as the startup
screen. The application is compatible with .jpg, .bmp, .png, and .gif file formats.
The startup screen will be displayed in the application.
The “Download” button can be used to immediately set the splash screen, or the image can be sent to the locator along with the
rest of the configuration by pressing the “Write Configuration” button.
To remove a startup screen and revert to the default Vivax-Metrotech screen, click on the “Clear” button and download the
cleared screen.


