Transcendent VT-TR5HA DVR Series
19
�
Add Camera
. Click “Refresh” to refresh the list of online IP cameras which are in the
same local network with the DVR and then click
to add the found camera. Click “Add
All” to add all the cameras in the list. Click
to delete the added camera. Click “Delete All”
to delete all the added cameras.
Click
to edit the searched IP camera as shown on the below left. Input the new IP address,
subnet mask, gateway and the password of the camera. You can check “Sync to IPC” to modify
the IP address of the IPC via different network segments for being in the same network
segment with the DVR. Click “OK” to save the settings.
Click
to edit the added camera as shown on the above right. Input the new camera name,
IP address, port, username and the password of the camera. You can click “Test” to test the
effectiveness of the inputted information. Click “OK” to save the settings. You can change the
camera name only if it’s an analog camera or the added IPC is online. Click “Next” to continue.
Transcendent VT-TR5HA DVR Series
20
�
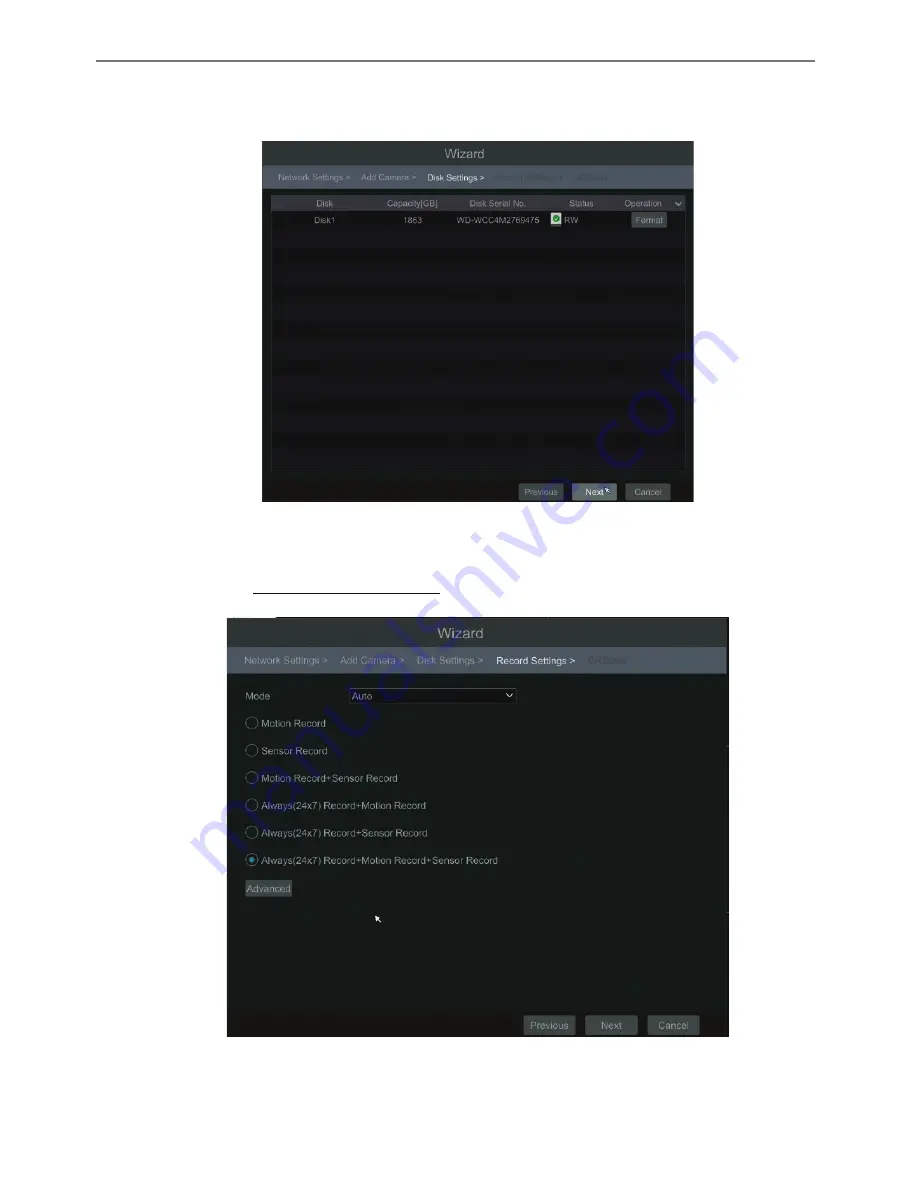
Disk Settings.
You can view the disk number, disk capacity of the DVR and serial number,
R&W status of the disk. Click “Format” to format the disk. Click “Next” to continue.
�
Record Settings
. Two record modes are available: auto and manual.
Auto
: Select one auto mode in the interface as shown below and then click “OK” button to save
the settings. See 7.1.1 Mode Configuration for details.
For advanced features please click on the "Advanced" tab to open the following wind


