13
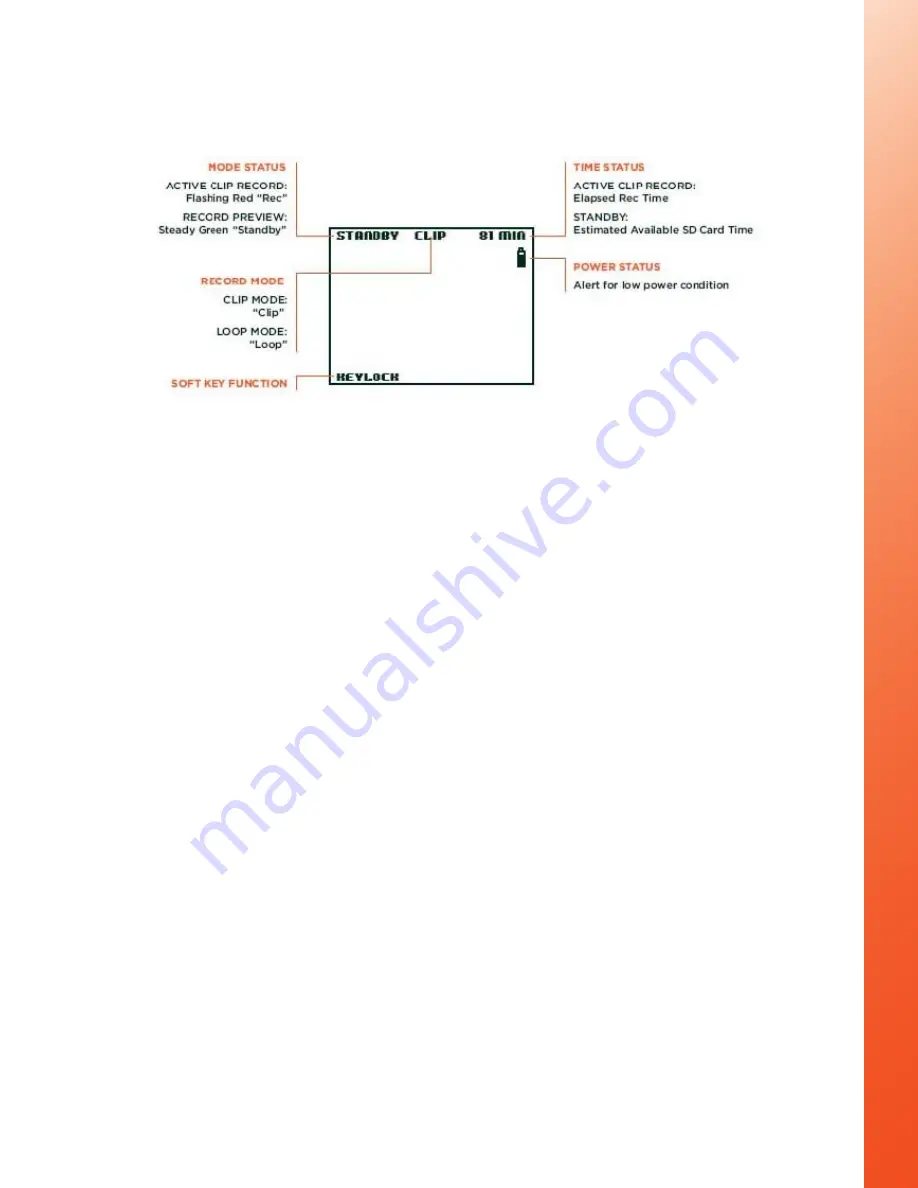
The Video Recording Display Screen
When you turn on the POV.1.5 it is placed in Standby mode, and ready for you to
record video. The display of the POV.1.5 Recorder provides you with some basic
information about the status of the unit.
The status light at the top of the display is green when the unit is in standby
•
When the unit is in Standby mode this displays the amount of recording time
remaining on the SDHC card based on the current resolution, frame rate, and
video quality settings.
•
When the unit is in Record mode the Time Status will change to show you the
time that has elapsed since you started recording.
Below the Time Status is an icon that shows approximately how much power is left
in the battery.
•
If your battery power is low the icon will start flashing as a warning and
reminder to change the batteries.
Recording in Clip Mode
To record in Clip mode simply press the RECORD button on the main unit or the
REC/TAG button on the wireless remote control to begin recording.
During recording you can Tag important points in the video to make them easier
to locate when viewing or editing the video with the POV Manager software.
•
To place a tag in the video press the TAG soft key (SOFT KEY 2) on the main
unit or the REC/TAG button on the wireless remote control.
To stop recording press the RECORD button on the POV.1.5 Recorder or the STOP
button on the remote control.
Recording in Loop Mode
Loop mode allows you to save a video segment of a pre-defined duration by hitting
the TAG soft key on the POV.1.5 Recorder or the REC/TAG button on the remote
control. Loop mode makes it easy to leave the POV.1.5 in recording mode all day,
and just save the best hour or two’s worth of video on the SDHC card.
In Loop record mode the POV.1.5 records a continuous loop of video clips that
are all of the same duration. For example, if the POV.1.5 is set to record 3 minute
loops, it will record a series of 3 minute loops for as long as the unit is in Loop


