17
18
: Select the time mode of your receiver. In Auto mode, your receiver
will use the information from the satellite as time reference. In
manual mode, you can set the time of your receiver manually.
: Set the time offset from the UTC (GMT).
Useful in auto mode only.
: Set the current time manually. Useful in manual mode only.
: Enable or disable the Summer Time. Useful in auto mode only.
: Set the time when the receiver will be automatically turned on
: Set the time when the receiver will be automatically turned off.
: You can set the additional timer.
Time Mode
Time Adjustment
Current time
Summer Time
On time
Off time
Event time
1.C. SYSTEM SETTINGS
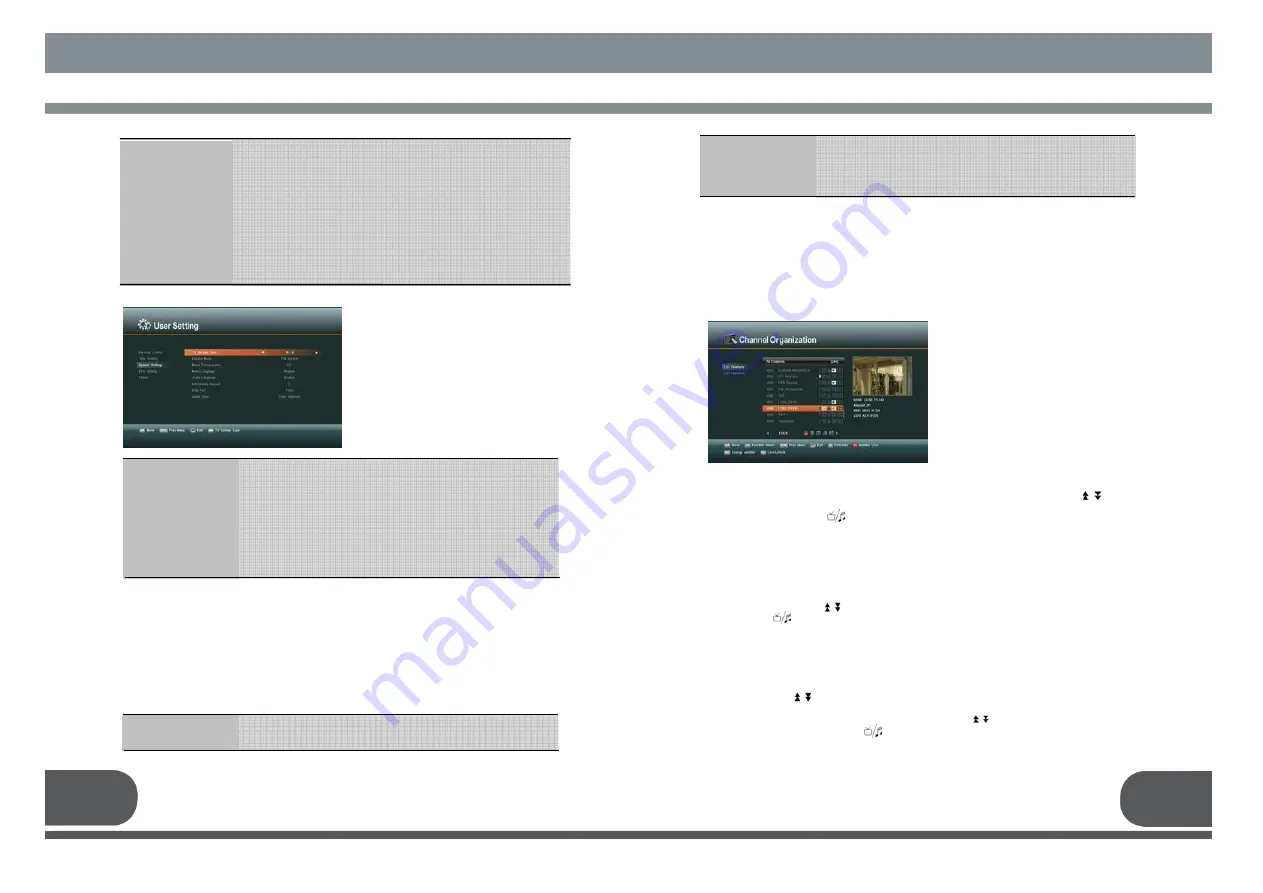
This menu helps you to Set up mode,
language, and screen type Select
“
System Settings
”
menu in “User Setting”.
: You can select your TV type
: You can select the display mode.
: You can select the transparency of the menu.
: You can select the menu language.
: You can select the audio language.
: You can select the timeout of the “Channel Information menu”.
: You can select USB port of the front or the rear.
: You can select the audio priority.
TV Screen Type
Display Mode
Menu Transparency
Menu Language
Audio Language
Information timeout
USB Port
Audio Type
Press the
“
menu
”
key or
“
exit
”
key to return to previous menu.
2. CHANNEL ORGANIZATION
This menu helps you to edit the favorite Channel List and Channels.
Select “Channel Organization” menu in “Main Menu”, and the following Screen will be
displayed.
2.A. EDIT CHANNELS
You can edit channels on various
channel lists – channel lock, delete
channel, move channel, edit the name of
a channel, and sort the channel list.
Select
“
Edit Channels
”
menu in “Channel
Organization”, and you will be asked to
enter your PIN code. You can find the
following
“
Edit Channels
”
screen by
entering it.
2. A.1. Channel Lock
Select the
“
LOCK
”
icon using the
left/right keys (
◀.▶
). Select the channel that you want to lock or unlock from the
channel list using the
“
up/down
”
keys (
▲.▼
) and the
“
page up/down
”
keys( ).
Press the
“
OK
”
key to confirm your selection.
Also, you can use the
“ ”
key to select either TV channel list or Radio channel list.
Once the channel is locked, every time you try to watch the program, you will be asked
to enter PIN code. Press the
“
menu
”
key or
“
exit
”
key to return to previous menu.
2. A.2 Delete Channel
Select the
“
DELETE
”
icon using the
“
left/right
”
keys(
◀.▶
). Select the channel that you
want to delete from the channel list using the
“
up/down
”
keys(
▲.▼
) and the
“
page up/down
”
keys( ). Press the
“
OK
”
key to confirm your selection. Also, you
can use the
“ ”
key to select either TV channel list or Radio channel list.
Press the
“
menu
”
key or
“
exit
”
key to return to previous menu.
2. A.3 Move Channel
Select the
“
MOVE
”
icon using the
“
left/right
”
keys(
◀.▶
). Select the channel that you
want to move from the channel list using the
“
up/down
”
keys(
▲.▼
) and the
“
page
up/down
”
keys( ). Press
“
OK
”
key to confirm your selection.
Press “F2” key to move start. Move it to the position where you want to place it using the
“
up/down
”
keys(
▲.▼
) and the
“
page up/down
”
keys( ). Press the
“
OK
”
key to
confirm. Also, you can use the
“ ”
key to select either TV channel list or Radio
channel list.
Press the
“
menu
”
key or
“
exit
”
key to return to previous menu.
1.D. EPG SETTING
This menu helps you to set the maximum time for EPG.
1.E. OPTION
This menu helps you to set the additional options.
: You can select the display style in main menu
: If this is “off”, the stop key will be operated like the pause key
in DVR menu
Main Menu Display
Style
DVR Stop Key
: If this is “on” , channel list will sort by service ID.
: You can select the operating type of last key
Sort By SID
Previous Channel
Содержание VSMAXHD
Страница 1: ......
Страница 3: ...3 4 IMPORTANT SAFETY INSTRUCTION DECLEARATION OF CONFORMITY...
Страница 21: ...39 40 11 PROGRAMING THE REMOTE CONTROL PROGRAMING THE REMOTE CONTROL...
Страница 22: ...41 42...
Страница 23: ...43 12 WARRANTY CARD WARRANTY CARD 44...


