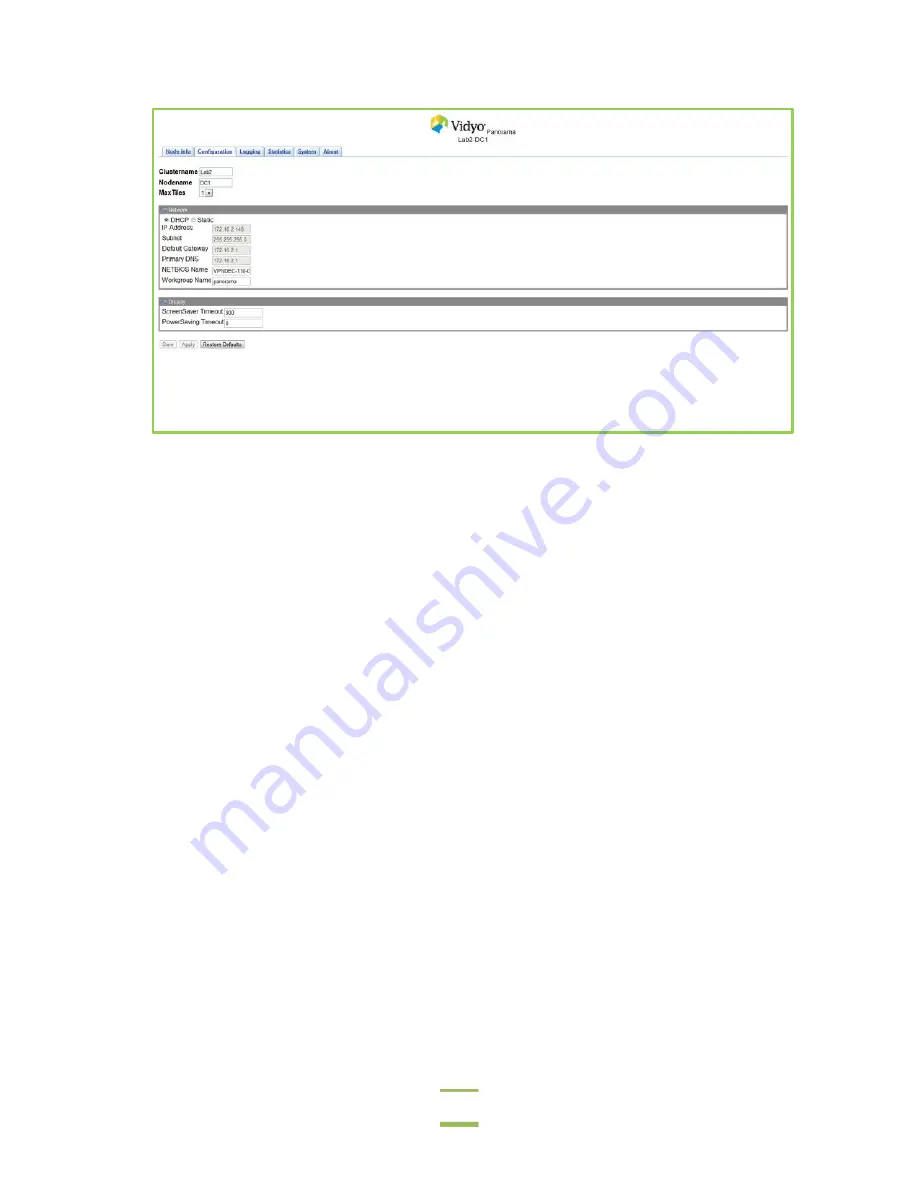
Chapter 2: Installing VidyoPanorama
30
4.
Enter the same cluster name for all the Decoder Nodes.
Think of this as a group name that is used for associating the Decoder Nodes to the Controller Node.
For example, a Controller Node with the cluster name “Vidyo” will find and associate with all the
Decoder Nodes that have “Vidyo” as the cluster name. By default, VidyoPanorama systems ship
with the same cluster name so that when the Decoder Nodes power up, they all appear on the
admin interface and are all associated with each other.
5.
Enter the node name.
The node name is also referred to as the display name.
When you select a node name, be sure to enter a name that will help you remember which display it
is. This is especially important if you have a VidyoPanorama system with a lot of displays. Some
people like to use a name that refers to the display’s physical location on the wall, or the Decoder
Node’s location in the rack or on the switch, or a combination of these. Some people use a number
system while others use a color system. You can use whatever system you find easiest to remem-
ber.
6.
In the
Max Tiles
field, enter the maximum number of tiles (from 1 to 8) that will show when that
display is set to Continuous Presence.
7.
If needed, click the blue triangle next to the word
Network
to view the network settings.
8.
Select the
DHCP
or the
Static
radio button.
DHCP
is the default. If you select
Static
, you must enter this information:
The static IP address you will be using.
The subnet mask.
The default gateway.
The primary DNS server.


