Maintenance and Troubleshooting
ProStar 363 Fluorescence Detector
59
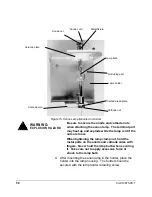
5. To connect the cables for the lamp, first loosen the
connecting terminals of the lamp igniter (Figure 17).
The anode cable (red) is connected to the +HV terminal
of the lamp power supply and the cathode cable is
connected to the COM terminal.
NOTE:
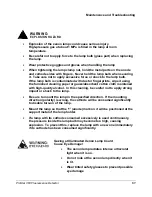
When removing the lamp holder, reverse steps 4 and 5.
Figure 16 Mounting the Lamp Holder
Figure 17 Connecting the Anode and
Cathode Cables
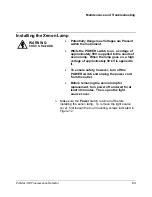
6. After mounting the lamp holder, reattach the light source
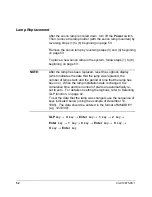
cover. Turn the power on and adjust the lamp as
described in the following section.
Adjusting the Position of the Xenon Lamp
Beam position varies from one lamp to another, so it is
necessary to adjust the position of the lamp when it is first
installed. This adjustment will ensure that the optimum radiation
from the lamp is focused into the optical system and will
maximize the sensitivity.
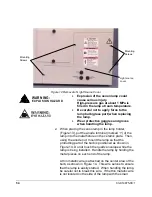
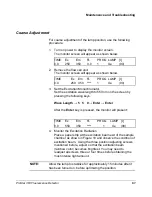
To adjust the lamp position, use the three adjust screws located
at the right side of the instrument.
Содержание ProStar 363
Страница 2: ......
Страница 6: ...iv 03 914875 00 1...
Страница 7: ...ProStar 363 Fluorescence Detector 1 Introduction General Figure 1 ProStar 363 Fluorescence Detector...
Страница 20: ...14 03 914875 00 1...
Страница 82: ...76 03 914875 00 1...


