


DS1097-010
67
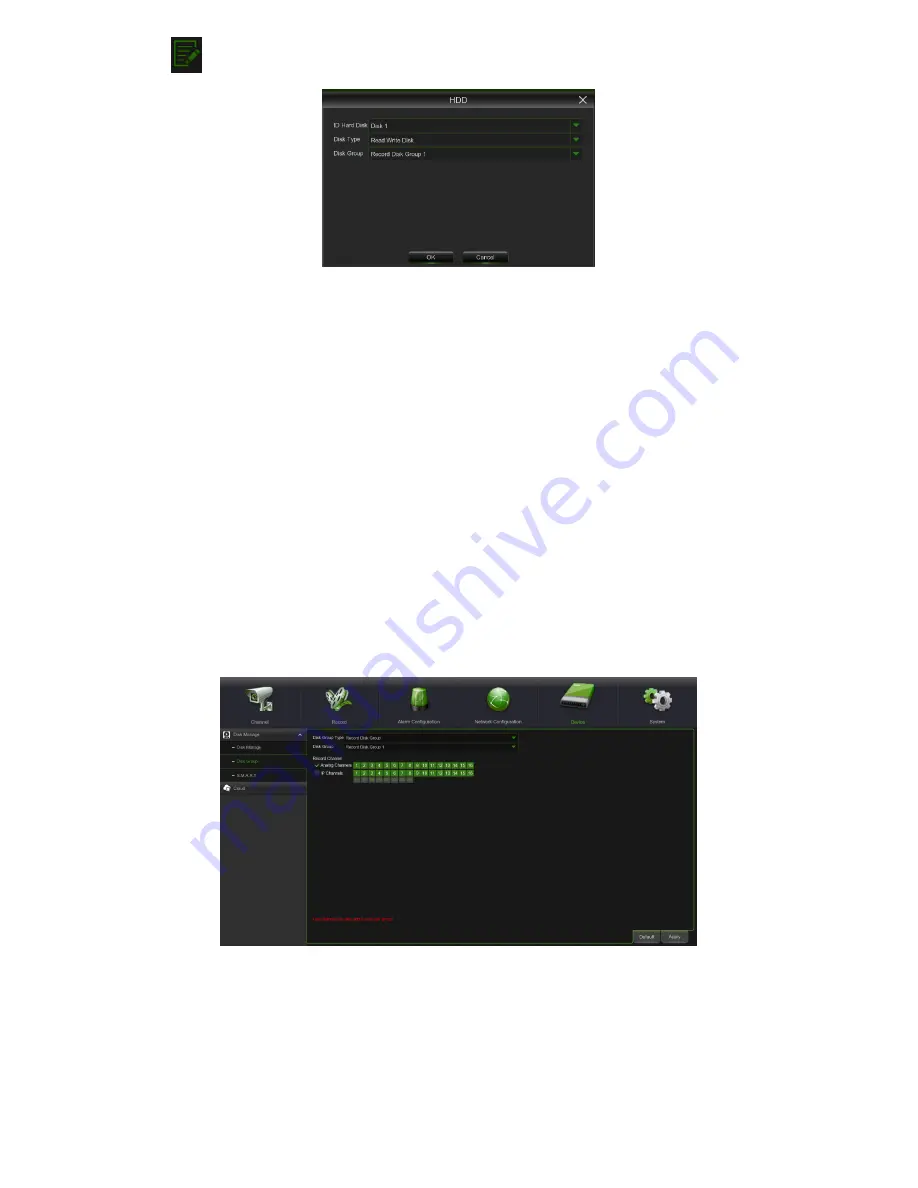
Click
in HDD Status in order to change Disk Type and Disk group:
•
ID Hard Disk:
Identification of the HDD (set by system).
•
Disk Type:
this indicates the disc type, possible values: Read Write Disk, Redundant Disk, Read Only Disk
•
Disk Group:
Group with which to associate the HDD; up to 16 different groups are available
The following options are also available on the lower part of the page:
•
Overwrite –
When set to AUTO the HVR will record over the oldest files on the hard drive. The HVR will always be
able to record events as they happen, however, it does means that you’ll need to get important events off the HDD
before they’re overwritten; and if overwrite is set to OFF the HVR will stop record once the HVR is full. Whilst you
won’t lose old footage, you run the risk of missing new events as they happen. Be sure you want to do this before
selecting it. It is also possible to define the time (i.e. in days) that the recording file can be displayed in “SEARCH
RECORDING”. Select the value (i.e. days) between the suggested options.
•
HDD Format –
Formatting the HDD will erase all data (i.e. footage) which is stored on it, and re-create the FAT (file
allocation table). Put the correct HVR Password after selecting [Format HDD] button.
•
Record On ESATA:
If enabled, this allows video files to be recorded on the external HDD connected to the ESATA
(
E
xternal
S
erial
A
dvanced
T
echnology
A
ttachment) port on the rear panel of the device.
Note:
It is an important first step when configuring your HVR to make sure that the hard drive (HDD) options are
correctly set. So, strongly suggest that you do format the HDD before start the first record.
If the eSATA recording function is enabled, eSATA backup function will be disabled.
3.9.1.2
Disk Group
The Disk Group item can be used to define the association between HHD, analogue channels and IP cameras.
The available operations are listed underneath the figure.
•
Disk Group Type:
Group type, possible values: Record Disk Group, Redundant Disk Group, Read Only Disk Group.
•
Disk Group:
Group with which to associate the HDD within the selected type.
•
Record Channel:
this section can be used to define which channels, analogue and/or IP, belong to the selected Disk
Group. The “Select all” and “Invert Selection” all buttons can be used to add all the available channels to the group or
invert the selection made.
•
Analog Channels:
if the option is active, it can be used to add the channels related to analogue cameras to the
group.
•
IP Channels:
if the option is active, it can be used to add the channels related to IP cameras to the group.
Important: a camera cannot be added in two or more groups at the same time.
Содержание 1097/564
Страница 95: ...DS1097 010 95 Capture Settings Set the format and the path to save snapshots...
Страница 150: ...DS1097 010 150...
Страница 151: ...DS1097 010 151...