


DS1097-010
14
2.4
MOUSE OPERATION
The mouse can be used to operate the system in addition to the remote control. The following table shows the possible
actions which may differ according to the state and the current system screen.
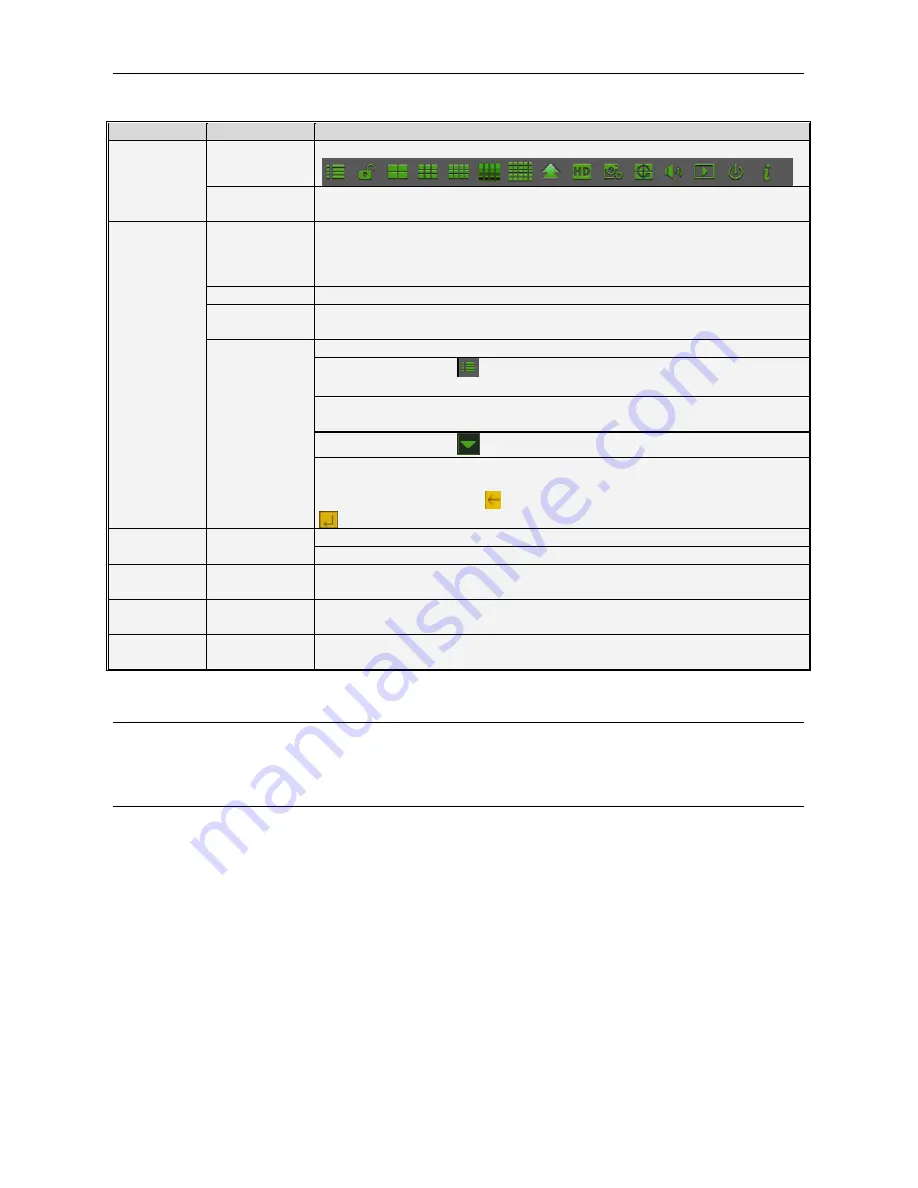
ACTION
MODE
FUNCTION
Right click
Live display
This activates the Main Menu (pop-up menu) on the lower part of the screen
Main Menu or
submenu
This closes the current menu and go back to the previous page
Left click
Logout
Click on any item of the pop-up menu in the low part of the screen to open a login
window where to enter access credentials
Login
Click on any item of the pop-up menu to directly access the required submenu
Main Menu
Click to access the items of the various submenus; in [Detailed file] play a previously
recorded file.
Submenu
Change the check box state and the motion detection area.
Click on the combo box
to open the drop-down menu; left-click to stop timed view
when active.
On the colour control bar and on the volume control bar click to adjust the respective
values.
Click on the combo box
to access the drop-down menu.
Click to select the values in the specific combo boxes. This activates the drop-down
menu for support to enter Chinese characters, special symbols, numbers and letters
to be used instead of [Enter-
] or [Backspace
]
Right click
In live mode, right-click to view the pop-up menu.
In main menu or submenu mode, right-click to close the current menu.
Double click
In live or playback mode, to view the image in full-screen mode, repeat to go to the
previous view.
Move the
mouse
This selects the menu item
Drag
the
mouse
In motion detection mode, drag the mouse to select the motion detection area; in
[Color set] mode, drag the mouse to adjust the colour and volume bar.
2.5
CAMERA AND MONITOR CONNECTION
Connect camera cable to video input of HVR, and from video output of HVR to Monitor via VGA/HDMI connector (Refer to
section
2.2- Rear Panel
; or if the camera is a PTZ speed dome, you could connect RS485 A & B to the according port of
HVR respectively.
2.6
POWER SUPPLY CONNECTION
Please only use the power adapter supplied with the HVR.
After power on please make sure the video I/O connection well, audio device with RCA cable.
Содержание 1097/564
Страница 95: ...DS1097 010 95 Capture Settings Set the format and the path to save snapshots...
Страница 150: ...DS1097 010 150...
Страница 151: ...DS1097 010 151...