


DS1093-095
21
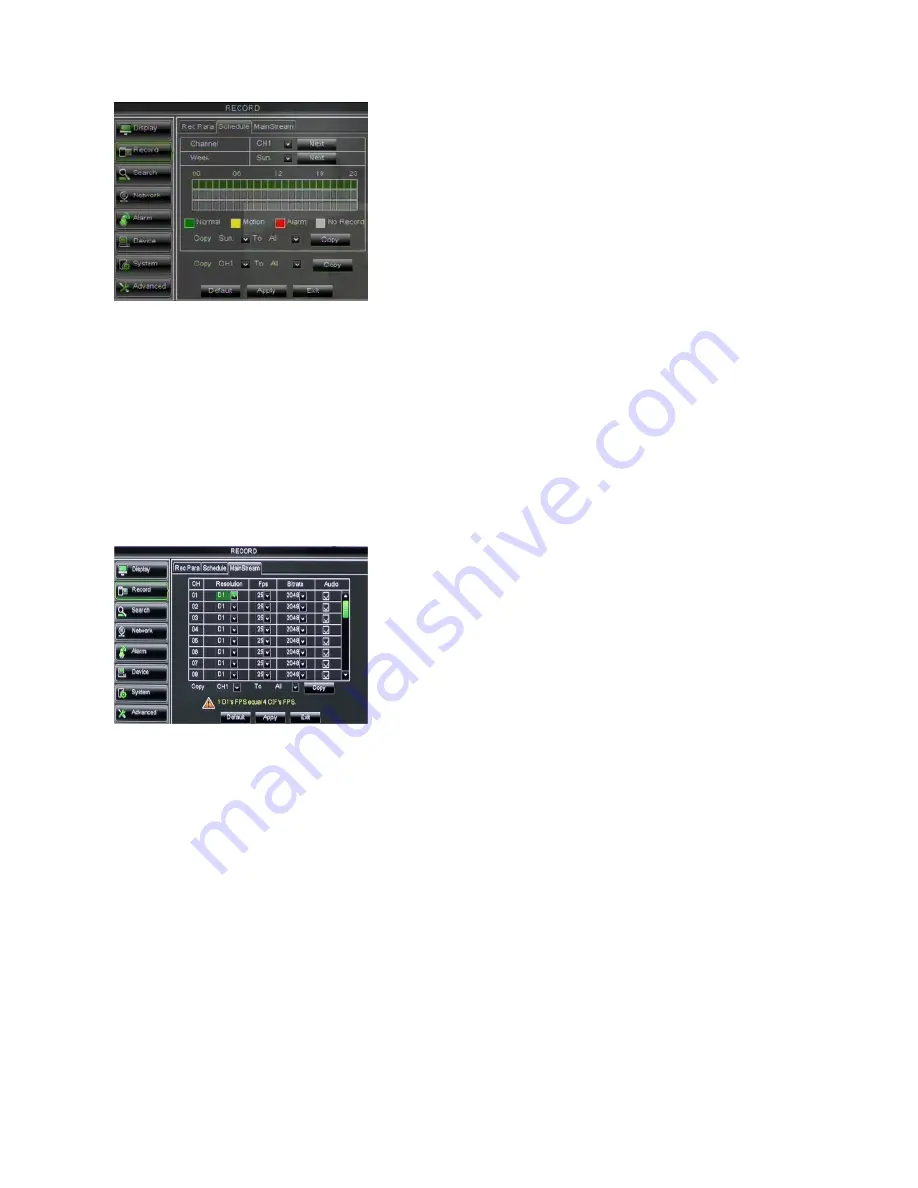
2.4.2.2
Schedule
Click [Main Menu
Record
Schedule] to enter into the interface shown as below.
•
Channel
: This option allows you select one channel you desired. It is possible to change the channel selecting “Next”.
•
Week
: This option allows to select the week-day. It is possible to change the day selecting “Next”.
To setup weekly schedules, tick-select the box of the record status you want (Alarm, General, or No Record) and then click
on each box in the schedule time line that you want this method to apply to. You can use the [Copy – To] pull-down menus
and Copy button to copy settings from one day to another day or all days.
After you complete the schedule you activate it by clicking the [Apply] button.
You can also click on the Default button to use the system defaults.
Note:
Under the <record> menu and <search> menu, original color stands for no record, “Red” stands for alarm record, “yellow”
stands for Motion record and “Green” stands for normal record. It is possible to record simultaneously Alarm (where available),
Motion and Normal Record and search the record file with “All Record” filter set.
2.4.2.3
Main Stream
Go to [Main menu
Record
Main Stream] to enter into the interface shown as below.
•
Resolution:
supports 960H Mode: WD1, WHD1, WCIF and D1 mode: D1, HD1 and CIF.
•
Frame rate:
it is possible to select the following range values:
PAL: 1-25 f/s ; NTSC: 1-30 f/s. The range Frame Rate values
can change depending on DVR model.
•
Bit rate:
user could select the relative value by pull-down menu.
•
Audio:
When tick-selecting the option, system will record video stream with audio simultaneously


