11
QUICK START
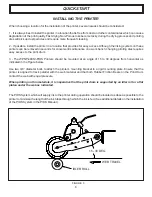
3 -Carefully guide the Cover Assembly onto the Inking
System being careful not to scratch the surface of the
Anilox roll in the process.
FIGURE 18
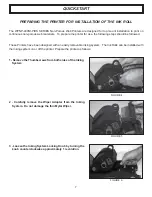
4 -When the cover assembly is properly positioned against
the Inking System Assembly, replace the Knurled Drive
Wheel.
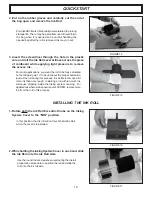
Carefully align the 3 stainless steel pins on the
top of the Anilox Roll with the 3 holes in the Knurled
Drive Wheel. When the Knurled Drive Wheel is
properly engaged, the top of the stainless steel
pins will be approximately even with the top surface
of the Knurled Drive Wheel.
FIGURE 19
FIGURE 20
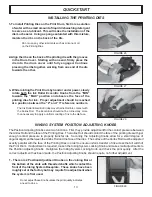
FIGURE 21
6 -While holding the Drive Wheel Cover in position, replace
the Knurled Retaining Nut. The Knurled Nut should be
just tight enough to hold the Drive Wheel in place. Do
not over tighten this nut.
The inking system is now ready for final adjustment and use.
5 -Replace the Drive Wheel Cover by aligning the two holes
in the cover with the Anilox Roll Axle and the Stainless
Steel Locating Pin. Ensure that the cover is positioned
completely against the Inking System Cover.
Содержание WPNP-400NI-PIDS
Страница 26: ...26 ...


