Die Cut Media Instructions
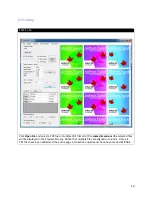
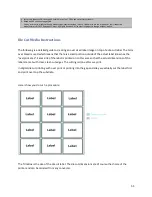
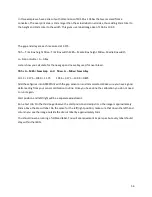
The following is a detailed guide to creating an over sized label image on top of a die cut label. The term
over bleed is used which means that there is a small portion outside of the actual label known as the
“overprint area”. Excess ink of the label is printed on to this area so that the actual dimensions of the
label are met with clear, clean cut edges. The cutting is done after we print.
In digital die cut printing with over print or printing into the gap and alley we actually cut the label first
and print over top the substrate.
Here is how you do such a procedure:
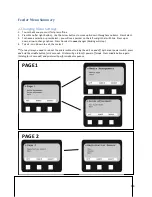
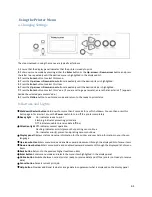
The Trim Box is the size of the die cut label. The die cut dimensions are of course the choice of the
printer and can be ordered from any converter.
4.
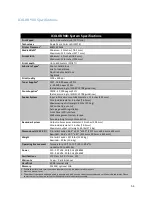
Letter-size sheets at 5% coverage. Printer ships with a 7,500 page set of starter toners.
5.
Based on 500 cut-sheet pages/job.
Uninet reserves the right to change product specifications without notice. Trademarks are the property of their respective
manufacturers. ©2013 Copyright, Uninet. All Rights Reserved. All content is subject to change without notice.
55
Содержание iCOLOR 900
Страница 1: ...iCOLOR 900 APEX2Print Installation and User Guide ...
Страница 23: ...Navigate to the 2 Install RIP vR2 Folder Run the Prepare_Uninet_RIP_v2 1 exe file 23 ...
Страница 24: ...STEP 3 of 8 The KEYLOK and Sentinel Drivers will install 24 ...
Страница 26: ...STEP 5 of 8 Click Done STEP 6 of 8 26 ...
Страница 27: ...Navigate to the 3 Install APEX2Print folder Run the APEX2Print_Install msi file Click Next 27 ...
Страница 53: ...Appendix 53 ...
Страница 57: ...57 ...
Страница 59: ...PAGE 3 59 ...
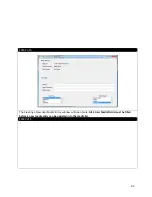
Страница 68: ...STEP 2 of 4 The Creating a New User Media Entry window will display Click Edit STEP 3 of 4 68 ...
Страница 80: ...STEP 7 of 10 The job is ready for printing Click Print Nesting 80 ...
Страница 87: ...STEP 3 The Preview Screen will display the scaled object 87 ...
Страница 100: ...Example 2 Guide Arms Example 3 Cutter Blade Glue Residue Glue Residue 100 ...
Страница 104: ...Open the Guide Cover and Guide Channels Feed the paper under the orange Tension Swing as shown 104 ...
Страница 108: ...STEP 21 Close the Guide Door and the system is ready to print 108 ...

