VIDEOSTUDIO HELP
Table of Contents
|
Index
Back
66
Key frame Settings
VideoStudio allows you to customize video filters in a variety of
ways. One way is by adding key frames to your clips. Key frames are
frames in a clip where you can specify a different attribute or
behavior for your video filter. This gives you the flexibility to
determine how your video filter will look like at any point in a clip.
To set key frames for your clips:
1.
Drag and drop a video filter
from the Library onto a clip in
the Timeline.
Note:
The Options Panel
automatically switches to the Filter
Tab after you drop the video filter
onto your clip.
2.
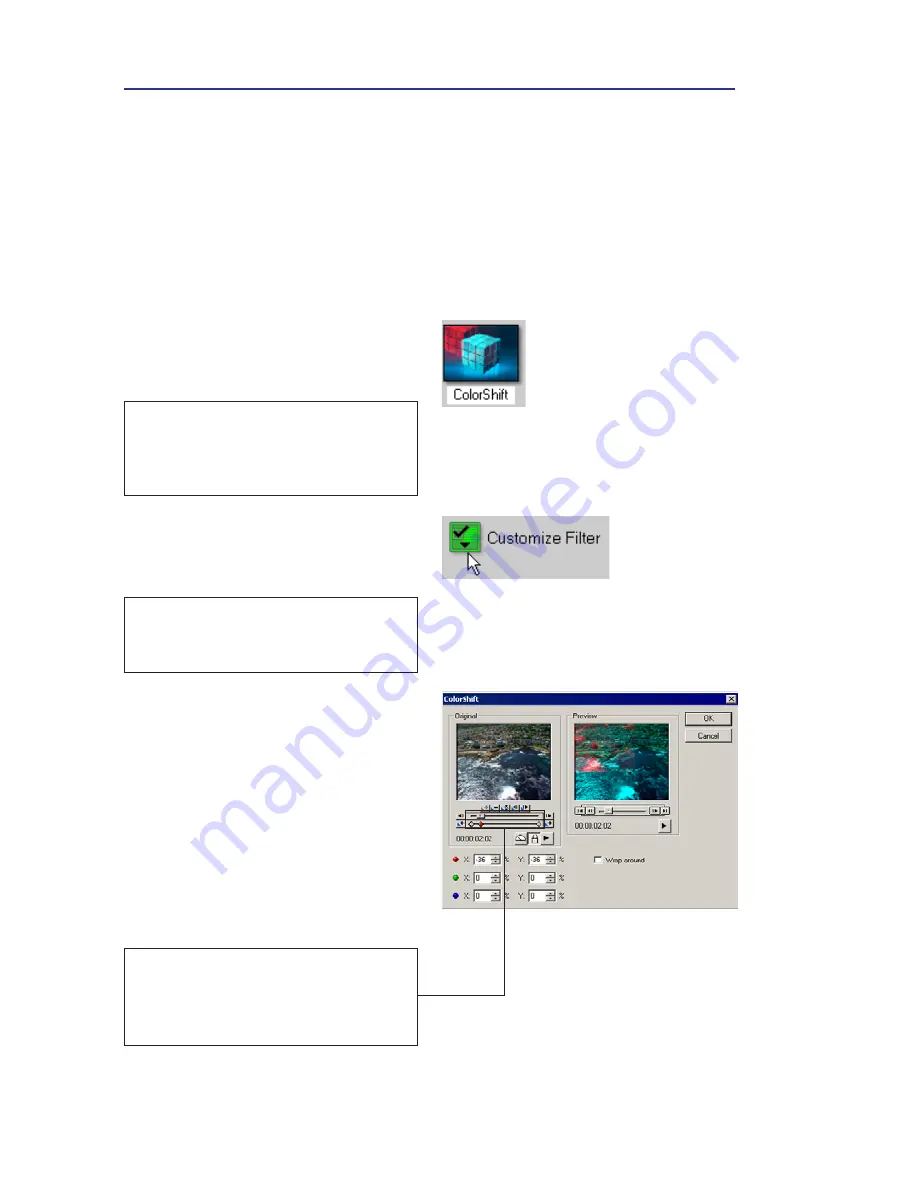
Click
Customize Filter
. The
dialog box for the video filter
opens.
Note:
Settings available in the
dialog box are different for each
video filter.
3.
In the
Original
window, drag
the Jog bar or use the arrows
to go to the frame where you’d
like to change the attributes of
your video filter.
4.
Click
Add key frame
to set that
frame as a key frame in the
clip. Then you can adjust the
video filter settings for that
particular frame.
Note:
A diamond-shaped mark on
the Timeline Control bar will
appear. This indicates the frame is a
key frame in the clip.
5.
Repeat steps 3 and 4 to add
more key frames to your clip.


