NANO
NANO
Doc. 86371S - Rev. 01/02/2021
Drw. / Dis. 37304
25/43
9 INSTALLATION
9 INSTALLAZIONE
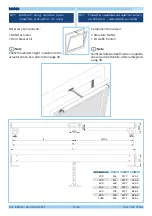
9.1 Utensili necessari
9.1 Necessary tools
B E FO R E P RO C E E D I N G W I T H T H E
MECHANICAL MOUNTING OF THE
ACTUATOR ON THE WINDOW, CARRY OUT
THE WIRING OPERATIONS DESCRIBED IN
PARAGRAPH 8.
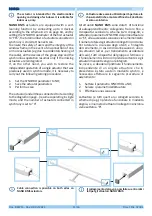
If installed on PVC windows, the profile has to
be reinforced
WARNING
WARNING
According to the window type, it is necessary to
mount the actuator with the different kinds of
bracket supplied in kits. The following paragraphs
show some installation examples.
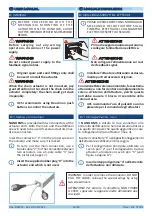
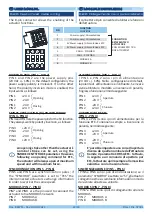
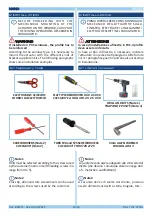
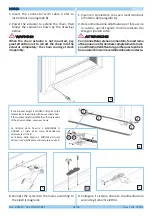
ELECTRICIANS SCISSORS
FORBICI DA ELETTRICISTA
FLAT TIP SCREWDRIVER 0.4 X 2.5 X 50
CACCIAVITE A TAGLIO 0.4 X 2.5 X 50
DRILL AND BITS (Note 1)
TRAPANO E PUNTE (Nota 1)
Le punte devono essere adeguate alle viti scelte dal
cliente (che devono comunque stare nel range da 4
a 5 - metriche o autofilettanti).
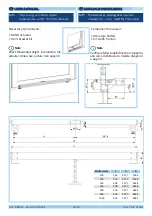
SCREWDRIVERS (Note 2)
CACCIAVITI (Nota 2)
TORX T20 and T25 SCREWDRIVERS
CACCIAVITI TORX T20 eT25
3mm ALLEN WRENCH
BRUGOLA DA 3
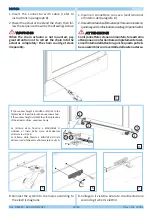
Cross tip, Allen and torx screwdrivers can be used
according to the screws used by the customer.
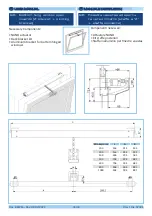
Drills must be selected according to the screws used
by the customer (metric or self threading screws in a
range from 4 to 5).
Nota 1
Note 1
Note 2
A seconda delle viti scelte dal cliente, possono
essere utilizzati cacciaviti a stella, brugole, torx...
Nota 2
PRIMA DI PROCEDERE CON IL MONTAGGIO
MECCANICO DELL’ATTUATORE SULLA
FINESTRA, EFFETTUARE I COLLEGAMENTI
ELETTRICI DESCRITTI NEL PARAGRAFO 8.
In caso di installazione su finestre in PVC, il profilo
deve essere rinforzato.
ATTENZIONE
ATTENZIONE
In base al tipo di finestra, è necessario montare
l’attuatore con le diverse tipologie di staffe fornite
in kit. I paragrafi seguenti riportano alcuni esempi
di installazione.

