PROFESSIONAL SERIES
PRODUCT GUIDE
2796 Loker Ave., Suite 111, Carlsbad, CA 92010
(800) 518-8925 Toll Free • (877) 730-3578 Fax • www.processingpoint.com
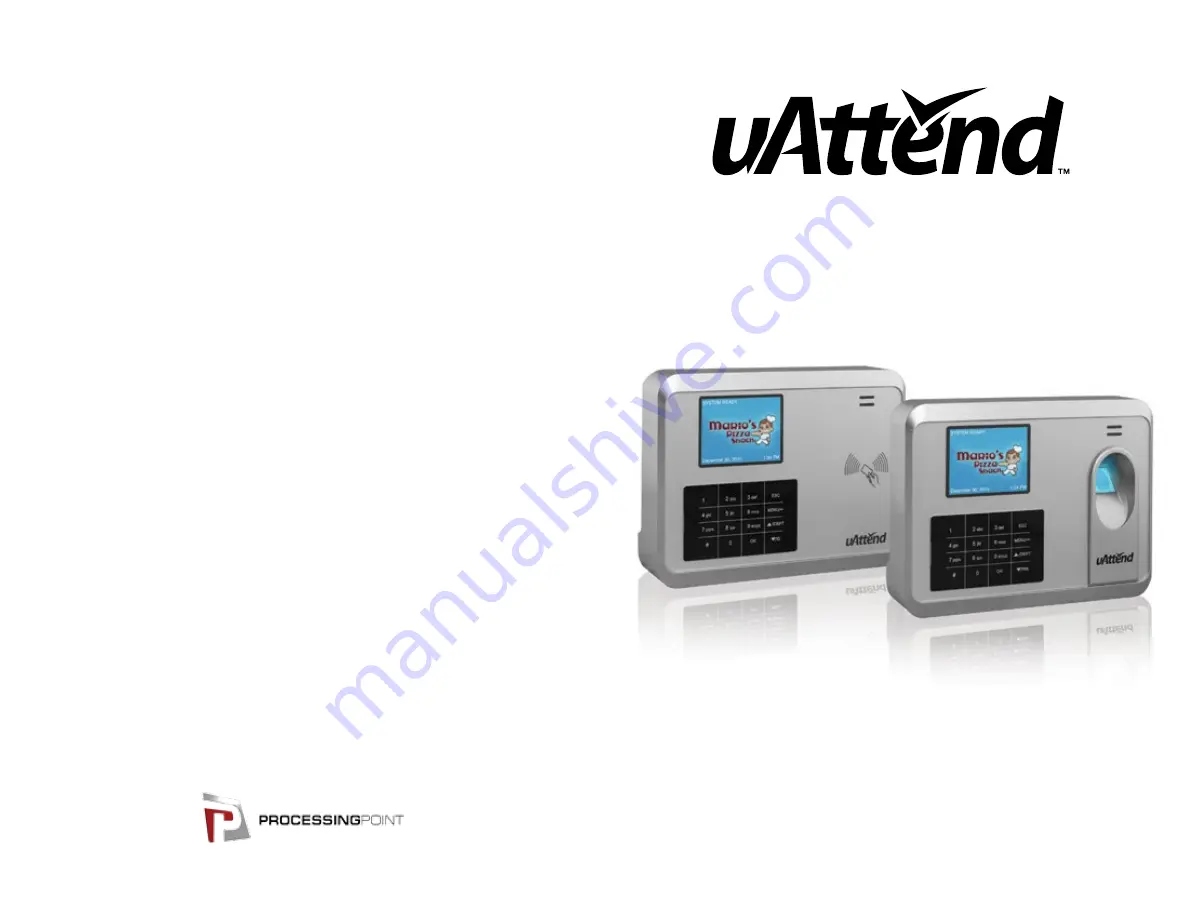
CB1000 • CB2000 • BN1500 • BN2500
Страница 1: ...PROFESSIONAL SERIES PRODUCT GUIDE 2796 Loker Ave Suite 111 Carlsbad CA 92010 800 518 8925 Toll Free 877 730 3578 Fax www processingpoint com CB1000 CB2000 BN1500 BN2500...
Страница 2: ...oducts or parts are based upon tests believed to be reliable but do not constitute a guaranty or warranty PPOINT SHALL NOT UNDER ANY CIRCUMSTANCES WHATSOEVER BE LIABLE TO ANY PARTY FOR LOSS OF PROFITS...
Страница 3: ...0 Setting Up and Using the BN1500 15 5 1 Mounting Your BN1500 15 5 2 Linking the BN1500 to Your uAttend Account 16 5 3 Registering Fingerprint Templates 17 5 3 1 Transferring Fingerprint Templates to...
Страница 4: ...5 For information on the BN2500 see Section 6 0 beginning on page 22 2 0 Setting Up Your uAttend Account This section describes the steps you will take to create a new uAttend account and set up depar...
Страница 5: ...d on our system encrypted and secure for recurring monthly billing All plans come with a 30 day money back guarantee if you are not satisfied When you have entered all information click Create my acco...
Страница 6: ...w time if time settings in the uAttend account change Device ID used to display the Device ID for the BN2500 Upload Logo used to import a logo from a uAttend account to display on the BN2500 Date Form...
Страница 7: ...500 and BN2500 only you will register their fingerprints using the steps in Section 5 3 BN1500 or Section 6 3 BN2500 of this document Next you can skip to the timeclock section that pertains to you 5...
Страница 8: ...l timeclocks requires interaction with both the BN2500 and your uAttend account Follow these steps from your uAttend account 1 Click the Users tab on the main menu 2 Click Manage Fingerprint Templates...
Страница 9: ...12345678 7 26 6 The designated employee should press their finger firmly on the sensor until you hear a beeping sound The employee should then remove their finger from the sensor This process will be...
Страница 10: ...our uAttend account 6 2 2 Connecting via LAN Cable Follow these steps on your BN2500 to link the BN2500 to your uAttend account via a LAN cable to a router The timeclock should be turned on with the d...
Страница 11: ...e back of the timeclock If you cannot locate this sticker you can also find the Device ID in the timeclock To do this press the Menu key and enter the password default password is 53178 Scroll to Devi...
Страница 12: ...4 Place the metal back plate against the wall with prongs facing away from the wall and pointing upward and screw the back plate to the wall in all four locations 5 Affix the timeclock to the metal ba...
Страница 13: ...r the Device ID assigned to the CB2000 You can find the Device ID on a sticker on the back of the timeclock If you 6 0 Setting Up and Using the BN2500 Now that you have set up your uAttend account you...
Страница 14: ...he password and press OK To enter alpha characters press the key and follow the onscreen directions The timeclock will connect to your WIFI network using the credentials you supplied After the WIFI mo...
Страница 15: ...r PIN In all other modes this key is used to scroll down OK Used to accept key entries Used to switch between alpha and numeric during WIFI password entry and is otherwise used as a toggle button 5 4...
Страница 16: ...em Management menu offers the following options Reset resets the CB2000 to the factory default settings Help displays the Customer Support telephone number MAC Address displays the CB2000 s MAC addres...
Страница 17: ...ing sound The employee should then remove their finger from the sensor This process will be repeated two more times with the same finger NOTE If desired you may repeat the fingerprint scanning process...
Страница 18: ...n the timeclock To do this press the Menu key and enter the password default password is 53178 Scroll to Device Management and press OK then scroll to Device ID and press OK Be sure to enter the compl...
Страница 19: ...Any Changes or modifications not expressly approved by party responsible for compliance coulk void the user s authority to operate the equipment Radiation Exposure Statement This equipment complies wi...