18
BAS-SVN208G-EN
Step 16: Display Setup
Step 16: Display Setup
This section describes how to setup your Tracer 10-inch Display. This should be
performed by Trane personnel.
Important:
If using the Trane Wi-Fi router, the Tracer 10-inch Display must be powered
up after the System Controller and router to ensure the router uses the correct default
addresses for System Controller and the display. Alternatively, the display may be
hardwired to the System Controller.
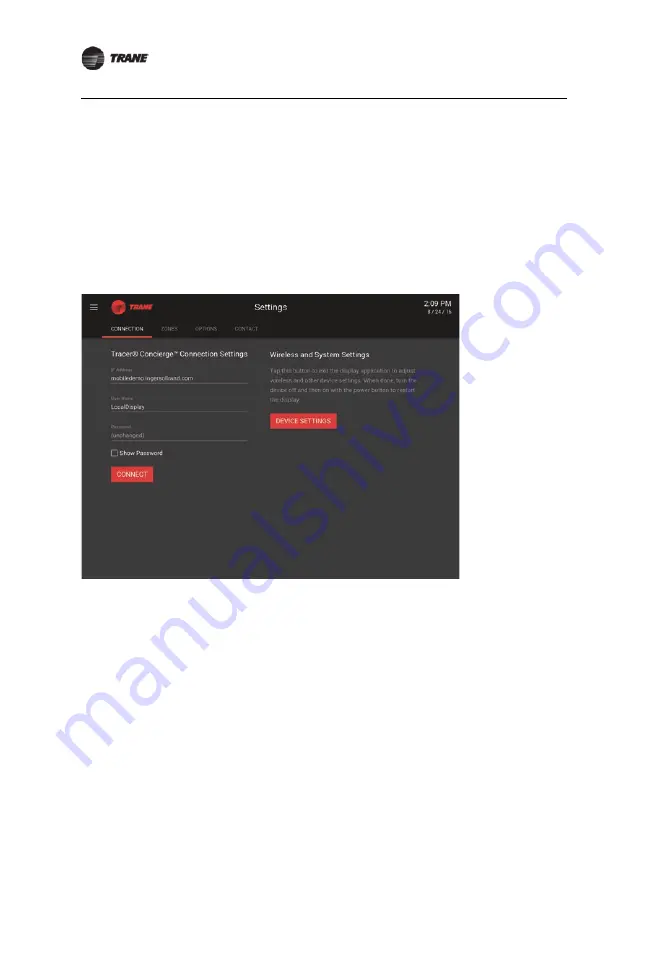
Configuring the Display
1. Select the
Connection
tab.
Figure 16.
Connection tab
2. Tap
Device Settings
.
3. If connecting to System Controller via the wireless network:
a. Choose
Wi-Fi
and wait for the display to refresh available Wi-Fi networks.
b. If using the Wi-Fi router from Trane, select
ciscosb1
and verify security is
WPA2
PSK
.
c. Enter the Wi-Fi password:
Simple#Retail
.
d. Verify that the display is connected to ciscosb.
Note:
If there are problems connecting, forget the network and start over.
4. If connecting to System Controller directly via an Ethernet cable:
a. Choose
More
|
Ethernet
.
b. Select
Use static IP
and set the following:
•
IP Address: 192.168.2.11 Note: This address will work when the display is
connected to System Controller Port 2, which defaults to 192.168.2.10.
•
Gateway: 192.168.2.10 (System Controller Port 2 address)
•
Netmask: 255.255.255.0
•
DNS 1: 192.168.2.10 (System Controller Port 2 address)
•
DNS 2: (blank)


