60
System Charging
Procedures
NOTE: Ensure proper leak check and evacuation procedure was
performed.
1. If gauge set is still connected from the evacuation, ensure gauge set is
free of non-condensables and connect the refrigerant bottle to the gauge
manifold.
2. If gauge set is not connected to unit, connect the refrigerant bottle and
purge the gauge fitting lines and connect the gauge manifold set to the
suction and discharge service ports on the engine driven compressor.
3. Place refrigerant bottle on scale and zero scale.
4. Keep the low pressure side valve of the gauge manifold closed. Open
the high pressure side valve.
5. Add the proper amount of refrigerant for your model.
NOTE: The refrigerant charge must be made in liquid phase for R-404A.
6. Close the refrigerant bottle valve and the high side valve of the gauge
manifold.
7. Start the vehicle’s engine, run at approximately 1000 rpm and turn the
unit ON.
8. Set the unit thermostat at 0C/32F (see operating manual).
9. Run the unit until it reaches a temperature close to that indicated, and a
high circuit pressure of 19 bar (275 psig for R-404A). Partially block
off the air intake to the condenser if necessary.
10. Open the low side valve of the gauge manifold and the refrigerant
bottle valve, and add refrigerant slowly until no bubbles can be seen
through the liquid sight glass.
11. Close the refrigerant bottle and gauge manifold valves.
12. Leave the unit running for 15 minutes.
13. Check that there are no bubbles in the sight glass. If bubbles are seen,
repeat steps 10 and 11.
14. Turn the unit OFF, stop the vehicle’s engine and remove the gauge
manifold.
NOTE: The above conditions MUST be established each time the
refrigerant level is checked or if refrigerant needs to be added for any
reason.
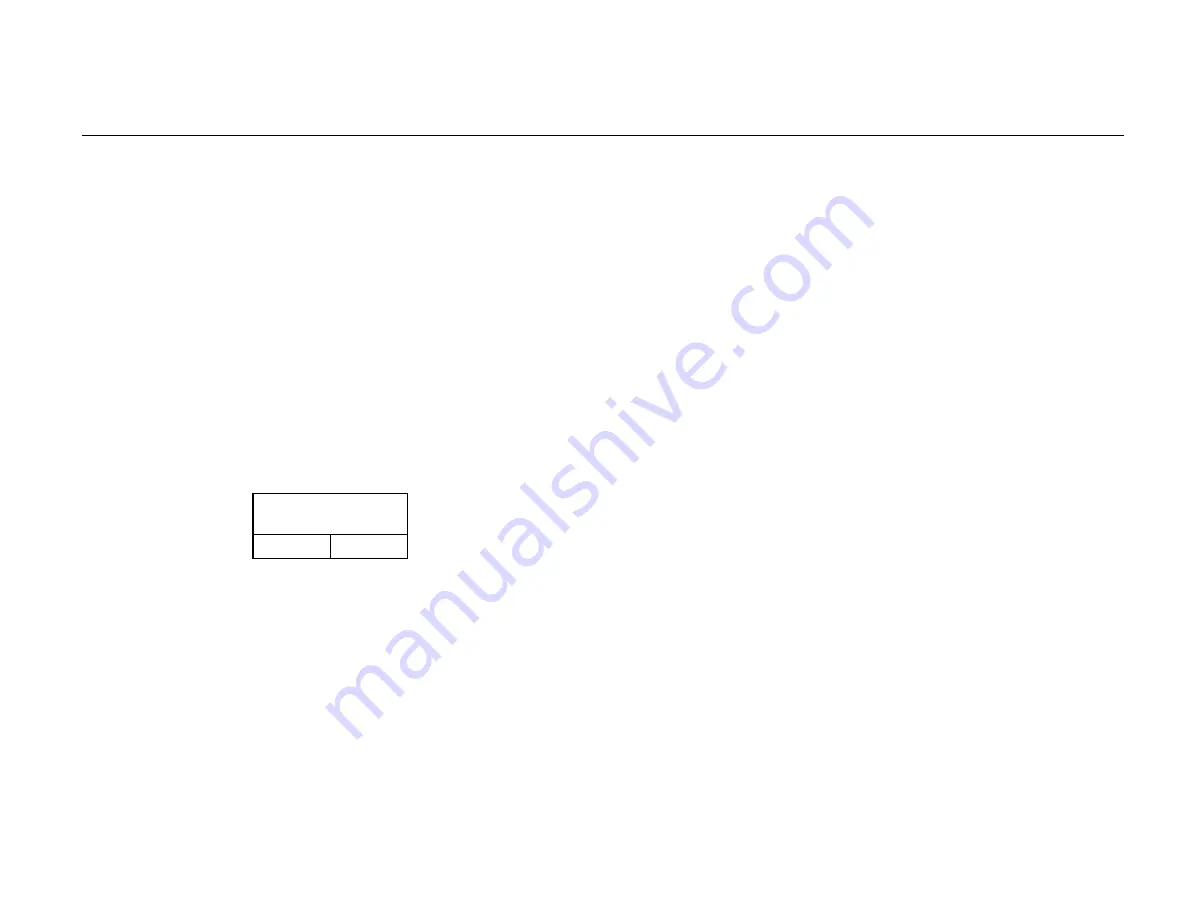
AMOUNT OF
REFRIGERANT
Model 50
5.00 lbs.
Содержание Thermo King ES300
Страница 12: ...11 Required Tools ...
Страница 18: ...17 Dimensions Condenser Module Mounting Holes ...
Страница 19: ...18 Dimensions HMI A 140 mm 5 50 in B 46 mm 1 80 in C 12 mm 50 in ...
Страница 20: ...19 BLANK PAGE ...
Страница 24: ...23 Installation 2 ES300 Evaporators Alternative Installation Method Preferred Installation Method ...
Страница 26: ...25 Installation Refrigeration Module Alternative Installation Method Preferred Installation Method ...
Страница 28: ...27 Installation Power Pack Module Alternative Installation Method Preferred Installation Method ...
Страница 30: ...29 Installation Condenser Module Preferred Installation Method Alternative Installation Method ...
Страница 38: ...37 Important Suction Line Routing and P Trap Formation NOT ACCEPTABLE From Unit ...
Страница 40: ...39 Installation Refrigeration Tubes to Compressor ...
Страница 46: ...45 System Leak Check and Evacuation ...
Страница 48: ...47 Installation Electrical Connections ...
Страница 50: ...49 Electrical Connections Evaporator s ...
Страница 52: ...51 Installation Standby Power Receptacle ...
Страница 54: ...53 Installation Drain Hoses REMOTE Evaporator HOST Evaporator Defrost Heater Wires ...
Страница 56: ...55 Installation HMI ...
Страница 62: ...61 System Charging AMOUNT OF REFRIGERANT PER MODEL Model 50 5 00 lbs ...


