


18
3.8 Conductivity Calibration
Before attempting a Conductivity calibration, ensure that the
smart
CHEM
-C
has been set up
correctly according to sections 3.1 to 3.7. The calibration procedure detailed below uses the sample
configurations shown in sections 3.1 to 3.7.
Automatic Temperature Compensation can be done via a temperature sensor inside the
Conductivity sensor, or via the separate stainless steel temperature probe. Using the Conductivity
sensor for ATC is more convenient, but the separate temperature probe has a faster response. If the
separate temperature probe is plugged in, the
smart
CHEM
-C
always uses this for temperature
readout and ATC. To use the Conductivity sensor for Temperature readout and ATC, the separate
temperature sensor must be disconnected. Please choose one or the other according to your
preference.
Ensure that Temperature has been correctly calibrated (see section 7.1). A “
∗∗
” in the Temperature
readout in place of the decimal point indicates that Temperature is NOT calibrated.
1. Plug the Conductivity sensor into the
Cond / TDS
socket. If required, plug the separate
Temperature sensor into the
Temperature
socket.
2. Rinse the sensor(s) in distilled water. Shake off as much water as possible. Blot the outside of
the sensor(s) dry. DO NOT BLOT THE CONDUCTIVITY ELECTRODE PLATES.
Zero Calibration
3. Let the sensor dry in air.
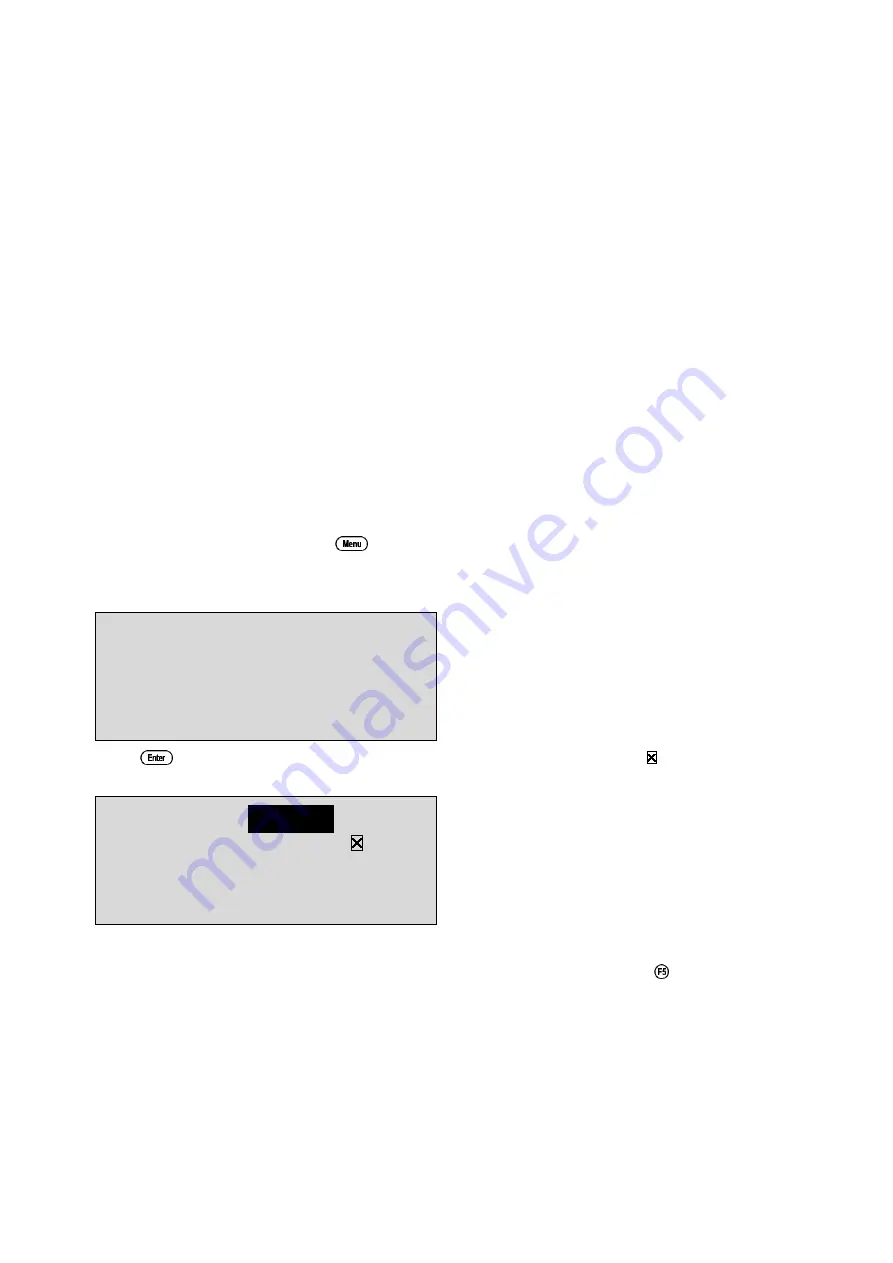
4. Select Conductivity Calibration (
→
→
F1:Calibrate
→
→
F1:Cond.
).
5. The
smart
CHEM
-C
will recognise the low conductivity signal and attempt a Zero calibration.
For example…
Cond. 0*01uS/cm
ZERO
Calibration
Press Enter
6. Press
to calibrate. The Automatic Stability Function will now show a and highlight the
reading while it is unstable…
Cond.
0*01
uS/cm
ZERO
Calibration
Waiting to Stabilise
When the Conductivity reading has stabilised, the unit will calibrate itself.
To calibrate immediately without waiting for complete stability, press
to disable the
Automatic Stability Function.
The “
∗
” will not be removed after a zero calibration.
Continued over the page…