Document Viewer
131
Annotation Menu
Docum
e
nt Managem
e
nt
Syste
m
S
ecti
o
n
NOTE
1. To specify text font and colors, select the drawn text and select
Properties
in the
Annotation
menu. The Text Format Setup dialog box can be displayed also by selecting
Properties
in the
pop-up menu, that appears by right-clicking on a drawn text.
2. To specify the thickness and color of a line, select the desired icon depiction then select
Properties
in the
Annotation
. The color can also be specified by right clicking on the desired
icon marker to display the
Properties
menu and making a selection in the Graphic Format
Setup Dialog box.
3. To specify the thickness and colors of the rectangular Annotation, select the desired icon
depiction then select
Properties
in the
Annotation
. The color can also be specified by right
clicking on the desired icon marker to display the
Properties
menu and making a selection in
the Graphic Format Setup Dialog box.
•
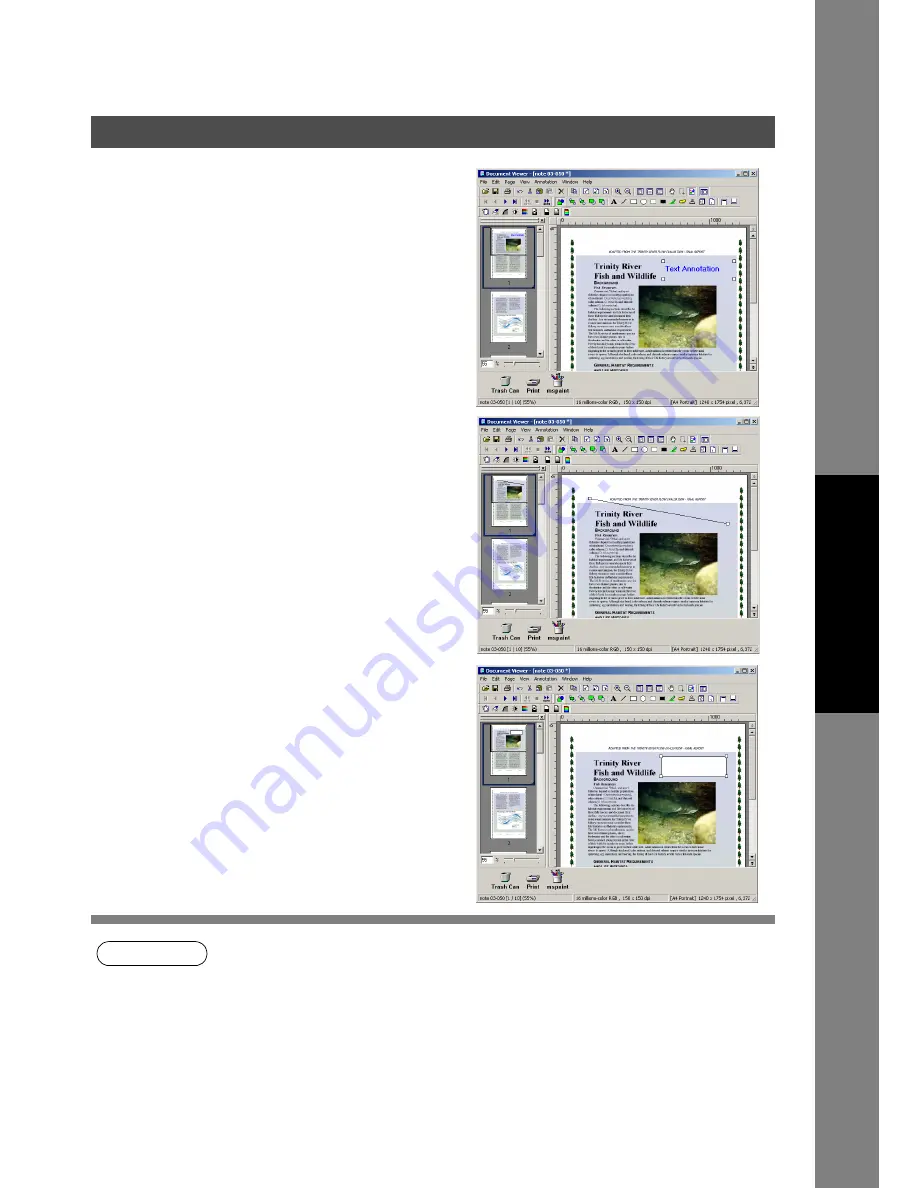
Text
Creates a text annotation. Select text annotation in the
annotation menu (or tool button), and drag the mouse in the
image window to specify the display position.
A dialog box for text setup will appear.
Enter the text to display, and then specify text color and font.
(See Note 1)
•
Line
Creates a line annotation.
Select line annotation in the annotation menu (or tool button
(see Note 2)), and drag the mouse in the image window to
draw lines.
•
Rectangle
Creates a rectangular annotation.
Select rectangle annotation in the annotation menu (or tool
button (see Note 3)), and drag the mouse in the image
window to draw a rectangle.
Содержание E-tudio190F
Страница 1: ...PLAIN PAPER FACSIMILE Operator s Manual for Document Management System and Printer ...
Страница 9: ...9 memo Before Starting ...
Страница 20: ...Installing the Printer Driver 20 Connecting with a USB Cable Windows 98 13 Click the button END_USB_98 Finish ...
Страница 158: ...Document Fax 158 Sending Document 4 Click the button to start the transmission OK ...


