27
4.
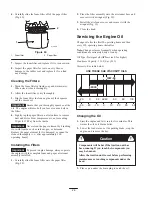
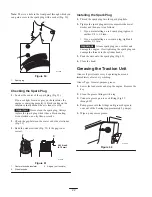
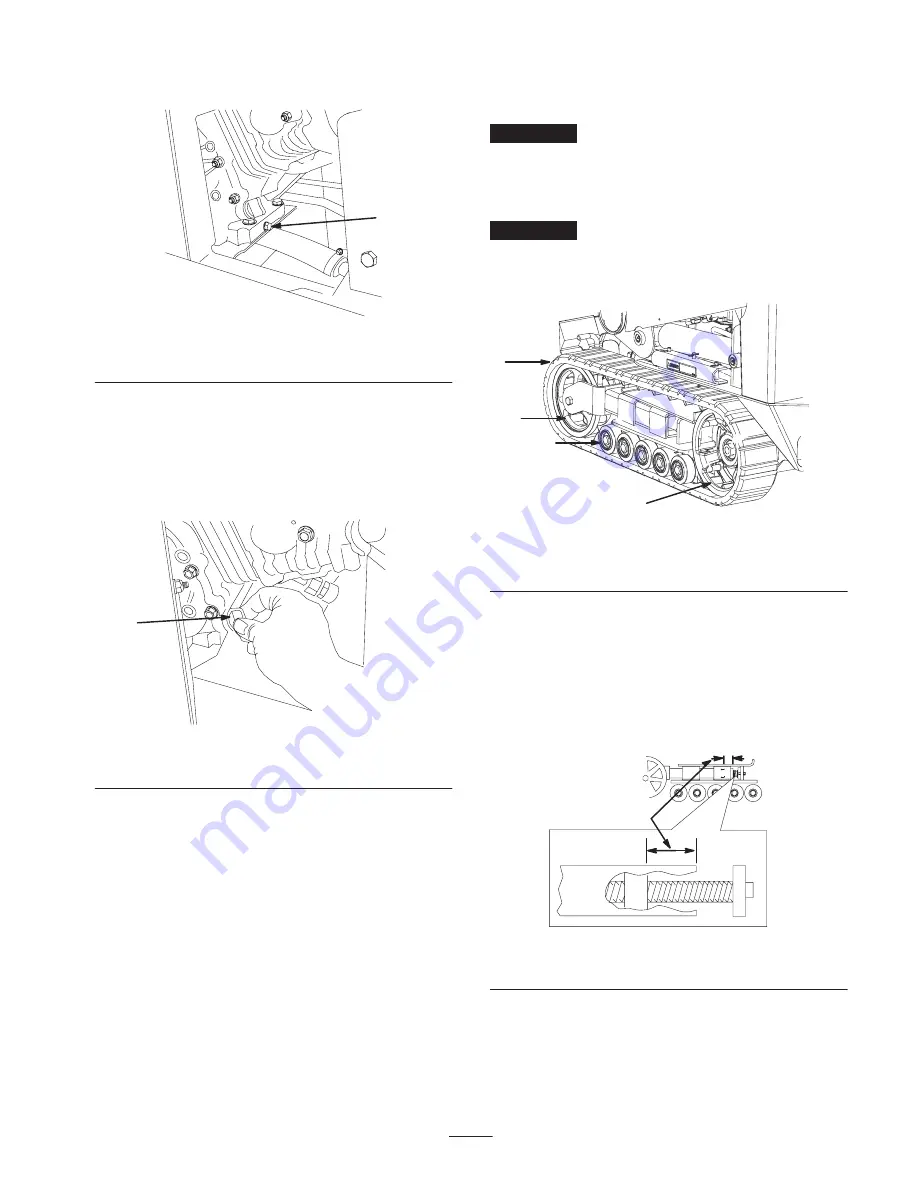
Remove the drain plug (Fig. 41).
m–7468
1
Figure 41
1. Oil drain plug
5.
When the oil has drained completely, replace the plug.
Note:
Dispose of the used oil at a certified recycling
center.
6.
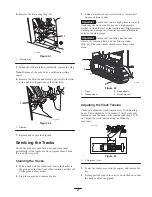
Remove the dipstick and slowly pour oil into the filler
hole until the oil pours out of the filler hole.
m–7469
1
Figure 42
1. Dipstick
7.
Replace and secure the dipstick.
Servicing the Tracks
Check the tracks for excessive wear and clean them
periodically. If the tracks are worn, replace them. Check
the road wheels yearly.
Cleaning the Tracks
1.
With a bucket on the loader arm, lower the bucket to
the ground so that the front of the traction unit lifts off
of the ground a few inches.
2.
Stop the engine, and remove the key.
3.
Using a water hose or pressure washer, remove dirt
from each track system.
Important
Ensure that you use high-pressure water to
wash only the track area. Do not use a high-pressure
washer to clean the rest of the traction unit. High-pressure
washing can damage the electrical system and hydraulic
valves or deplete grease.
Important
Ensure that you fully clean the road
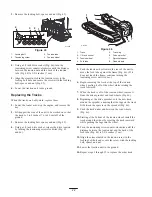
wheels, the tension wheel, and the drive sprocket
(Fig. 43). The road wheels should rotate freely when
clean.
1
2
3
4
m–7573
Figure 43
1. Track
2. Tension wheel
3. Road wheels
4. Drive Sprocket
Adjusting the Track Tension
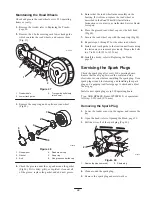
Check and adjust the track tension every 100 operating
hours. There should be 2-3/4 inches (7 cm) between the
tension nut and the back of the tension tube (Fig. 44). If
not, adjust the track tension using the following
procedure:
m–4775
1
Figure 44
1. 2-3/4 inches (7 cm)
1.
Lower the loader arm, stop the engine, and remove the
key.
2.
Lift/support the side of the unit to be worked on so that
the track is off of the ground.
Содержание 22308
Страница 6: ...6 Slope Chart Note This page may be copied for personal use only M 4402...
Страница 37: ...37 Schematics Electrical Schematic...
Страница 38: ...38 Hydraulic Schematic...


