IMPORTANT BUILDING NOTES
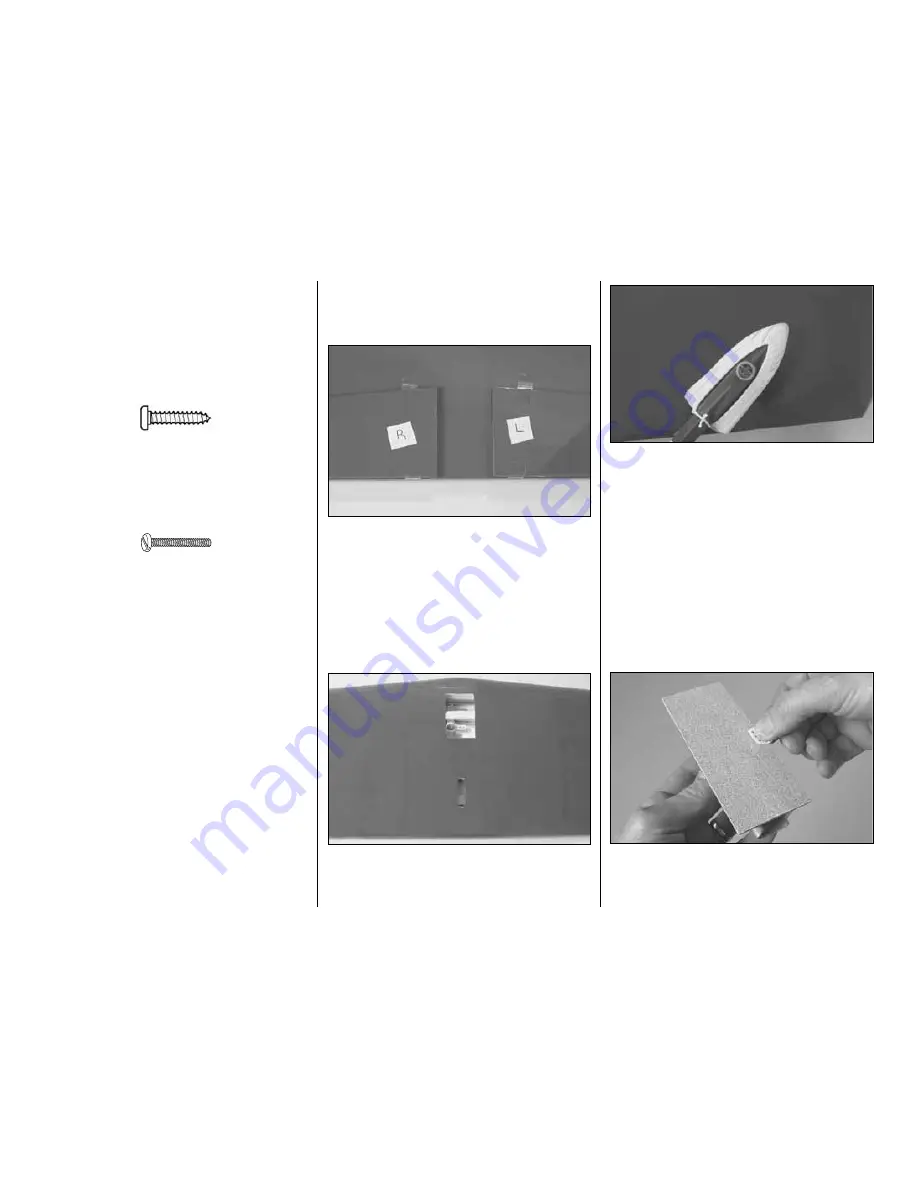
• There are two types of screws used in this kit:
Sheet metal screws are designated by a number
and a length.
For example #6 x 3/4" long [19mm]
This is a number six screw that is 3/4" [19mm] long.
Machine screws are designated by a number,
threads per inch, and a length.
For example 4-40 x 3/4" long [19mm]
This is a number four screw that is 3/4" [19.1mm]
long with forty threads per inch.
• When you see the term test fit in the instructions,
it means that you should first position the part on
the assembly without using any glue, then
slightly modify or
custom fit the part as necessary
for the best fit.
• Whenever the term glue is written you should rely
upon your experience to decide what type of glue
to use. When a specific type of adhesive works
best for that step, the instructions will tell you what
glue is recommended.
• Whenever just epoxy is specified, you may use
either 30-minute (or 45-minute) epoxy or 6-minute
epoxy. When 30-minute epoxy is specified, it is
highly recommended that you use only 30-minute
(or 45-minute) epoxy because you will need the
working time and/or the additional strength.
• Photos and sketches are placed before the
step they refer to. Frequently you can study photos in
following steps to get another view of the same parts.
ASSEMBLE THE WING
Hinge the Flaps
❏
1. Mark the flaps as “right” and “left” before
removing them from the wing (the right flap is about
3/4" [20mm] shorter than the left flap).
❏
2. Separate the flaps from the wing by peeling off
the tape. Any glue left from the tape can be removed
with naphtha lighter fluid or denatured alcohol.
❏
3. Cut and remove the covering from the top of the
wing over the bellcrank opening and the pushrod
exit. Also cut the covering from the opening in the
bottom of the wing directly under the bellcrank screw.
❏
4. Use a covering iron with a covering sock to
remove any wrinkles in the covering on the wing and
flaps. The best way is to glide the iron over the
covering until the wrinkles disappear, and then go
over the area again pushing down to bond the
covering to the wood. If the wrinkles don’t go away,
the balsa in that area may be bending inward. If this
is happening, do not press down on the iron in that
area. Simply let the heat of the iron shrink the
covering. If the wrinkles momentarily disappear, then
immediately reappear, the iron may be too hot, thus
causing air bubbles. Lower the temperature of the
iron or use a sharp #11 blade to puncture several
holes in the covering, then reheat. The suggested
iron temperature is around 360 degrees F.
❏
5. Using a bar sander or a sanding block with
medium-grit sandpaper, remove any raised molding
imperfections and roughen the gluing surface of all
the hinges so glue will adhere.
- 6 -


