❏
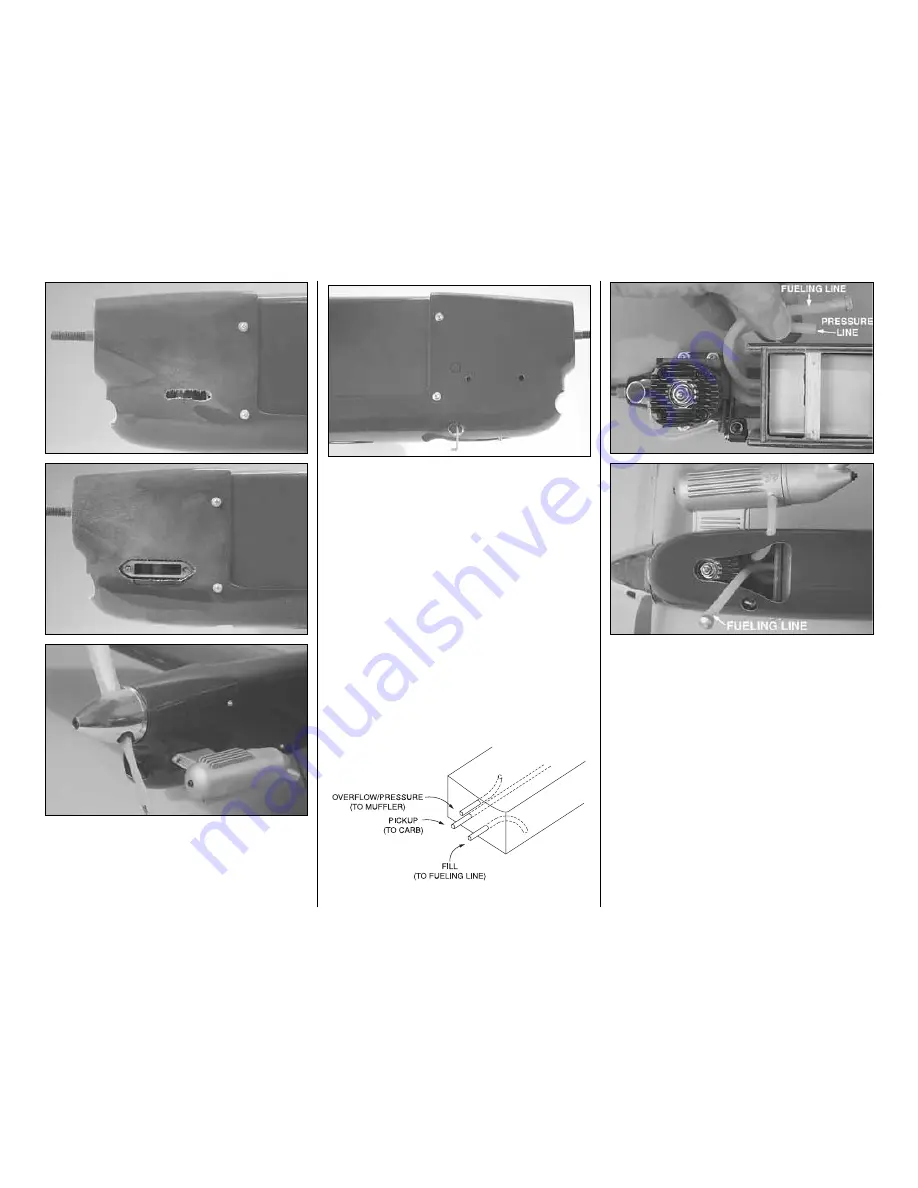
8. Cut the hole for the muffler. Start by making the
hole small, and then enlarge it until the muffler can
be mounted.
❏
9. Mount the needle valve and cut an access hole
for it in the cowl. Note: On the model featured in this
manual, the needle valve was mounted inverted. If
mounting the needle sideways (as the engine is
provided from the factory), a slot must be cut in the
cowl to accommodate the needle valve body.
❏
10. Connect the fuel lines. The fuel tank included
with this kit uses a three-line system. As shown in the
sketch to the left, one line is the fuel pickup which
goes to the carburetor (or to the remote needle as in
the case of the O.S. LA engines). The other line goes
to the muffler for pressure (when the tank is full, fuel
will overflow through this line indicating that the tank
is full). The third line is used for filling the tank. This
line should be accessible from outside the fuselage
and is to be closed after fueling. A Great Planes
aluminum fuel line plug (GPMQ4166) was used to
close the fueling line. After the tank has been filled,
the fueling line can be tucked back inside the cowl.
- 16 -


