❏
5. Using the same technique you used when
marking, cutting and removing the covering from the
wing and stabilizer, cut and remove the covering
from the fin where it will be glued to the fuselage.
❏
6. Test fit the fin to be certain it fits well. Make
adjustments where necessary.
❏
7. Glue the fin into position with 30-minute epoxy.
Use a builder’s triangle to make certain the fin is
perpendicular to the stabilizer. If necessary, masking
tape could be used to pull the fin to one side or the
other of the stab. Wipe away excess epoxy before it
hardens.
Mount the Main Landing Gear
❏
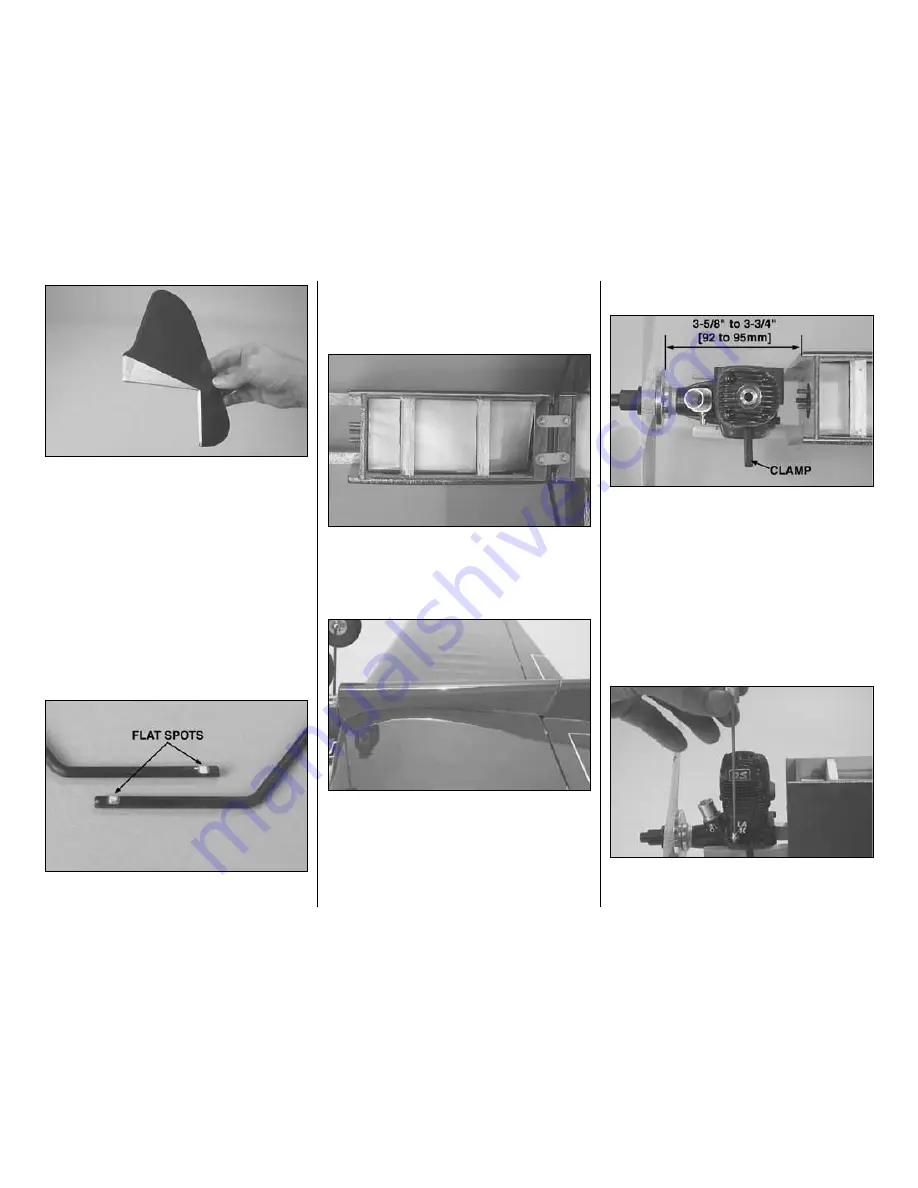
1. Use a small metal file to grind a flat spot near
the end of both prebent main landing gear wires.
❏
2. Mount the wheels to the landing gear with a 1/8"
[3mm] wheel collar fastened by a 6-32 set screw on
both sides. Add a drop of oil to both sides of the
wheels so they spin freely.
❏
3. Install the main landing gear wires in the landing
gear rail. Using the screw holes in the nylon straps as
a guide, drill 1/16" [1.6mm] holes through the landing
gear rail. Then, mount the gear with the straps and
four #2 x 1/2" [13mm] screws.
❏
4. Use epoxy to glue the belly pan to the bottom of
the wing and fuselage.
Mount the Engine
❏
1. Position the engine on the mounting rails so the
front of the drive washer (or the backplate of your
spinner) will be 3-5/8" to 3-3/4" [92 to 95mm] from
the firewall. With some engines (such as the O. S. .40
LA) it may be necessary to slightly trim the lower,
inner edges of the mounting rails to accommodate
the engine. Note: The remote needle valve was
temporarily removed from the engine to facilitate
mounting and cowl installation.
❏
2. Use a Great Planes Dead Center
™
Hole Locator
or a wire sharpened on the end to mark the engine
mounting rails for the mounting screws.
- 14 -


