background image

when they become more experienced, wrist
movement may be increased to increase control
response. All control inputs should be smooth.
Continue flying the model in a level attitude, getting
used to how the controls react and how the model
“feels.” Do this until the engine runs out of fuel. With
a full tank of fuel the Nobler will fly for a little over four
minutes, but actual flight time depends on several
factors, such as the engine size and brand, needle
valve setting, propeller size, fuel, atmospheric
conditions, etc.

Landing

When the engine starts to sputter and/or speed up,
this is an indication that the tank is nearly empty.
Continue to fly the model in a level attitude until the
engine finally quits. The same as any time the model
slows, the pilot should step back to keep the lines
taut and maintain control. Allow the model to
descend until it is about two feet off the ground.
When the model has lost nearly all flying speed and
is a foot or two from the ground the pilot should raise
his arm to keep the lines taut and apply full up
elevator, allowing the model to gently touch down.

After the model has come to a stop the assistant may
retrieve the model and return it to the starting area.
In doing so the lines should be kept taut so they do
not become twisted or entangled.

Clean the model using paper towels and household
cleaner to wipe off exhaust residue. Inspect the
model thoroughly, looking for loose fasteners and
signs of damage or fatigue. Also make sure the prop
has not been damaged. Perform any maintenance
necessary to prepare the model for the next flight.

At the end of the flying session any residual fuel
should be drained from the tank.

After you have become familiar with the way your
Nobler flies and you are ready to begin performing
stunts, seek the assistance of an experienced stunt
pilot before attempting to learn new maneuvers on
your own. Almost any control line stunt maneuvers
are started with the model downwind from the pilot,
i.e. wind on the pilots back. Consult the AMA Control
Line section for stunt maneuvers.

One final note about flying your model. Have a goal
or flight plan in mind for every flight. This can be
learning a new maneuver(s), improving a
maneuver(s) you already know, or learning how the
model behaves in certain conditions (such as when
testing different propellers or fuel). This is not
necessarily to improve your skills 

(though it is never

a bad idea!), but more importantly so you do not
surprise yourself by impulsively attempting a
maneuver and suddenly finding that you’ve run out of
time, altitude or airspeed. Every maneuver should be
deliberate, not impulsive. For example, if you’re going
to do a loop, check your altitude and mind the wind
direction. A flight plan greatly reduces the chances of
crashing your model just because of poor planning
and impulsive moves. Remember to think!

Have a ball, keep the lines taut and always fly in
a safe manner.

GOOD LUCK, GREAT FLYING, AND HAVE FUN!

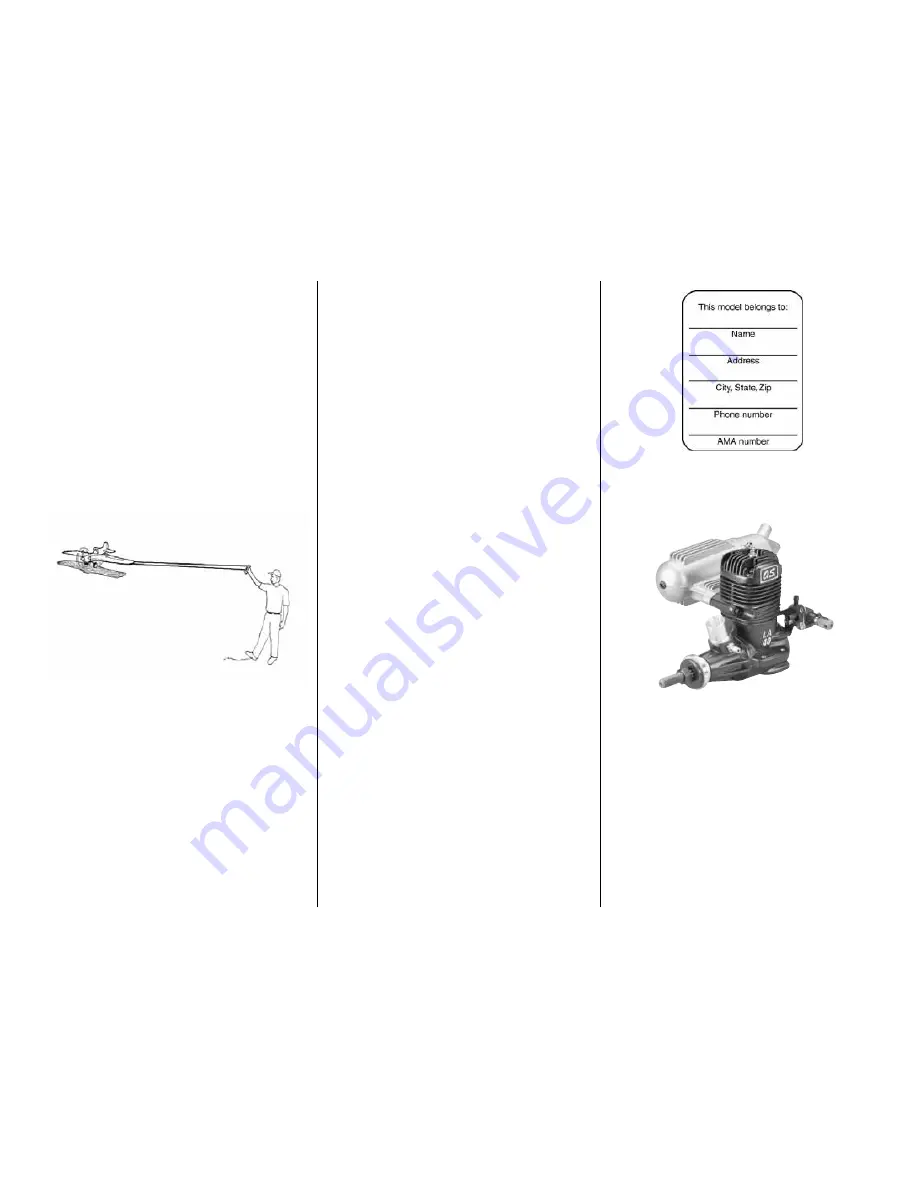
O.S. Engines

®

.40 LA-S Control Line Engine with Muffler

(OSMG1440)

The O.S. 40 LA-S offers the proven power of LA
Series R/C sport engines – but is engineered for the
special requirements of control line flying, replacing
the carburetor with a venturi that keeps the engine
running at a constant speed. A remotely mounted
needle valve keeps your hands safely distanced from
the spinning prop during adjustments. An O-ring
helps seal the needle against fuel and air leaks,
while heavy-duty webbing reinforces the blue-finish,
one-piece crankcase in high-stress areas. Includes
E-3030 muffler, muffler mounting screws, #A3 glow
plug, and 2-year warranty. Fuel with 10-20% nitro
and 18% oil content recommended.

- 22 -

Содержание NOBLER ARF

Страница 1: ...product By the act of using the user assembled product the user accepts all resulting liability If the buyer is not prepared to accept the liability associated with the use of this product the buyer...

Страница 2: ...stunters And if you plan to just dabble in control line the Nobler ARF has the perfect blend of maneuverability and stability to get you into the air with minimal assistance from an experienced flyer...

Страница 3: ...5mm Aluminum spinner GPMQ4551 and appropriate adapter GPMQ4581 for O S MAX LA and other engines with 1 4 28 crankshaft thread 1 4 6mm White striping tape GPMQ1610 1 16 2mm White striping tape GPMQ1580...

Страница 4: ...re missing or are not of acceptable quality or if you need assistance with assembly contact Product Support When reporting defective or missing parts use the part names exactly as they are written in...

Страница 5: ...m Socket Head Cap Screws engine mounting 6 4 40 Blind Nuts 2 wing mounting 4 engine mounting 6 4 Flat Washers 2 wing mounting 4 engine mounting 4 4 Lock Washers engine mounting 2 4 40 Nuts for pushrod...

Страница 6: ...same parts ASSEMBLE THE WING Hinge the Flaps 1 Mark the flaps as right and left before removing them from the wing the right flap is about 3 4 20mm shorter than the left flap 2 Separate the flaps fro...

Страница 7: ...een the slits you cut over each hinge slot in the wing 10 Without using any glue temporarily rejoin the flaps to the wing with the hinges There should be little or no hinge gap and the flaps should mo...

Страница 8: ...the joiner wire View the trailing edges of the flaps from the end of the wing See if the flaps are parallel with each other have the same up and down If necessary tweak the joiner wire to align the f...

Страница 9: ...urb the wing until the epoxy hardens 7 After the epoxy on the first flap has hardened glue the other flap to the wing the same way Allow the epoxy on both flaps to fully harden for at least a few hour...

Страница 10: ...e covering Then peel off the covering 6 Center the 1 x 1 1 2 26 x 38mm plywood wing bolt plate over the holes on the bottom of the wing Glue the plate into position Using the holes in the top of the w...

Страница 11: ...s of the fuselage This will keep the trailing edge of the stab centered 8 Insert a pin through the top center of the fuselage over the firewall Tie a loop in one end of a 36 1m piece of non elastic st...

Страница 12: ...ol movement When the elevators move up the flaps should move down It s best to install the fuel tank before permanently mounting the wing so let s do that first Mount the Fuel Tank 1 Use epoxy thinned...

Страница 13: ...hole Apply 30 minute epoxy to the stab and fuselage where they join Then slide the stabilizer into position Use your paper towel squares dampened with denatured alcohol to clean off any excess epoxy T...

Страница 14: ...n both sides Add a drop of oil to both sides of the wheels so they spin freely 3 Install the main landing gear wires in the landing gear rail Using the screw holes in the nylon straps as a guide drill...

Страница 15: ...hole should be about 5 16 8mm from the aft edge of the cowl placing it about 1 4 behind the front edge of the fuselage side Screw in a 2 x 1 4 6mm screw just enough to hold the cowl but do not tighte...

Страница 16: ...included with this kit uses a three line system As shown in the sketch to the left one line is the fuel pickup which goes to the carburetor or to the remote needle as in the case of the O S LA engine...

Страница 17: ...n though the decals have a sticky back and are not the water transfer type submersing them in soap water allows accurate positioning and reduces air bubbles underneath 3 Position the decal on the mode...

Страница 18: ...30g of lead weight to the right wing tip This can be temporarily attached to the bottom of the wing with the self adhesive foam tape attached to the weight After the final amount of weight required h...

Страница 19: ...by having been previously successfully flight tested 3 Where established I will abide by the safety rules for the flying site I use and I will not willfully and deliberately fly my models in a careles...

Страница 20: ...the wind will be behind the model when it is released for takeoff For the first half circle during the brief period when the pilot has the least control before the model is up to speed the wind will p...

Страница 21: ...lot s signal the assistant may release the model never push the model forward as doing so may result in a crash The pilot should be ready especially during takeoff to briefly step back to maintain lin...

Страница 22: ...flies and you are ready to begin performing stunts seek the assistance of an experienced stunt pilot before attempting to learn new maneuvers on your own Almost any control line stunt maneuvers are st...

Страница 23: ...s Refer to the AMA Rule Book for full descriptions Takeoff Reverse Wingovers Consecutive Inside Loops Inverted Flight Consecutive Outside Loops Consecutive Inside Square Loops Consecutive Outside Squa...

Страница 24: ...FLAP PUSHROD TEMPLATE FLIGHT LOG DATE COMMENTS Started Construction Finished Construction First Flight First Loop First Inverted Flight First Wingover...

Отзывы: