119
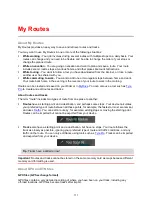
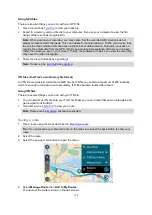
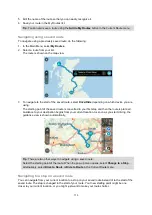
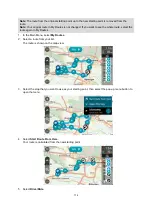
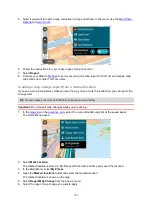
9. When you see a message that your routes have been exported successfully, the tracks on the
receiving device can be shared with other bikers.
Note
: Each exported route is saved as a GPX file in the Bluetooth folder on the receiving device.
Importing routes and tracks using Bluetooth
You can import two types of files from a Bluetooth-enabled device to your TomTom Rider:
GPX files - these become tracks after import.
ITN files - these become routes after import.
Tip
: ITN files are TomTom itinerary files. Friends may share itinerary files with you or you can
download both ITN and GPX files from
To import one or more routes and tracks, do the following:
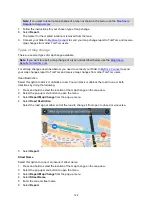
1. In the Main Menu, select
My Routes
.
Bluetooth is enabled on your Rider.
2. Enable Bluetooth on the device you want to import the tracks from.
3. On the device, use a file manager app to find the track or route files.
4. Select the file or files you want to send, then share the files using Bluetooth.
Note
: The procedure to share files can be different on each device.
Note
: Some Android devices don't support Bluetooth file sharing of GPX or ITN files without
using a Bluetooth file-sharing app. These apps are available in Google Play Store.
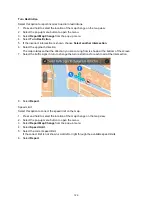
5. Select your TomTom Rider from the list of available devices.
6. On your Rider, select
Accept
to accept the tracks via Bluetooth.
The tracks are received and imported.
7. Select
OK
.
Your imported routes and tracks are shown in
My Routes
.
Importing routes from your computer using USB
You can import two types of files to your Rider from your computer using USB:
GPX files - these become tracks after import.
ITN files - these become routes after import.
Tip
: ITN files are TomTom itinerary files. Friends may share itinerary files with you or you can
download both ITN and GPX files from
To import routes using USB, do the following:
1. Connect your Rider to your computer using the USB cable supplied, then switch your Rider on.
The
Connected to your computer screen
is shown.
Note
: Use ONLY the USB cable supplied with your Rider. Other USB cables may not work.
Note
: You should plug the USB cable directly into a USB port on your computer and not into a
USB hub or USB port on a keyboard or monitor.
Tip
: If you exit the
connected to your computer screen
but you still want to import routes,
disconnect the USB cable from your computer then connect it again.
2. On your Rider, select
Import Routes
.
3. Open a file browser on your computer.
Tip
: Your Rider is shown as a computer drive.
4. In the file browser, copy the route or routes you want to import then paste them on to your Rider.
Содержание Rider 400
Страница 1: ...TomTom Rider User Manual 17 1 ...
Страница 6: ...6 Addendum 146 Copyright notices 153 ...

