www.THORav.us | [email protected] | (763) 999-4253
™ & ® 2018 THOR AV. © 2022 THOR AV.
19
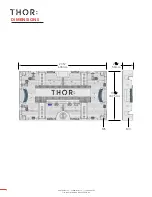
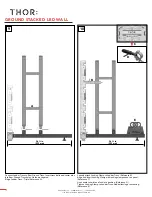
26 ½ in
(675 mm)
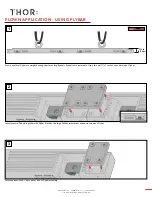
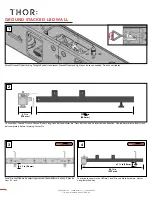
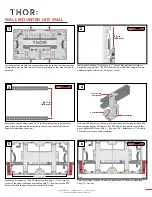
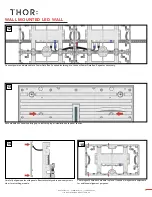
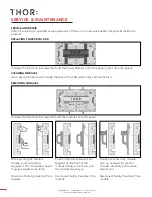
Attach second wall mount track 26 ½” (67.5cm) below the top wall mount
track with drill. Add additional tracks to second row. Verify row is level.
Repeat for additional track row.
Wall mount track has ¼” holes every 1”. Attach first wall mount track to
weight bearing wall 8 ¾” (22.23cm) below top of LED Wall using drill. Add
additional tracks to first row. Verify row is level.
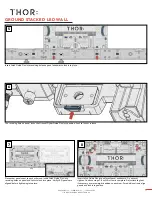
Carefully remove modules from panel chassis by loosening thumb screws and
safety cable. Use module removal tool or firmly push on rear side of module.
Set aside.
8 ¾ in
(223 mm)
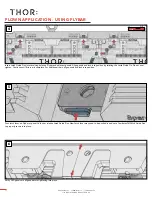
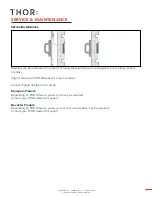
Add two XYZ Mounts to the top wall mount track (for first panel). Each XYZ
Mount supports four LED panels. The XYZ Mount is added for every other
panel. Adjust XYZ Mount with
3
/
16
” hex key. The Y adjusts up to 1” vertically.
The Z adjusts forward and backwards.
Set Screw and
X adjustment
Z adjustment
Y adjustment
LEVEL
LEVEL
1
4
3
2
WALL MOUNTED LED WALL
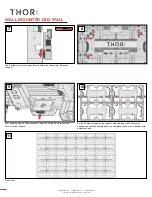
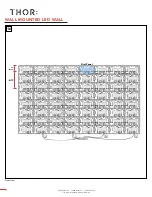
Attach the first panel to the XYZ Mounts by inserting a ¼” bolt into the
corner of the panel chassis and threading with
3
/
16
” hex key into the XYZ
Mount. Position the panel near the center of LED wall.
The Y adjustment raises or lowers the panel chassis. Adjust to make level
using
3
/
16
” hex key.
¼
”
bolt (included)
3
/
16
”
hex key
LEVEL
5
6

