


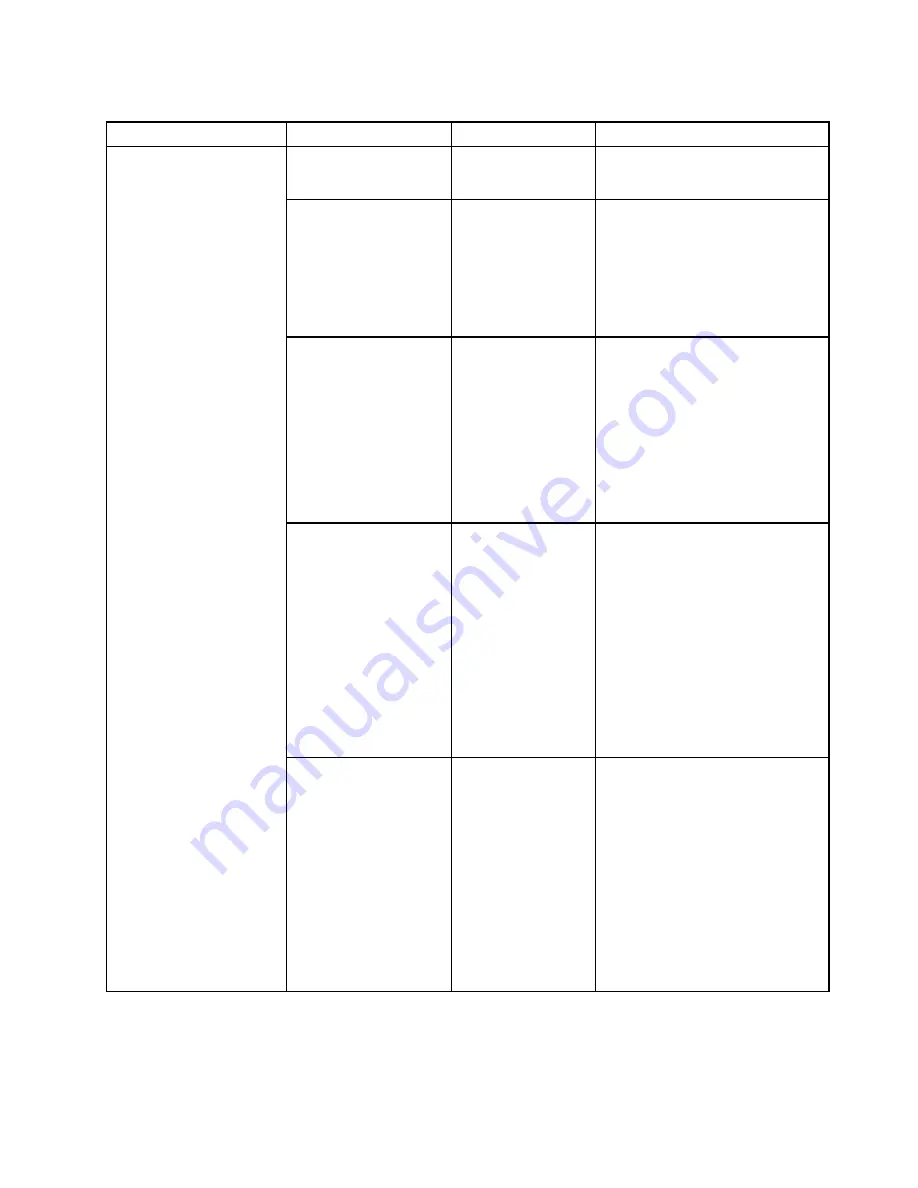
Table 5. Security menu items (continued)
Menu item
Submenu item
Selection
Comments
Note:
This item is available when
Security Chip
is set as
Active
.
Clear Security Chip
Enter
This option is used to clear
encryption keys. It will
not be possible to access
already-encrypted data after
these keys are cleared.
Note:
This item is available when
Security Chip
is set as
Active
.
Intel(R) TXT Feature
•
Disabled
• Enabled
Enable or disable the Intel Trusted
Execution Technology (TXT) feature.
Intel TXT is a hardware-based
security technology that establishes
a root of trust to protect information
from software-based attacks.
Note:
The
Intel (R) TXT Feature
item is only available on models that
support the Intel vPro
™
technology.
Physical Presence for
Provisioning
•
Disabled
• Enabled
This option enables or disables
confirmation of a user physical
presence when provisioning the
security chip.
If you select
Enabled
, a user
confirmation screen will be
displayed when provisioning the
security chip.
If you select
Disabled
, no user
confirmation screen will be
displayed when provisioning the
security chip.
Physical Presence for
Clear
• Disabled
•
Enabled
This option enables or disables
confirmation of a user physical
presence when clearing the security
chip.
If you select
Enabled
, a user
confirmation screen will be
displayed when clearing the security
chip.
If you select
Disabled
, no user
confirmation screen will be
displayed when clearing the security
chip.
Chapter 5
.
Advanced configuration
69
Содержание Yoga14
Страница 1: ...User Guide ThinkPad Yoga 14...
Страница 6: ...iv User Guide...
Страница 16: ...xiv User Guide...
Страница 64: ...48 User Guide...
Страница 92: ...76 User Guide...
Страница 98: ...82 User Guide...
Страница 139: ...6 Remove the dc in bracket 7 Remove the audio USB OneLink ac power card Chapter 9 Replacing devices 123...
Страница 140: ...8 Install the new audio USB OneLink ac power card in place 9 Install the dc in bracket in place 124 User Guide...
Страница 142: ...4 Detach the connector 5 Remove the screws Then remove the speaker assembly 126 User Guide...
Страница 146: ...130 User Guide...
Страница 150: ...134 User Guide...
Страница 158: ...142 User Guide...
Страница 164: ...148 User Guide...
Страница 168: ...152 User Guide...
Страница 172: ...156 User Guide...
Страница 177: ......
Страница 178: ......


